Huggingface上传模型
Huggingface上传自己的模型
参考
- https://juejin.cn/post/7081452948550746148
- https://huggingface.co/blog/password-git-deprecation
- Adding your model to the Hugging Face Hub, huggingface.co/docs/hub/ad…
- Welcome,huggingface.co/welcome
- 三句指令急速安装 Git LFS, zhuanlan.zhihu.com/p/73885257
切换到个人访问令牌
需要为帐户生成访问令牌;可以按照 https://huggingface.co/docs/hub/security-tokens#user-access-tokens 生成一个。
生成访问令牌后,可以使用以下命令更新 Git 存储库:
$: git remote set-url origin https://<user_name>:<token>@huggingface.co/<repo_path>
$: git pull origin
其中
/ datasets/对于数据集/ spaces/用于空间/
如果克隆新的存储库,则只需在 Git 凭据管理器要求你提供身份验证凭据时输入令牌代替密码即可。
- 首先如果你的模型太大(>5GB),那加粗样式么需要使用下面的命令声明一下,否则无法push
huggingface-cli lfs-enable-largefiles ./path/to/your/repo
使用VScode提交最后push时需要在VScode顶端区域两次输入用户名和token,否则会一直卡在这个步骤。
安装git lfs
git lfs是git对大文件系统的支持。我是Linux系统,并且有root用户,所以安装git lfs过程比较简单。相关命令如下:
$curl -s https://packagecloud.io/install/repositories/github/git-lfs/script.deb.sh | sudo bash
$sudo apt-get install git-lfs
$git lfs install
安装并登录huggingface-cli
安装命令如下,首先使用pip安装这个包。然后使用huggingface-cli login命令进行登录,登录过程中需要输入用户的Access Tokens。这里需要先到网站页面上进行设置然后复制过来进行登录。
pip install huggingface_hub
huggingface-cli login

        _|    _|  _|    _|    _|_|_|    _|_|_|  _|_|_|  _|      _|    _|_|_|      _|_|_|_|    _|_|      _|_|_|  _|_|_|_|
        _|    _|  _|    _|  _|        _|          _|    _|_|    _|  _|            _|        _|    _|  _|        _|
        _|_|_|_|  _|    _|  _|  _|_|  _|  _|_|    _|    _|  _|  _|  _|  _|_|      _|_|_|    _|_|_|_|  _|        _|_|_|
        _|    _|  _|    _|  _|    _|  _|    _|    _|    _|    _|_|  _|    _|      _|        _|    _|  _|        _|
        _|    _|    _|_|      _|_|_|    _|_|_|  _|_|_|  _|      _|    _|_|_|      _|        _|    _|    _|_|_|  _|_|_|_|

        To login, `huggingface_hub` now requires a token generated from https://huggingface.co/settings/token.
        (Deprecated, will be removed in v0.3.0) To login with username and password instead, interrupt with Ctrl+C.

Token:
Login successful
最后,使用huggingface-cli repo create model_name来创建自己的模型repo。
huggingface-cli repo create model_name
上传与提交模型
创建好repo后,首先需要git clone到本地。
$git lfs install
$git clone https://huggingface.co/username/model_name
之后,使用cp命令,将自己已经训练好保存的模型文件夹中的内容复制到这个repo中。注意:这里的模型文件夹是指通过transformers的官方接口保存的模型文件夹,比如可以使用model.save_pretrained()或者trainer训练过程中自动保存的checkpoint文件夹。
添加完成后,进行git repo的正常上传即可。具体步骤如下:
git add .
git commit -m "commit from $USER"
git push
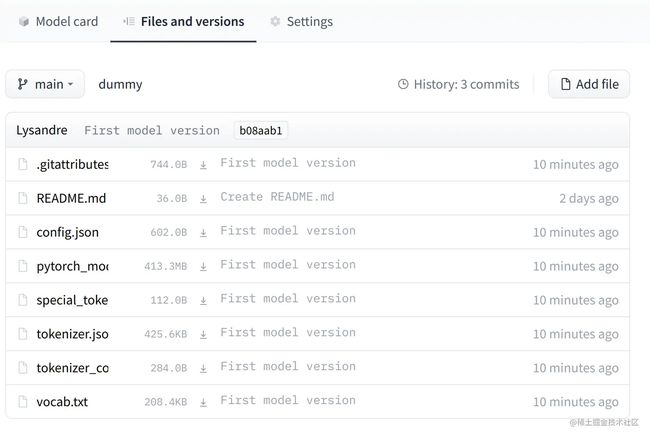
之后,在网页上打开模型的详情页面就可以看到我们模型保存的文件详细信息。
使用模型
最后,在使用模型时,我们可以很方便的在python代码中通过.from_pretrained方法来获取到模型和分词器:
tokenizer = AutoTokenizer.from_pretrained("username/model_name")
model = AutoModel.from_pretrained("username/model_name")