couchbase的使用(springboot连接couchbase,node.js连接couchbase)
网上的couchbase资料十分有限,这无疑给我们学习增加了难度。
Couchbase是membase的升级版,membase与memcache是同一家公司出的,Couchbase包含了memcache的功能。
首先要安装使用,去官网下很不推荐,网速慢,下载页面也加载不出来,可以下载这个6.x的新版本de
链接:https://pan.baidu.com/s/1PpPXHV2V0z1dGDselAz-Pg
提取码:ngwx
安装之后,推荐使用web端控制台,双击之后会打开web界面,第一次使用需要注册用户,

登入之后,这里我建了一个集群,如果英语差,可以使用谷歌浏览器翻译页面

要使用couchbase首先要知道他是什么,怎么使用,他的优点等等。
官方文档,版本比较低,但对它介绍的很详细,这里使用谷歌翻译了中文页面
https://docs.couchbase.com/couchbase-manual-2.2/#introduction-to-couchbase-server
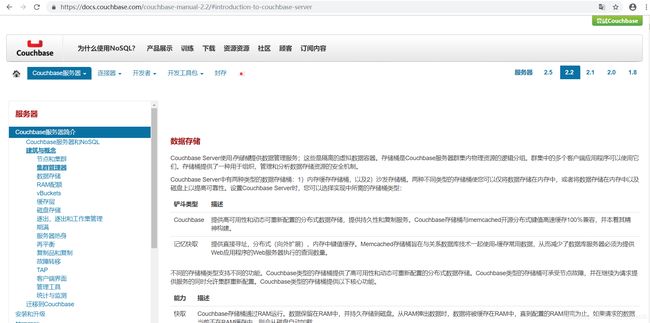
当你对它有了一个整体的认识就可以操作了。
刚安装好是没有数据的,官方给我们提供了三个桶(数据库),有示例数据,建议全部添加,我这里加了啤酒样品的桶,
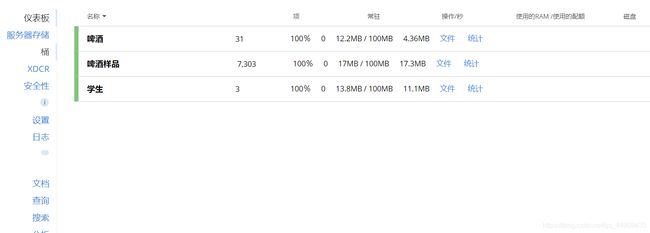
点击文件就可以进入到数据展示页,是一个key,对应一个json文档,
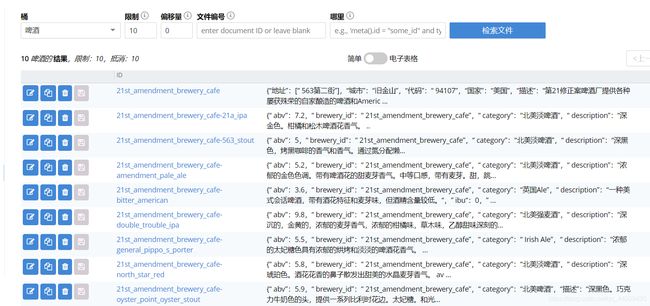
找到 query功能,输入下面的查询语句,点击执行,桶的名字要加反引号(看起来是和sql查询是类似的语法),可以看到查询结果。
SELECT * FROM `beer-sample`
     WHERE brewery_id IS NOT MISSING AND type="beer" LIMIT 5;

自己新建一个桶,在新建一个用户,切记用户的名字和桶的名字务必保持一致,
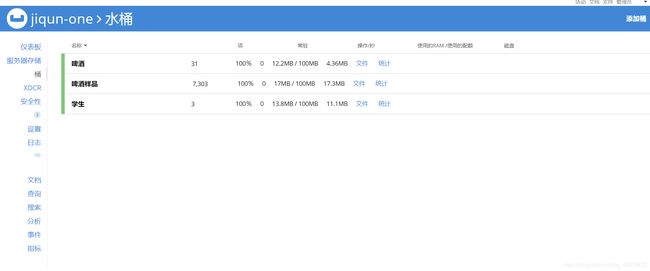
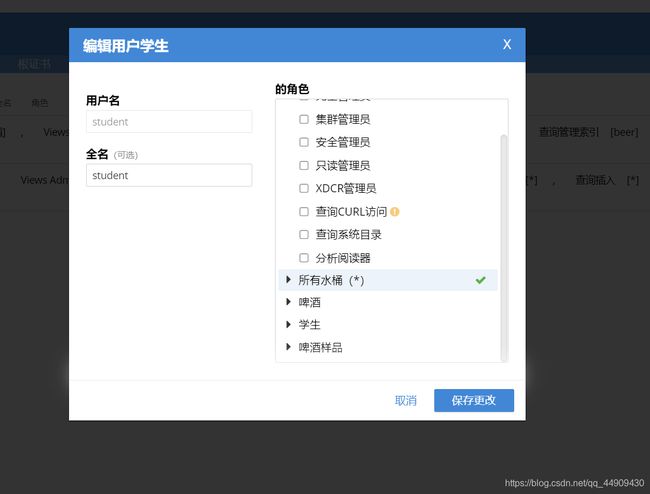
新建用户
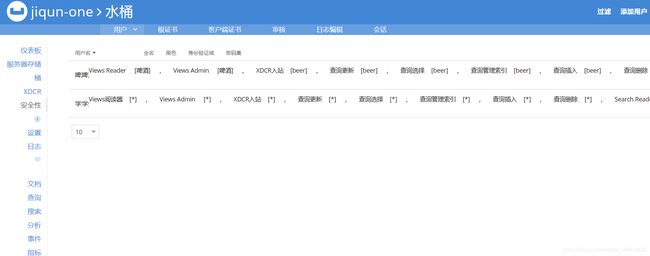
完成后,给用户赋权,把这个桶的所有权限给到用户
建好之后,我们先用java的方式连接couchbase
sprintboot+jpa的方式
仓库地址:https://github.com/caibixyy/couch.git
因为代码就一个实体,然后业务类,控制类所有这里不展示,可以从仓库clone,看配置
我建了一个桶,beer,建了一个用户也叫beer(再次提示必须一样,不然将连接不上这个桶,用户和桶必须绑定,赋予权限),密码如下
server:
  port: 8085
spring:
  couchbase:
    bootstrap-hosts: localhost
    bucket:
      name: beer
      password: rootrootrootroot

logging:
  level:
    root: debug
@GetMapping("/insert")
    public Iterable<BeerSimple> findAll(){
        for (int i = 21; i < 30; i++) {
            BeerSimple b= new BeerSimple("brewery_id"+i,"青岛","崂山真品质",2,"勇闯天涯",i,"big","haha",1,new Date(),7.2);
            beerSimpleService.save(b);
        }
        return null;
    }
启动,访问,成功插入数据

大功告成。
node.js连接couchbase。
这里我的node版本是12的新版本,couchbase是6.x的
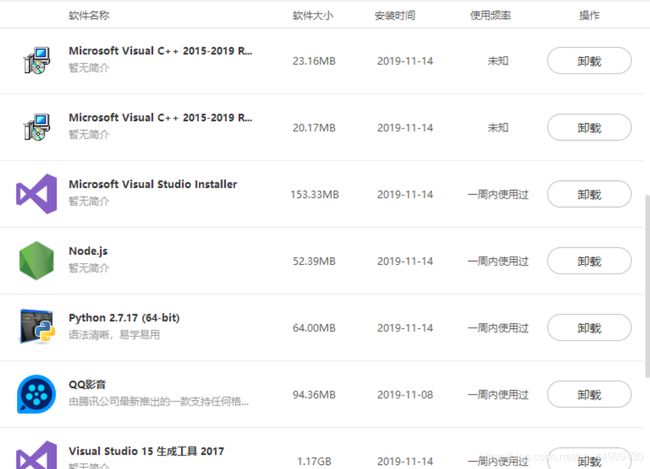
你要确保node.js的环境完全没有问题,安装的时候建议您勾选安装插件依赖,需要python2.7.17和vasual studio 2017
这是node自动给我装的插件,此过程较长,建议你等会,再等会

首先镜像换成淘宝的,在cmd里
npm install -g cnpm --registry=https://registry.npm.taobao.org
在执行命令
npm install couchbase
如果过程中报错了,执行一下这个
npm install -g node-gyp
或者
npm config set msvs_version 2017
或者
npm install --global --production windows-build-tools
或者
npm init
看错误提示是什么错误
安装完成后写js文件
var couchbase = require("couchbase");
var cluster = new couchbase.Cluster('localhost:8091');
var bucket = cluster.openBucket('beer','rootrootrootroot', function(err) {
    if (err) {
        // Failed to make a connection to the Couchbase cluster.
        throw err;
    }
    // Retrieve a document
    bucket.get('brewery_id', function (err, result) {
        if (err) {
            throw err;
        }
        var doc = result.value;
        console.log(doc.name)
    })
})
var couchbase = require("couchbase");
var cluster = new couchbase.Cluster('localhost:8091');
var bucket = cluster.openBucket('beer','rootrootrootroot', function(err) {
    if (err) {
        // Failed to make a connection to the Couchbase cluster.
        throw err;
    }
  bucket.insert('brewery_id20', {"abv":7.2,"name":"勇闯天涯","description":"崂山真品质","upc":1,"style":"big","_class":"com.example.demo.entity.BeerSimple","category":"青岛","type":"haha","ibu":2,"updated":1573625330410,"srm":19}, function (err, result) {
    if (err) {
        console.log(err)
    } else {
        console.log(result)
    }
})
})

![]()
ok,大功告成了。
2019-12-6补充
由于对此数据库的片面认知,又学到了一点
//引入
const Couchbase = require("couchbase");;
const cluster = new Couchbase.Cluster("couchbase://localhost");
cluster.authenticate("Administrator", "123456");
const bucket = cluster.openBucket("card-sample");

//调用,封装成一个方法,或写一个http请求直接调用都可以
 return new Promise((resolve, reject) => {
        bucket.get(主键, (error, result) => {
          if(error) {
            return reject(
              httpError(error)
            );
          }
          resolve(result);
        });
      });