vscode +git +gitee 文件管理
文章目录
- 前言
- 一、gitee是什么?
-
- 2. Gitee与VScode连接大概步骤
- 二、在vscode中安装git
-
- 1.安装git
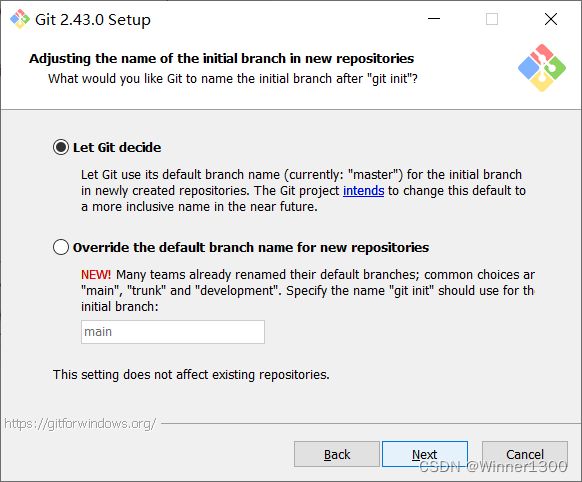
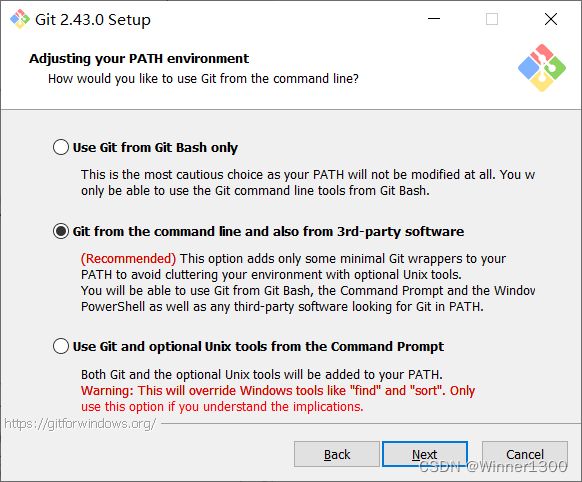
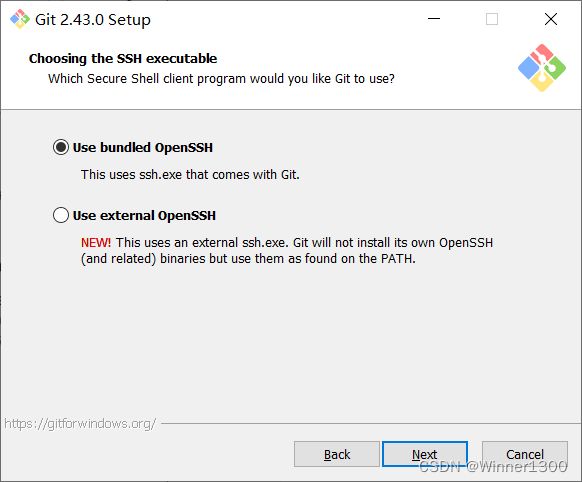
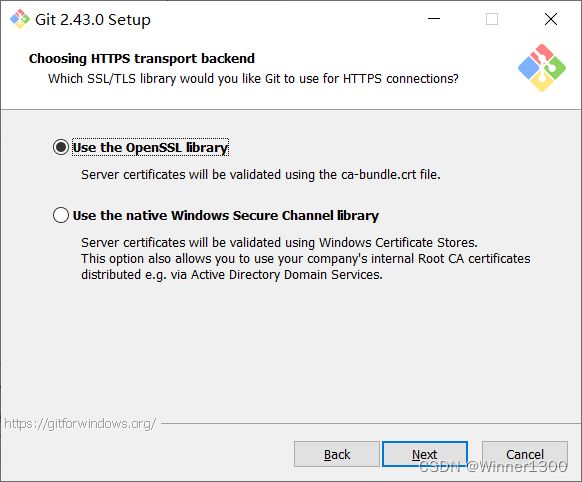
- 2.安装过程
- 3.安装完后记得重启
- 三、使用
-
- 1.新建文件夹first
- 2.vscode 使用
- 四、连接git
-
- 1.初始化仓库
- 2.设置git 提交用户和邮箱
- 3.登陆gitee账号新建仓库没有的自己注册一个
- 4.复制HTTPS码
- 5.添加远程仓库
- 五、效果
- 总结
前言
提示:这里可以添加本文要记录的大概内容:
项目需要:
提示:以下是本篇文章正文内容,下面案例可供参考
一、gitee是什么?
Gitee(码云)是开源中国于2013年推出的基于Git的代码托管平台、企业级研发效能平台,致力于为中国开发者提供稳定、高效、安全的云端软件开发协作平台。它支持Git和SVN,并提供免费的私有仓库托管。无论是个人、团队还是企业,Gitee都能满足其代码托管、项目管理以及协作开发的需求。此外,Gitee还提供了代码质量分析、项目演示等丰富功能。
Gitee已经成为中国境内规模最大的代码托管平台,拥有超过1200万名注册用户和2800万个代码仓库。同时,其企业级DevOps研发效能管理平台Gitee企业版已经服务超过30万家企业。
在代码管理方面,Gitee支持第三方仓库一键导入,无缝迁移,并提供安全可靠的代码资产保障,存储可靠性达到99.99%。它还通过PR和CR多种模式进行协作,提供便捷规范的代码评审流程。在代码质量方面,Gitee通过设置质量门禁,保障代码质量安全,并支持多种主流语言和技术框架的编译构建,如Java、Node.js、Python、Golang等。
在测试管理方面,Gitee支持思维导图管理测试用例,使前置条件、步骤、预期结果更清晰可见。同时,它还支持主流公有云主机导入,满足用户多种云厂商的选择及云上云下多种部署形式。
在效能度量方面,Gitee通过多样化的指标,为企业在研发管理过程中发现问题、分析问题、改进问题提供数据支撑。
以上信息仅供参考,如需了解更多关于Gitee的信息,建议访问其官网或咨询相关技术人员。
2. Gitee与VScode连接大概步骤
要将Gitee与VS Code连接,你可以按照以下步骤进行操作:
- 在VS Code中打开你的项目文件夹。你可以通过点击左上角的“文件”菜单,然后选择“打开文件夹”来实现。
- 打开VS Code的终端。你可以通过点击左上角的“查看”菜单,然后选择“终端”来打开终端窗口。
- 在终端窗口中,你需要进行一些初始化设置。首先,输入以下命令来设置你的Git用户名和邮箱地址:
git config --global user.name "你的Gitee用户名"
git config --global user.email "你的Gitee邮箱地址"
- 接下来,你需要将你的Gitee仓库添加为远程仓库。假设你的Gitee仓库的SSH链接是
[email protected]:你的用户名/你的仓库名.git,你可以使用以下命令添加远程仓库:
git remote add origin [email protected]:你的用户名/你的仓库名.git
- 现在,你可以将你的本地代码推送到Gitee仓库了。使用以下命令将代码推送到远程仓库的master分支:
git push -u origin master
这样,你的VS Code项目就成功地与Gitee连接起来了,并且你的代码已经推送到了Gitee仓库中。你可以在Gitee的网页版中查看和管理你的仓库了。
需要注意的是,如果你还没有生成SSH密钥对(id_rsa和id_rsa.pub),你需要先生成它们并将公钥添加到你的Gitee账户中。生成SSH密钥对的命令是ssh-keygen -t rsa -b 4096 -C "你的邮箱地址"。生成后,将公钥文件(id_rsa.pub)中的内容复制到Gitee的SSH公钥设置中。这样,你才能使用SSH协议与Gitee进行通信。
二、在vscode中安装git
1.安装git
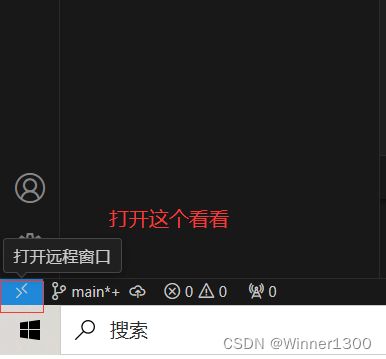
打开vscode 点击管理图标

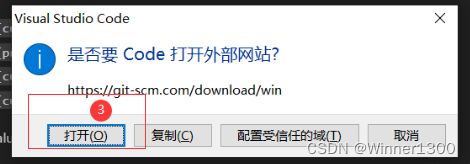
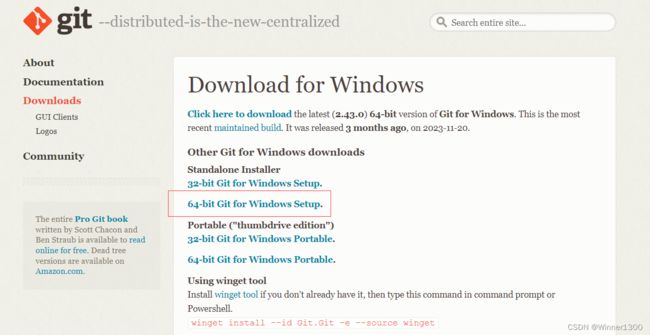
点击打开,跳转到git 下载官网,点击系统需要的版本下载
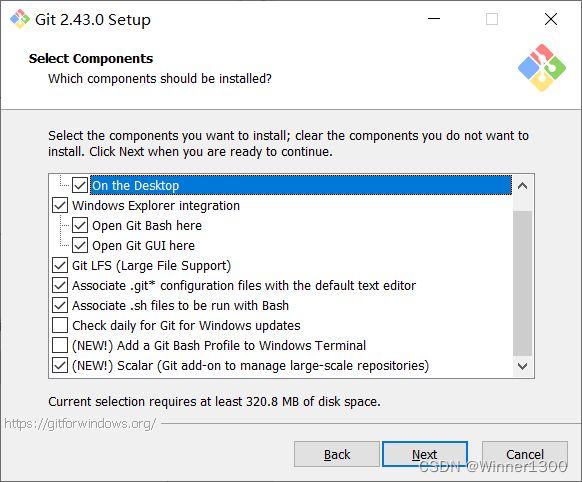
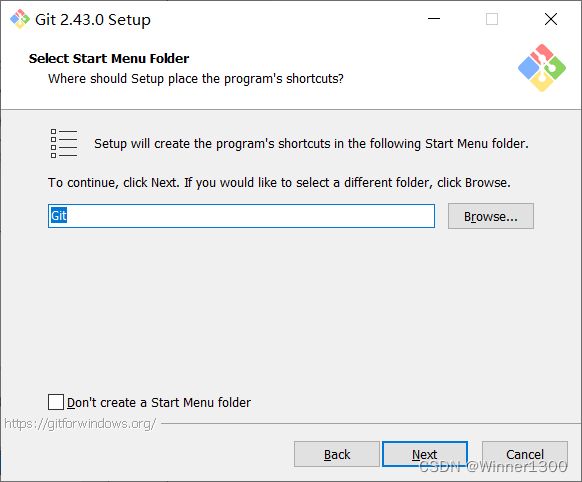
2.安装过程


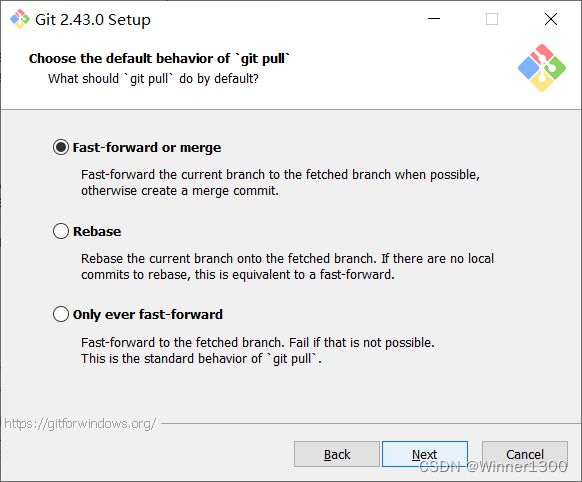

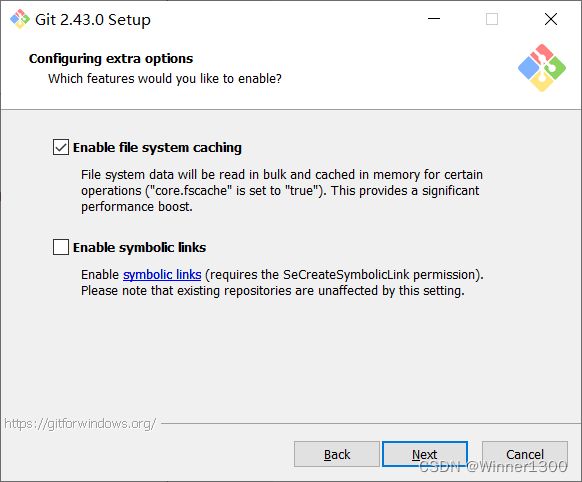
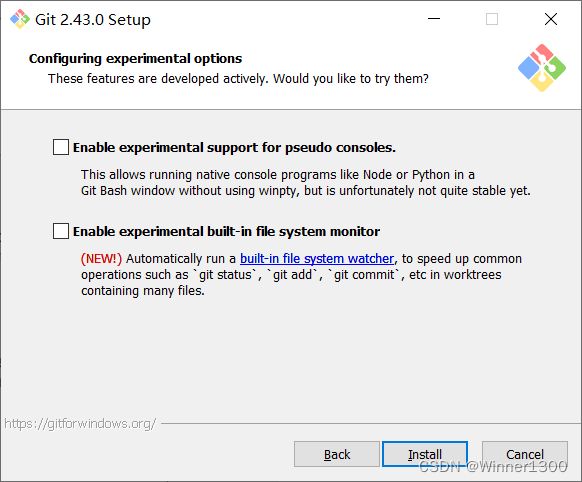
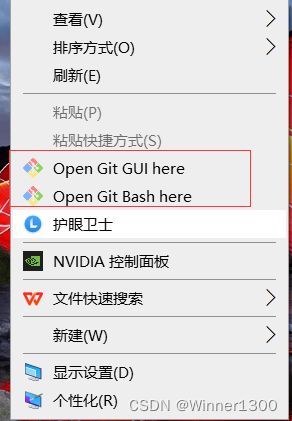
右键能看到属性了
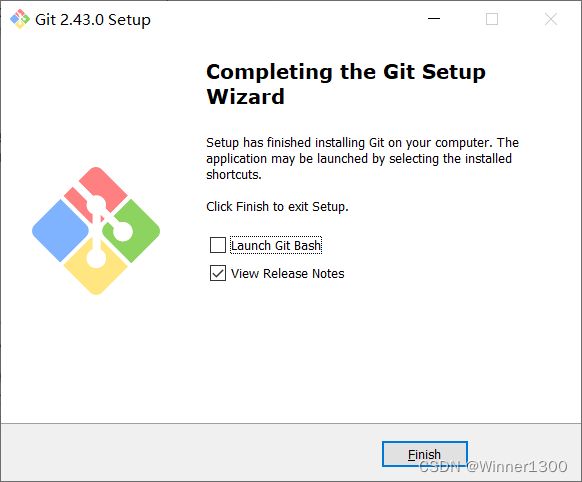
3.安装完后记得重启
重启电脑环境变量才能生效
三、使用
1.新建文件夹first

2.vscode 使用
用vscode 打开文件夹

新建一个markdown文件


四、连接git
1.初始化仓库
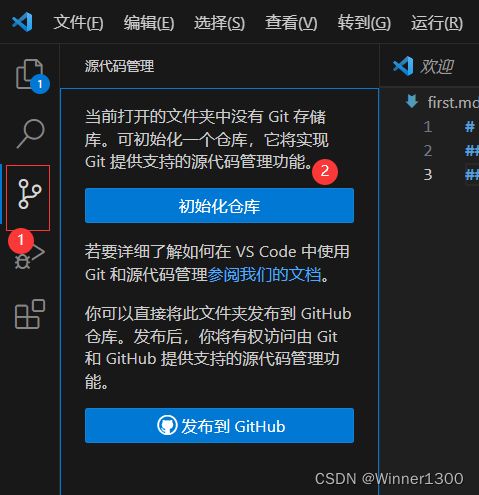
点击初始化仓库,将first 加入了git仓库管理
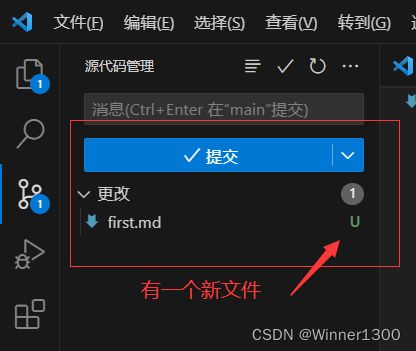

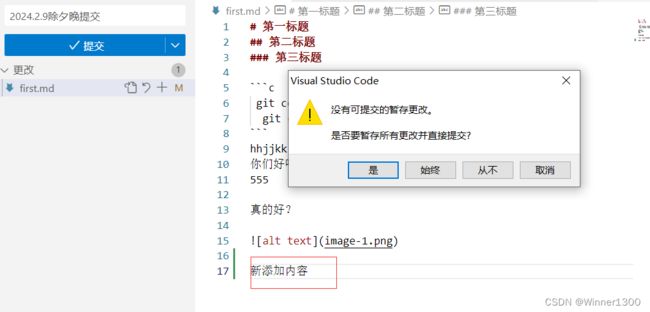
点击提交看看

保存提交更改试试

提示没有设置git 的仓库的用户名和邮箱,这个是为了记录每次提交都有记录,方便追溯文件每个阶段的情况
Run

  git config --global user.email "[email protected]"
  git config --global user.name "Your Name"

to set your account's default identity.
Omit --global to set the identity only in this repository.

fatal: no email was given and auto-detection is disabled
2024-02-09 11:21:58.743 [info] > git config --get-all user.name [36ms]
2024-02-09 11:21:58.746 [info] No remotes found in the git config file.
2024-02-09 11:21:58.793 [info] > git config --get commit.template [47ms]
2024-02-09 11:21:58.794 [info] > git for-each-ref --format=%(refname)%00%(upstream:short)%00%(objectname)%00%(upstream:track)%00%(upstream:remotename)%00%(upstream:remoteref) --ignore-case refs/heads/main refs/remotes/main [45ms]
2024-02-09 11:21:58.794 [warning] No such branch: main.
2024-02-09 11:21:58.834 [info] > git status -z -uall [37ms]
2024-02-09 11:23:50.084 [info] No remotes found in the git config file.
2024-02-09 11:23:50.146 [info] > git config --get commit.template [63ms]
2024-02-09 11:23:50.146 [info] > git for-each-ref --format=%(refname)%00%(upstream:short)%00%(objectname)%00%(upstream:track)%00%(upstream:remotename)%00%(upstream:remoteref) --ignore-case refs/heads/main refs/remotes/main [59ms]
2024-02-09 11:23:50.147 [warning] No such branch: main.
2024-02-09 11:23:50.151 [info] > git ls-files --stage -- C:\Users\gh\Desktop\first\first.md [58ms]
2024-02-09 11:23:50.212 [info] > git status -z -uall [62ms]
2024-02-09 11:23:50.214 [info] > git cat-file -s 82699dac3fc9cbc6978cc2c6d79afc966e7d359c [59ms]
2024-02-09 11:23:50.299 [info] > git show --textconv :first.md [59ms]
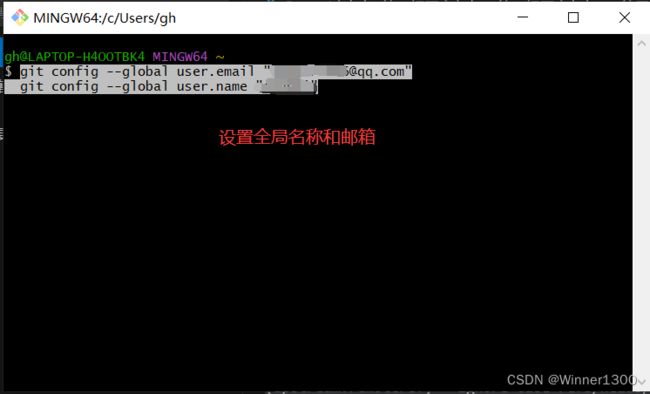
2.设置git 提交用户和邮箱
设置自己的用户和邮箱
 git config --global user.email "[email protected]"
  git config --global user.name "Your Name"


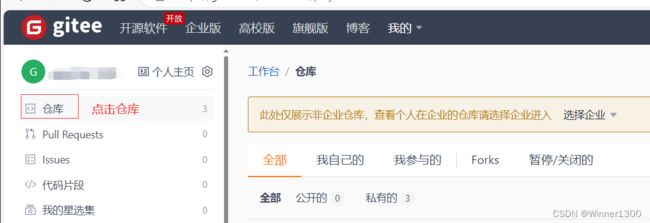
3.登陆gitee账号新建仓库没有的自己注册一个
https://gitee.com/
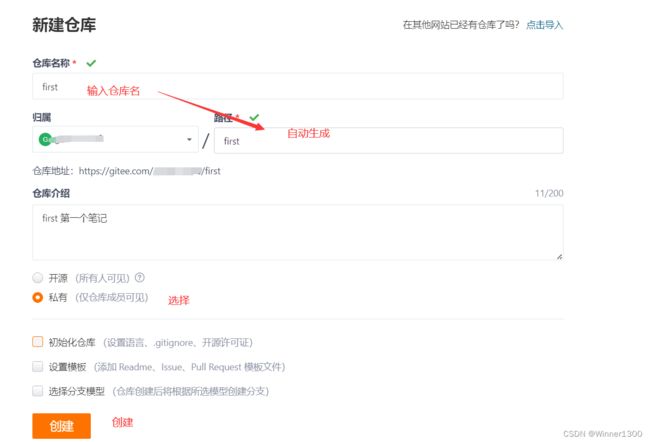
新建仓库

4.复制HTTPS码


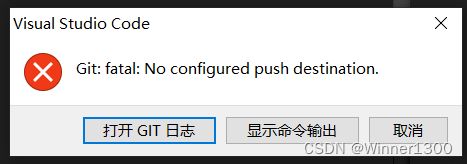
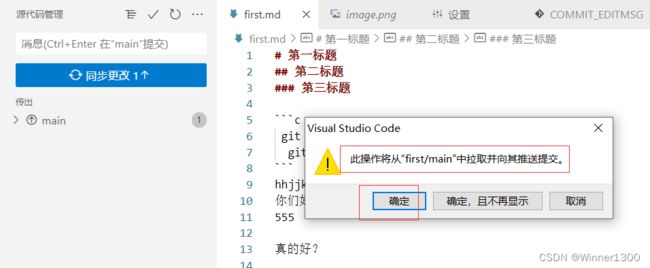
5.添加远程仓库


如果安装git 没有重启就会出现各种错误
五、效果
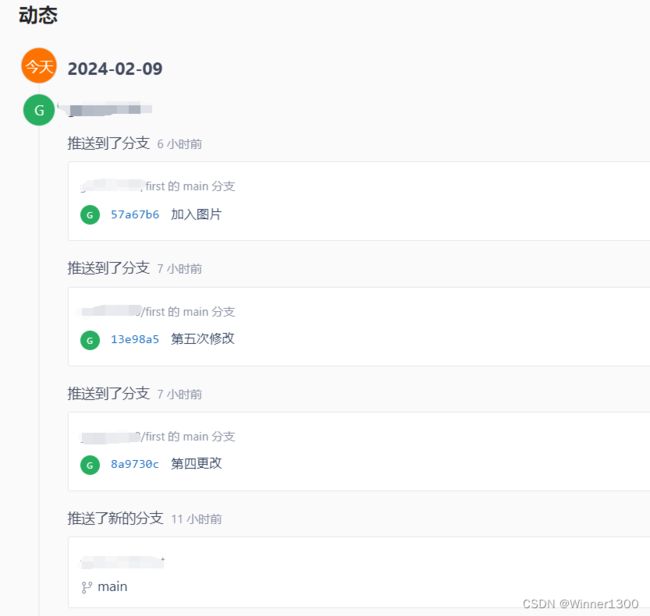

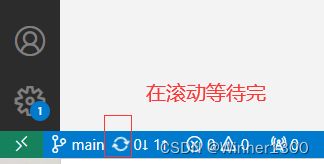

查看变化,提示搞定

总结
学习使人快乐,继续努力。记得有环境变量的安装,要重启才能生效。2024.2.9.23.59