Win + Appium + Android/IOS + Python环境搭建
说明:此文章仅为自己学习时记录,比较乱,不推荐读者查阅。
IOS自动化测试:
注意:WebDriverAgent最好下载appium的(而不是facebook下的):GitHub - appium/WebDriverAgent: A WebDriver server for iOS that runs inside the Simulator.
IOS + Appium自动化教程
appium ios 真机自动化环境搭建_一起好好做测试-CSDN博客_appium ios
参考:使用Appium进行iOS的真机自动化测试 - 简书
测试的过程需要保证WebDriverAgentRunner一直处在testing状态:

----------------
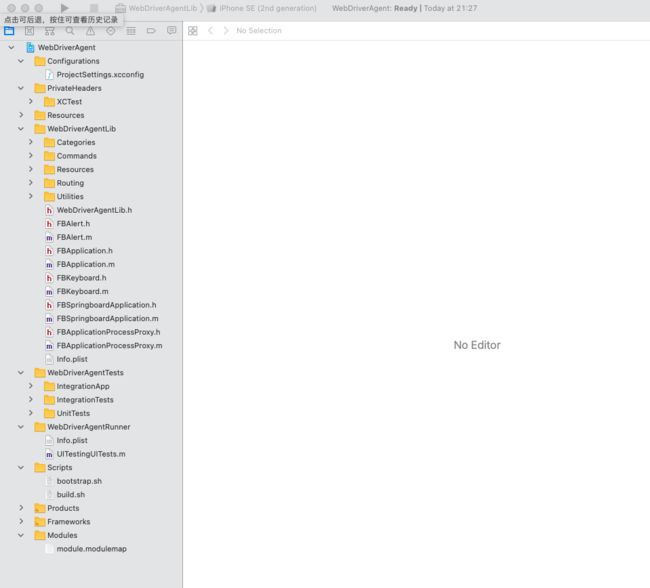
1. 安装 WebDriverAgent (https://github.com/appium/WebDriverAgent)
(1) 安装Carthage
方法1: 如果失败可以使用方法2试试,拉取源代码(https://github.com/Carthage/Carthage), 进入源代码目录,执行 make install,编译成功后,编译生成的 carthage 会自动copy至 /usr/local/bin/
方法2: brew install carthage
(2) 安装npm,略过。
(3) 拉取WebDriverAgent,执行 ./Scripts/bootstrap.sh。
可能失败,如报错:npm ERR! Fix the upstream dependency conflict, or retry
解决方法:修改./Scripts/bootstrap.sh中的npm build这一行为: npm --legacy-peer-deps build
(4)如果上述安装没问题,直接在安装目录下直接用Xcode打开WebDriverAgent.xcodepro文件
常见报错 :
1、真机调试:The app ID cannot be registered to your development team
原因:bundle identifier不唯一,修改成唯一的就行了。
参考:
mac +xcode 下WebDriverAgent环境配置 - dreamhighqiu - 博客园
react native ios真机调试:The app ID cannot be registered to your development team_熊猫and猫熊的博客-CSDN博客
2、[UITestingUITests internalImplementation]: unrecognized selector sent to instance 0x600002ff94a0**
(改了下代码)
参考:Appium Mac 桌面安装遇到的问题解决 - 简书
环境搭建主要参考下面的链接:
- 小米手机打开usb调试:https://jingyan.baidu.com/article/647f0115fb3c417f2048a857.html
- 安装Android SDK(安卓软件开发包):appium移动端自动化测试环境搭建windows-appium-android(示例代码)_136.la
- Appium的安装及简单的使用介绍:https://segmentfault.com/a/1190000038825659
- appium---Android app资源监控 - 测试-安静 - 博客园 (cnblogs.com)
- adb shell top 查看内存和cpu_liuhu767的专栏-CSDN博客
- Mac 安装 Android SDK 环境配置:Mac 安装 Android SDK 环境配置_xujiuba的博客-CSDN博客_mac安装android sdk
- 利用Appium+Python+Android设备爬取APP数据_LLKET的博客-CSDN博客
adb常用命令记录:
[1] 打开应用
用法:
adb shell am start -n {appPackage}/{appActivity}
示例:
adb shell am start -n com.baidu.xx/com.xxx.xxx.activities.Logo

[2] 杀死应用
adb shell am force-stop com.xxx.xxx

[3] 查看cpu信息
示例:adb shell top -m 10 -n 5 -d 1
说明:
top命令提供了实时的对系统处理器的状态监视.它将显示系统中CPU最“敏感”的任务列表.该命令可以按CPU使用.内存使用和执行时间对任务进行排序.
1)top 用法
>adb shell top -h
Usage: top [ -m max_procs ] [ -n iterations ] [ -d delay ] [ -s sort_column ] [-t ] [ -h ]
    -m num  Maximum number of processes to display. 最多显示多少个进程
    -n num  Updates to show before exiting.  刷新次数
    -d num  Seconds to wait between updates. 刷新间隔时间(默认5秒)
    -s col  Column to sort by (cpu,vss,rss,thr). 按哪列排序
    -t      Show threads instead of processes. 显示线程信息而不是进程
    -h      Display this help screen.  显示帮助文档

[4] 查看内存信息
adb shell dumpsys meminfo com.xxx.xxx
Mac通过adb获取应用的内存以及cpu,代码示例:
# -*- coding: UTF-8 -*-
"""
# rongsong
"""
import re
import subprocess
from logzero import logger


def get_cpu(command):
    """
    # 查看cpu占用
    :param command:
    :return:
    """
    logger.info("command: {}".format(command))

    # 如果未查询到则设默认值0.0
    try:
        output = subprocess.check_output(command, shell=True).split()
        s_cpu = output[8].decode("utf-8")
    except Exception as e:
        s_cpu = 0.0

    logger.info("s_cpu: {}".format(s_cpu))
    return s_cpu


def get_memory(command):
    """
    # 查看cpu占用
    :param command:
    :return:
    """
    logger.info("command: {}".format(command))

    # 如果未查询到则设默认值0.0
    try:
        output = subprocess.check_output(command, shell=True).split()
        s_mem = ".".join([x.decode("utf-8") for x in output])
        mem = int(re.findall("TOTAL.(\d+)*", s_mem, re.S)[0])
    except Exception as e:
        mem = 0.0

    logger.info("mem: {}".format(mem))
    return mem


if __name__ == '__main__':
    # cpu占用
    cpu_command = "adb shell top -n 1 -d 1 | grep com.xxx.xx | grep -v com.xxx.xxx:"
    cpu_use = get_cpu(cpu_command)
    logger.info("cpu_use: {}".format(cpu_use))

    # 内存占用
    memory_command = "adb shell dumpsys meminfo com.xxx.xxx"
    memory_use = get_memory(memory_command)
    logger.info("memory_use: {}".format(memory_use))
Appium Server提示需要单独下载安装inspector使用,按提示链接下载即可:

inspector连接时参数示例如下:

常见报错:
1.android应用直接非预期内自动退出
appium-server的日志如下:
Shutting down because we waited 60 seconds for a command
[Appium] Closing session, cause was 'New Command Timeout of 60 seconds expired. Try customizing the timeout using the 'newCommandTimeout' desired capability'

可以尝试改下连接时“newCommandTimeout”这个字段的值试试。

2.android应用有时候会偶发自动退出
可以加重试逻辑什么的,一个比较简单的思路是可以通过查看当前手机页面的activity,如果不是重启期望运行的应用哈。
方法:driver.current_activity,判断结果中是否包含指定的关键词就知道了,
Ps:
- 注意方法调用时不需要括号
- 如果不放心,可以先通过current_package拿到应用名判断一下
- 同一个应用的不同页面,current_package是一样,但是current_activity很有可能是不一样的,需要自己点击后查查。
current_package = driver_ins.current_package
current_activity = driver_ins.current_activity

logger.info("current_package: {}, current_activity: {}".format(current_package, current_activity))
3、执行“xcrun xctrace“时报错,xcrun xctrace failed with exit code 17664: (null) (errno=No such file or dir
唉,这个问题以前没有出现,不知道怎么搞了下xcode就报这个错了。然后折腾了半天没有解决。一气之下,卸载了xcode,重新下载了一个,发现就可以,重试大法好啊。
可以参考:获取app的包名以及当前页面的activity_贝程学院:Appium元素操作之处理Activity_weixin_39572972的博客-CSDN博客