基于lnmp架构的zabbix监控系统
基于lnmp架构的zabbix监控系统
- 一、部署lnmp架构
-
- (一)、安装nginx
- (二)、安装MySQL
- (三)、安装PHP
- 二、安装zabbix
一、部署lnmp架构
关闭防火墙
systemctl stop firewalld
setennfore 0
(一)、安装nginx
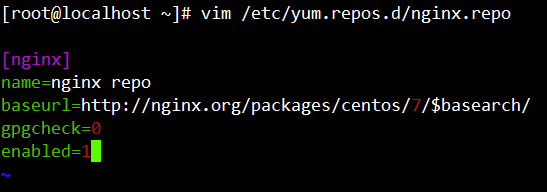
手动创建nginx yum安装源
vim /etc/yum.repos.d/nginx.repo
[nginx]
name=nginx repo
baseurl=http://nginx.org/packages/centos/7/$basearch/
gpgcheck=0
enabled=1
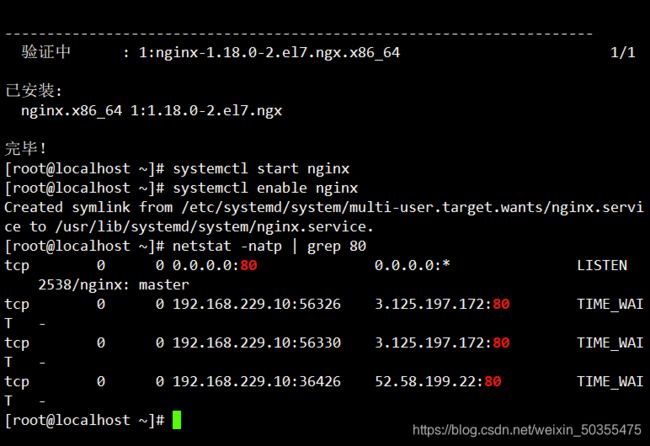
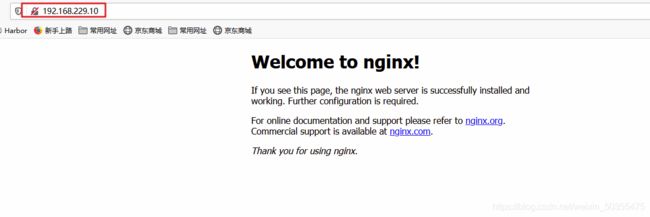
安装并启动
yum list
yum -y install nginx
systemctl start nginx
systemctl enable nginx
netstat -natp | grep 80
(二)、安装MySQL
安装服务
yum install -y mariadb-server mariadb

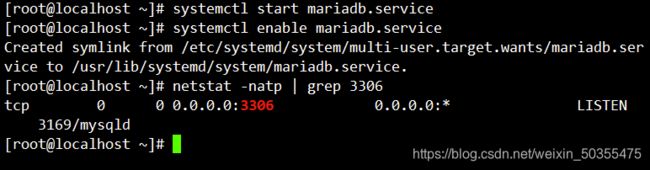
开启服务
systemctl start mariadb.service
systemctl enable mariadb.service
netstat -natp | grep 3306
初始化设置
mysql_secure_installation
Enter current password for root (enter for none):	#回车
Set root password? [Y/n]							#y
New password:										#123456
Re-enter new password:								#123456
Remove anonymous users?								#n
Disallow root login remotely?						#n
Remove test database and access to it?			    #n
Reload privilege tables now?						#y
登录验证
mysql -u root -p123456

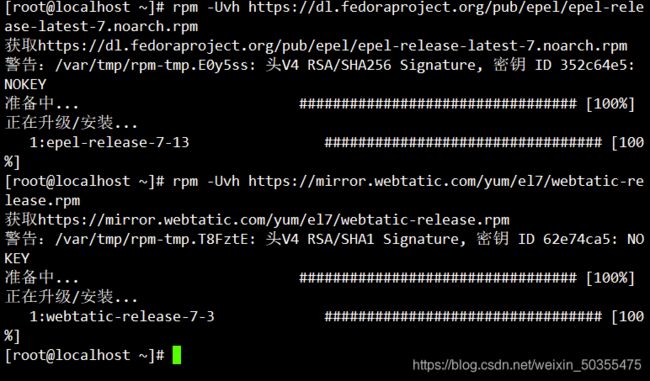
(三)、安装PHP
rpm -Uvh https://dl.fedoraproject.org/pub/epel/epel-release-latest-7.noarch.rpm
rpm -Uvh https://mirror.webtatic.com/yum/el7/webtatic-release.rpm				#yum源的建立
yum install -y php72w php72w-devel php72w-fpm php72w-gd php72w-mbstring php72w-mysql			#安装环境依赖包
php -v					#查看版本

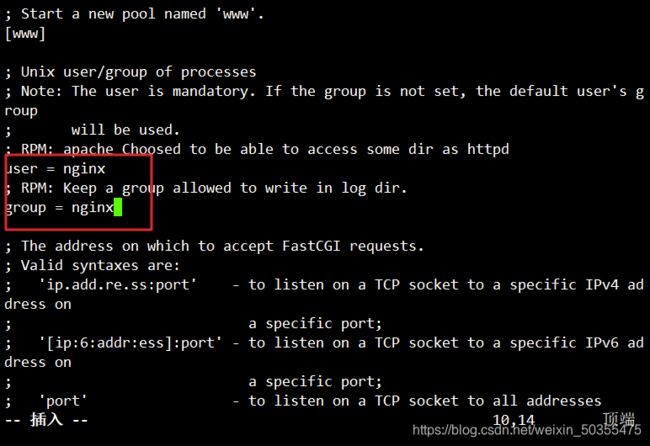
配置nginx支持php
vim /etc/php-fpm.d/www.conf

#第8行 user = nginx
#第10行 group = nginx
修改nginx配置文件支持PHP并修改php配置文件
vim /etc/nginx/conf.d/default.conf
    index  index.php index.html index.htm;		#第10行添加index.php
配置php模块,去掉注释
location ~ \.php$ {
	root           /usr/share/nginx/html;
	fastcgi_pass   127.0.0.1:9000;
	fastcgi_index  index.php;
	fastcgi_param  SCRIPT_FILENAME  $document_root$fastcgi_script_name;
	include        fastcgi_params;
}
vim /etc/php.ini
expose_php  = Off 		 			     #359行:隐藏php版本
short_open_tag = On    		 		     #202行:支持php短标签

#为PHP兼容zabbix进行修改,优化配置要求
max_execution_time = 300				 #368行:执行时间
max_input_time = 300					 #378行:接收数据等待时向
memory_limit = 128M 					 #389行:每个脚本占用内存
post_max_size = 16M 					 #656行:POST数据大小
upload_max_filesize = 2M 				 #799行:下载文件大小
always_populate_raw_post_data = -1   	 #800行:可以用$HTTP_RAW_POST DATA
date.timezone = Asia/Shanghai 	         #877行:时区
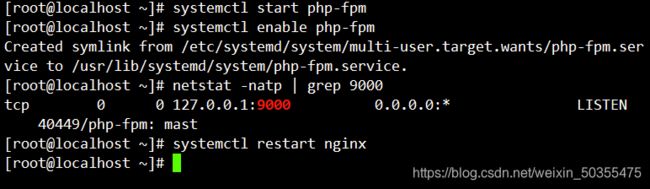
开启服务
systemctl start php-fpm
systemctl enable php-fpm
netstat -natp | grep 9000
systemctl restart nginx
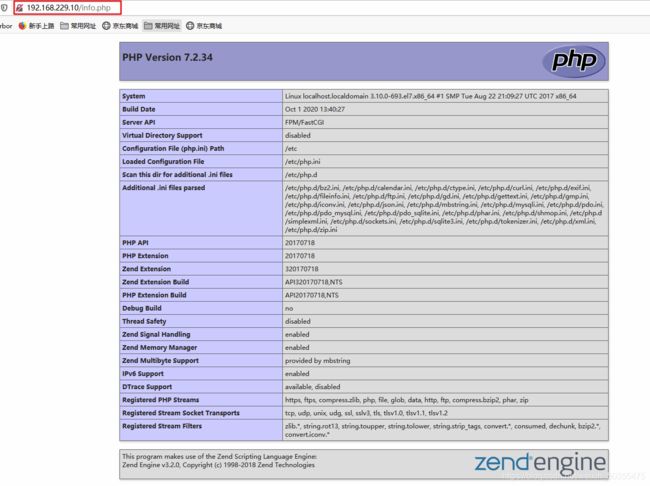
测试网页
vim /usr/share/nginx/html/test.php
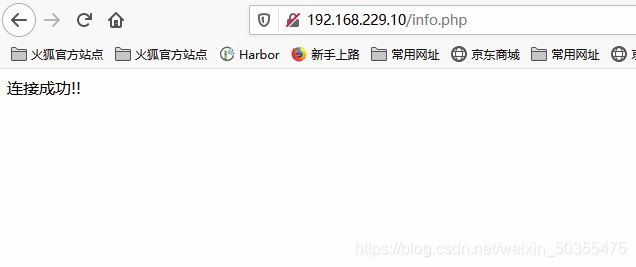
测试连接数据库
vim /usr/share/nginx/html/info.php
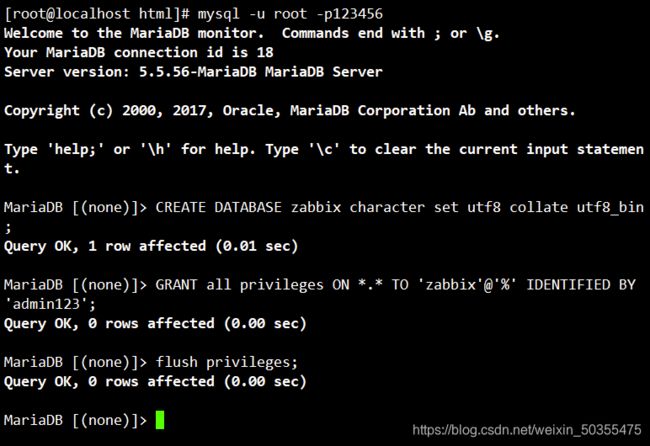
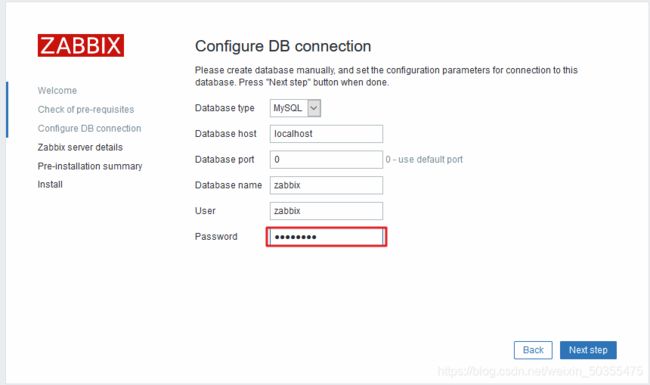
建立数据库及用户并且授权
mysql -u root -p123456
CREATE DATABASE zabbix character set utf8 collate utf8_bin;
GRANT all privileges ON *.* TO 'zabbix'@'%' IDENTIFIED BY 'admin123';
flush privileges;
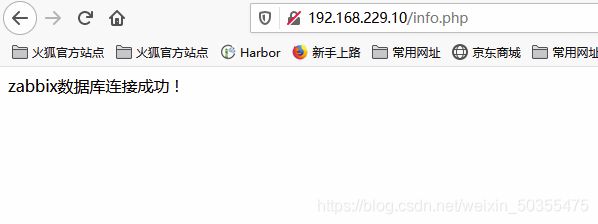
测试连接zabbix数据库
vim /usr/share/nginx/html/info.php
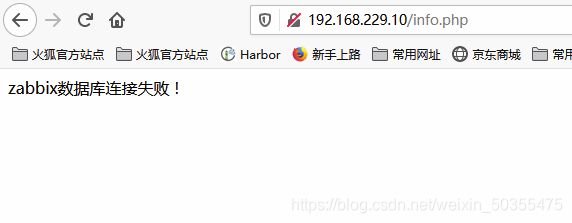
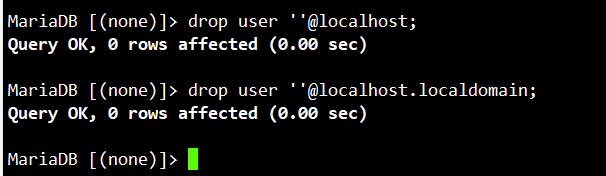
解决方法:删除空用户
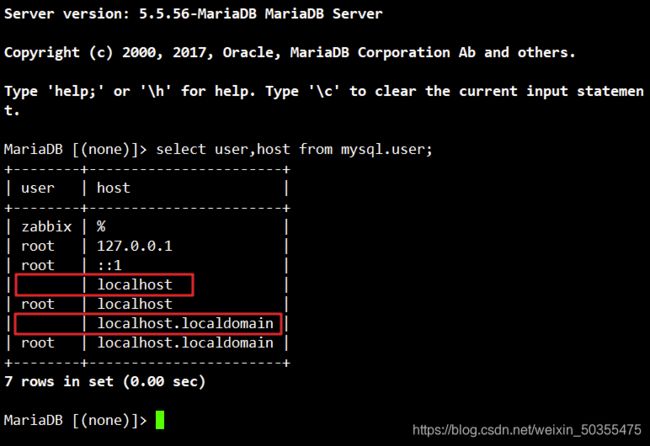
mysql -u root -p123456
select user,host from mysql.user;
drop user ''@localhost;
drop user ''@localhost.localdomain;
二、安装zabbix
安装yum源
rpm -i https://repo.zabbix.com/zabbix/4.0/rhel/7/x86_64/zabbix-release-4.0-1.el7.noarch.rpm

安装相关软件包
yum install zabbix-server-mysql zabbix-web-mysql zabbix-agent -y
修改配置文件
vim /etc/zabbix/zabbix_server.conf
38:LogFile=/var/log/zabbix/zabbix_server.log
49:LogFileSize=0
72:PidFile=/var/run/zabbix/zabbix_server.pid
82:SocketDir=/var/run/zabbix
91:DBHost=localhost                #注释去掉
100:DBName=zabbix
116:DBUser=zabbix
124:DBPassword=admin123         #修改本行
356:SNMPTrapperFile=/var/log/snmptrap/snmptrap.log
473:Timeout=4
516:AlertScriptsPath=/usr/lib/zabbix/alertscripts
527:ExternalScripts=/usr/lib/zabbix/externalscripts
563:LogSlowQueries=3000

grep -n '^'[a-Z] /etc/zabbix/zabbix_server.conf
#检查修改的配置文件是否正确

赋予权限
cp -r /usr/share/zabbix/ /usr/share/nginx/html/
chown -R zabbix:zabbix /etc/zabbix
chown -R zabbix:zabbix /usr/share/nginx/
chown -R zabbix:zabbix /usr/lib/zabbix/
chmod -R 755 /etc/zabbix/web/
chmod -R 777 /var/lib/php/session/

生成数据库文件
zcat /usr/share/doc/zabbix-server-mysql*/create.sql.gz | mysql -uzabbix -p zabbix
Enter password:             #密码admin23

#查看文件是否存在

[root@localhost zabbix]# mysql -uzabbix -p

MariaDB [(none)]> use zabbix;

MariaDB [zabbix]> show tables;
修改时区
vim /etc/httpd/conf.d/zabbix.conf

#第20行     php_value date.timezone Asia/Shanghai
启动服务
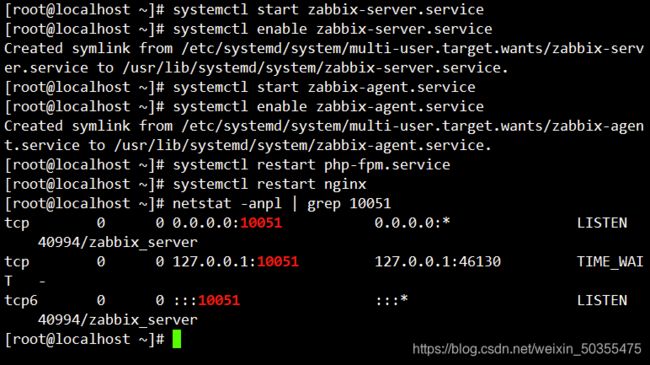
systemctl start zabbix-server.service
systemctl enable zabbix-server.service
systemctl start zabbix-agent.service
systemctl enable zabbix-agent.service
systemctl restart php-fpm.service
systemctl restart nginx
netstat -anpl | grep 10051
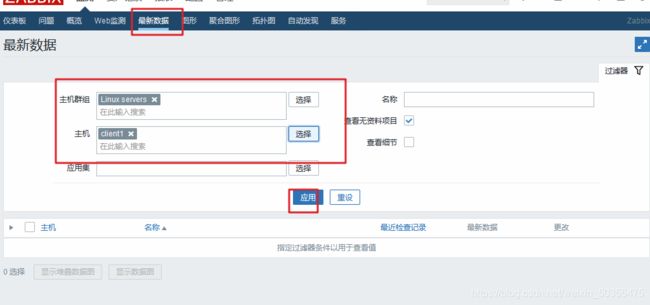
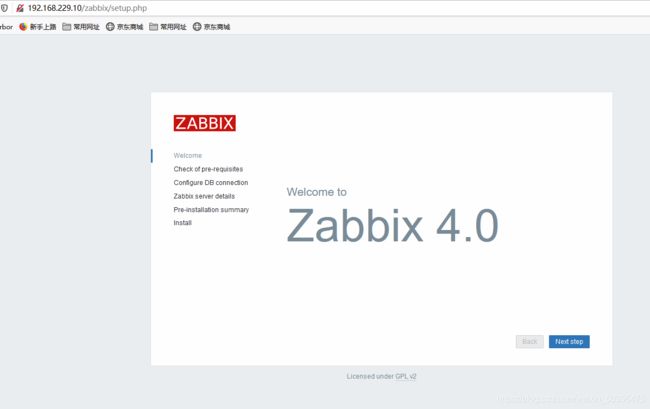
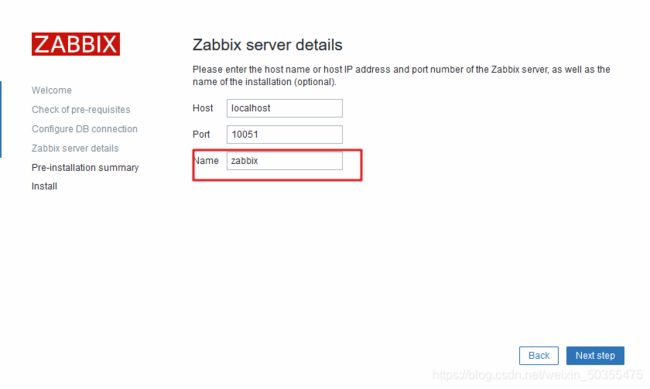
 web输入192.168.229.10/zabbix
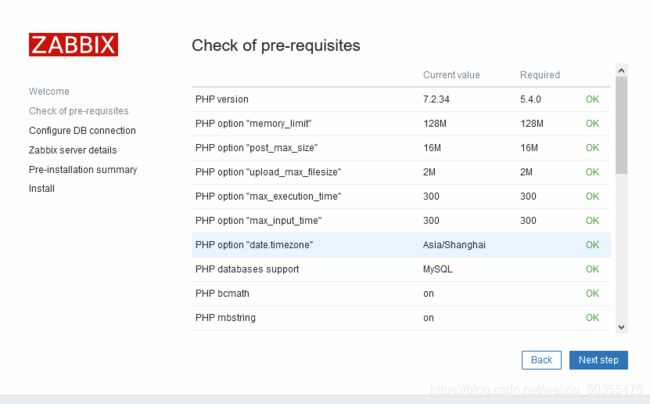

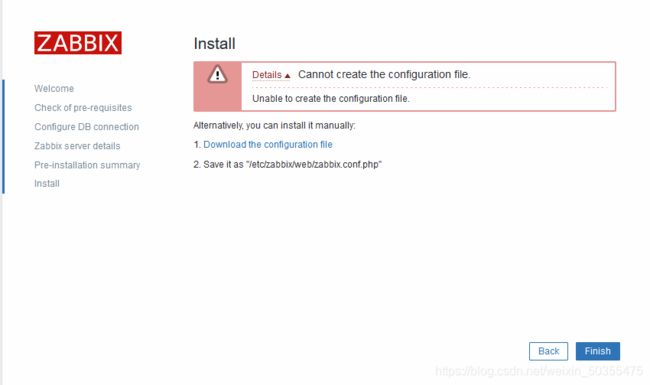
按要求下载文件并放入指定文件夹

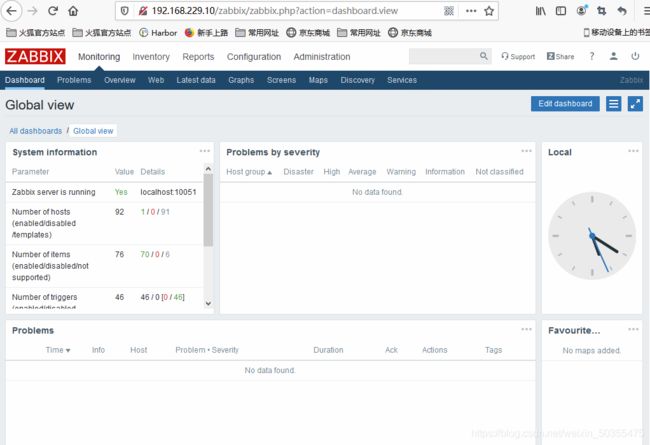
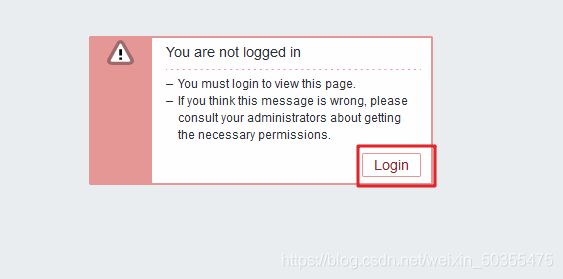 默认用户名Admin
密码zabbix

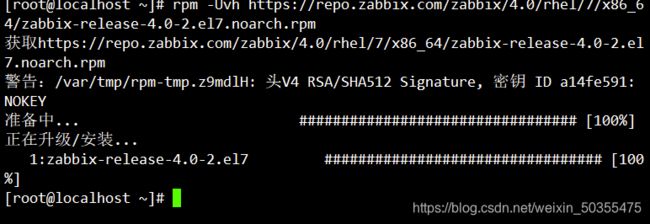
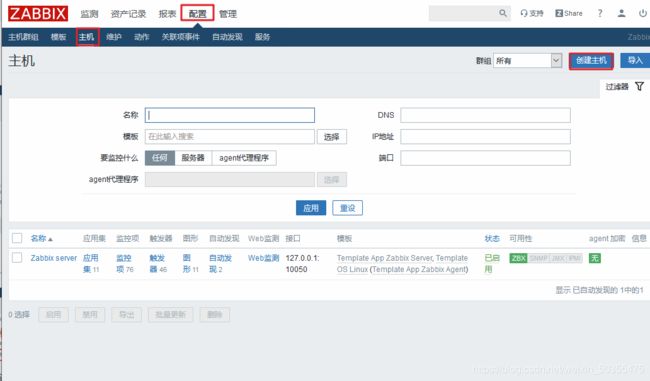
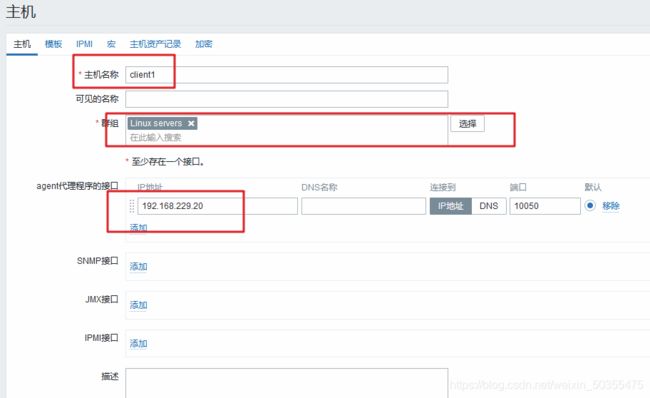
 配置客户端
配置客户端
rpm -Uvh https://repo.zabbix.com/zabbix/4.0/rhel/7/x86_64/zabbix-release-4.0-2.el7.noarch.rpm
yum -y install zabbix-agent
'//安装zabbix存储库与agent代理服务'
--
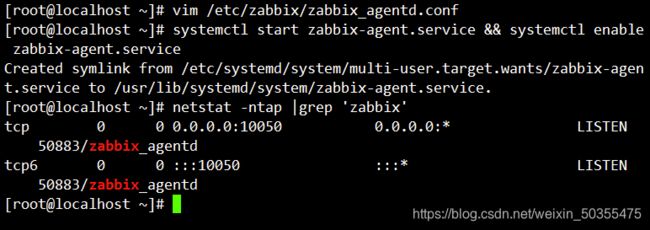
vim /etc/zabbix/zabbix_agentd.conf '//修改zabbix代理配置文件'
Server=192.168.229.10 '//98行,指向监控服务器地址'
ServerActive=192.168.229.10 '//139行,指向监控服务器地址'
Hostname=Zabbix-test '//150行,修改名称'
--
systemctl start zabbix-agent.service && systemctl enable zabbix-agent.service
netstat -ntap |grep 'zabbix'