如何发布自定义 npm 组件包
准备工作
1. 注册 npm 账号
还没有 npm 账号?去官网注册: https://www.npmjs.com
需要记住用户名、密码、邮箱,后面需要用到。
2. 查看本地 npm 镜像,如果不是默认的,需要改回来
npm config get registry
重置镜像路径
npm config set registry https://registry.npmjs.org
之后有需要可以再切换回到国内淘宝加速镜像
npm config set registry https://registry.npm.taobao.org
创建 npm 包
1. 创建一个项目,并安装依赖
npm init vite-app <project-name
cd <project-name>
npm i
2. 安装第三方UI组件
npm install element-plus --save
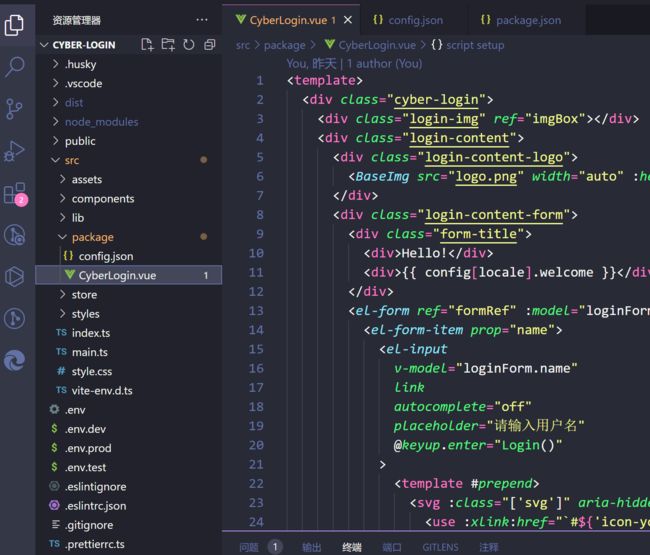
3. 组件编写
4. 组件导出
在 src 根目录中创建index.js文件
// 导入第三方依赖
import "element-plus/dist/index.css";
import "@/lib/iconfont/index.js";

import CyberLogin from "./package/CyberLogin.vue"; // 引入封装好的组件
export default CyberLogin; //导出
5. 打包
在 src 根目录中创建index.js文件
// 导入第三方依赖
import "element-plus/dist/index.css";
import "@/lib/iconfont/index.js";

import CyberLogin from "./package/CyberLogin.vue"; // 引入封装好的组件
export default CyberLogin; //导出
修改打包配置 vite.config 文件
import vue from "@vitejs/plugin-vue";
import path from "path";
import { defineConfig } from "vite";

export default defineConfig({
  plugins: [vue()],
  resolve: {
    alias: {
      "@": path.resolve("./src"), // @代替src
    },
  },
  css: {
    preprocessorOptions: {
      scss: {
        additionalData: `
          @use "@/styles/index.scss";
        `,
      },
    },
  },
  build: {
    lib: {
      entry: path.resolve(__dirname, "src/index.ts"),
      name: "CyberLogin",
      fileName: (format) => `cyber-login.${format}.js`,
    },
    rollupOptions: {
      external: ["vue"],
      output: {
        globals: {
          vue: "Vue",
        },
      },
    },
  },
});
打包,生成dist文件
npm run build
在dist目录下初始化创建 package.json 包的配置信息
npm init -y
name:包名。
version:版本号,以后更新也要用到。
description:包的描述性文字。
main:包的入口文件,默认根目录的 index.js。
还有其它配置信息就不一一介绍了。
注意这里 name 要唯一,不能和已发布的包重名,你可以到官网(https://www.npmjs.com/)搜索是否已经有同名的包存在。
{
  "name": "cyber-login",
  "version": "1.0.7",
  "description": "Cyber series login",
  "main": "cyber-login.es.js",
  "scripts": {
    "test": "echo \"Error: no test specified\" && exit 1"
  },
  "keywords": [],
  "author": "",
  "license": "ISC"
}
发布 npm 包
1. 在终端登录 npm 包管理平台
npm adduser
执行命令后依次输入用户名、密码、邮箱,最终输出如下内容表示登录成功。
Logged in as timfan on https://registry.npmjs.org/.
2. 开始发布
npm publish
第一次执行可能会提示:
you must verify your email before publishing a new package: www.npmjs.com/email-edit
这是因为注册账号的时候没有使用邮箱进行激活验证。按照提示我们在浏览器中打开这个网址 www.npmjs.com/email-edit,输入注册用户时的邮箱,然后登录邮箱点击邮件 进行验证即可。
PS D:\study\cyber-login\dist> npm publish
npm notice
npm notice   [email protected]
npm notice === Tarball Contents ===
npm notice 11.4MB  cyber-login.es.js
npm notice 11.3MB  cyber-login.umd.js
npm notice 234B    package.json
npm notice 329.2kB style.css
npm notice 1.5kB   vite.svg
npm notice === Tarball Details ===
npm notice name:          cyber-login
npm notice version:       1.0.9
npm notice filename:      cyber-login-1.0.9.tgz
npm notice package size:  16.9 MB
npm notice unpacked size: 23.0 MB
npm notice shasum:        6ed9d2e2c849605c261d60fb1359747512c3cd4a
npm notice integrity:     sha512-LnRs1mM0tNFfq[...]TbN+Es7MMkrUA==
npm notice total files:   5
npm notice
npm notice Publishing to https://registry.npmjs.org with tag latest and default access
+ [email protected]
发布成功之后,我们可以登录到官网的后台查看自己账号下是否有成功发布的包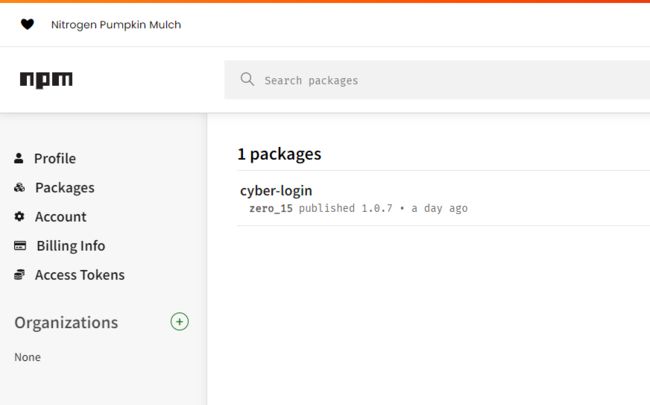
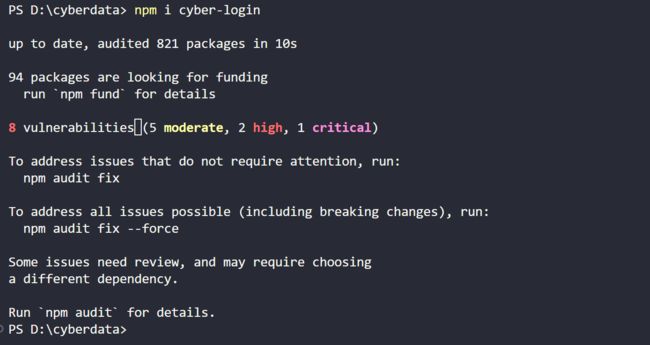
或者还可以通过命令 npm install 来查看
E:\private\test>npm install cyber-login
npm WARN config global `--global`, `--local` are deprecated. Use `--location=global` instead.

added 1 package, and audited 2 packages in 47s

found 0 vulnerabilities
更新包
后面如果我们需要对包进行升级,修改了包的代码后,同步发布更新到包管理平台 npm,需要修改 package.json 中 version 字段(版本号),这时还是执行
npm publish
使用组件
当我们要在项目中使用的时候就复制npm i cyber-login
这个时候只要像element plus 那样引入就可以全局使用了,在main.js中引入
import CyberLogin from "cyber-login"
import "cyber-login/style.css"