React Native项目初窥(一)
上一篇介绍了React Native开发环境搭建
可是却没用像样的编辑器或者是编译器IDE,这里推荐使用WebStorm,官方网站下载安装,可免费使用30天
WebStorm配置
当使用 WebStorm 打开我们init下来的项目,会报各种错误
WebStorm的基本配置请参考博客:http://blog.csdn.net/gz_jero/article/details/51503374
最终效果:
React Native项目初窥
项目结构

项目结构与Android Studio Project结构无异,其中index.android.js和index.ios.js分别对应android、ios界面
index.android.js
主要分为四部分:
- 导入部分
- 视图部分
- 样式部分
- 注册部分
1、导入部分
//导入React
import React, { Component } from 'react';
//导入各组件
import {
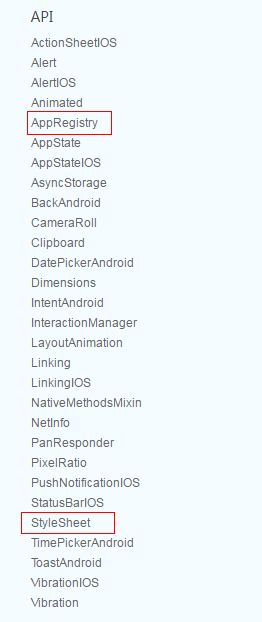
AppRegistry, //注册器
StyleSheet, //样式表
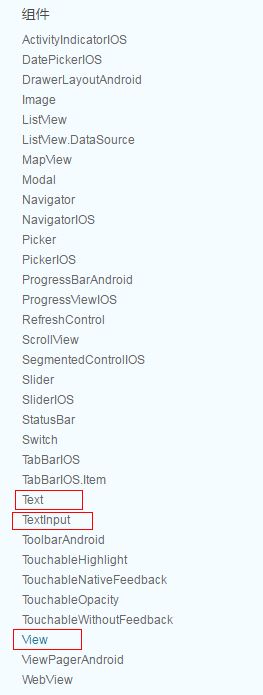
Text,
View, //基本的视图容器
} from 'react-native';AppRegistry:是JS运行所有React Native应用的入口。应用的根组件应当通过AppRegistry.registerComponent方法注册自己,然后原生系统才可以加载应用的代码包并且在启动完成之后通过调用AppRegistry.runApplication来真正运行应用。
StyleSheet:提供了一种类似CSS样式表的抽象
2、视图部分—使用样式
class MyProject extends Component {
  render() {
    return (
      <View style={styles.container}>
        <Text style={styles.welcome}>
          Welcome to React Native!
        Text>
        <Text style={styles.instructions}>
          To get started, edit index.android.js
        Text>
        <Text style={styles.instructions}>
          Shake or press menu button for dev menu
        Text>
      View>
    );
  }
}
继承Component,重写render()方法,为组件指定样式
View:作为创建UI时最基础的组件,是一个支持Flexbox布局、样式、一些触摸处理、和一些无障碍功能的容器,并且它可以放到其它的视图里,也可以有任意多个任意类型的子视图。
3、样式部分—声明样式
const styles = StyleSheet.create({
  container: {
    flex: 1,
    justifyContent: 'center',
    alignItems: 'center',
    backgroundColor: '#F5FCFF',
  },
  welcome: {
    fontSize: 20,
    textAlign: 'center',
    margin: 10,
  },
  instructions: {
    textAlign: 'center',
    color: '#333333',
    marginBottom: 5,
  },
});这里使用了Flex的属性—>弹性盒(Flexbox)
样式支持的属性
你可以在下面这些链接中查看最新支持的CSS属性。
- View的属性
- Image的属性
- Text的属性
- Flex的属性
- Transform的属性
许多属性不明含义
4、注册部分
AppRegistry.registerComponent('MyProject', () => MyProject);