nginx搭建文件服务器
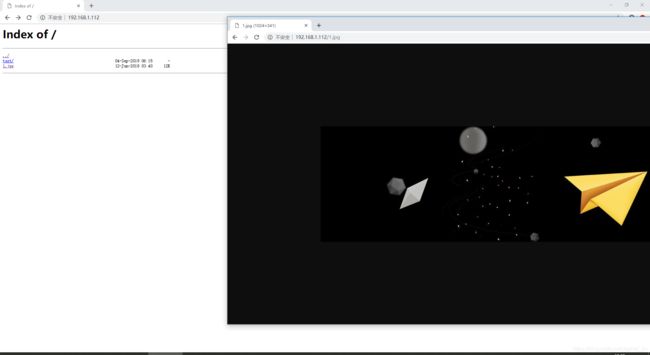
今天给大家讲解一下nginx怎么搭建文件服务器,类似于这种
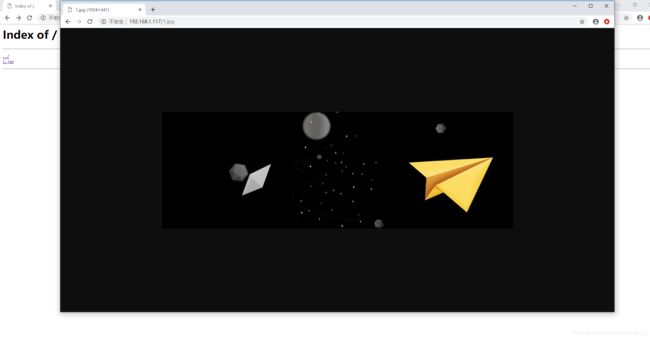
本地测试效果
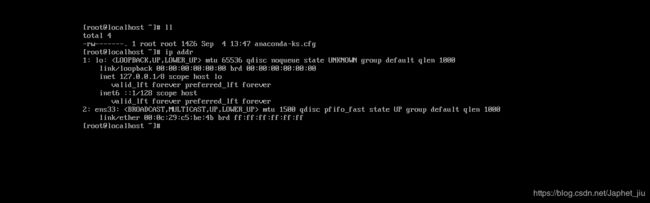
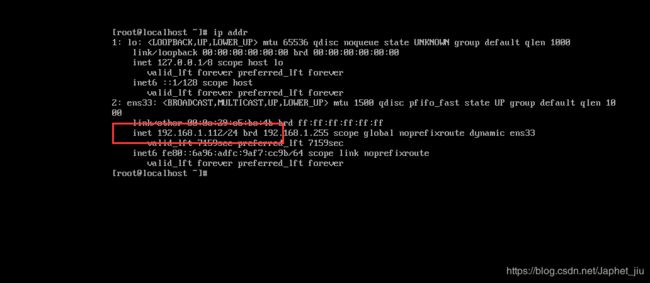
由于我是新建的虚拟机 ,顺便教搭建怎么看iP 和 网络 ,网络我上一篇博客讲了的
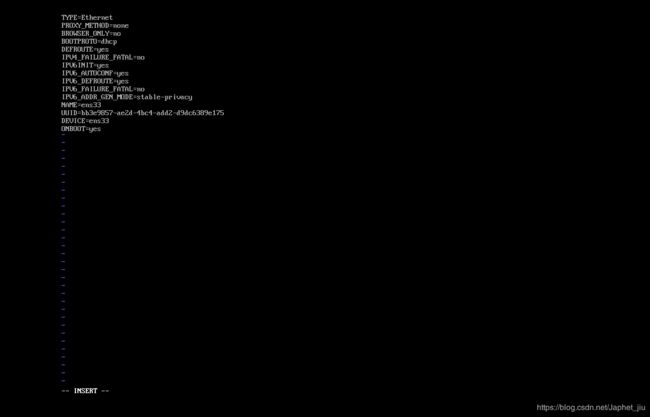
cd /etc/sysconfig/network-scripts/
vi ifcfg-ens33 --> ONBOOT=no 改成 ONBOOT=yes
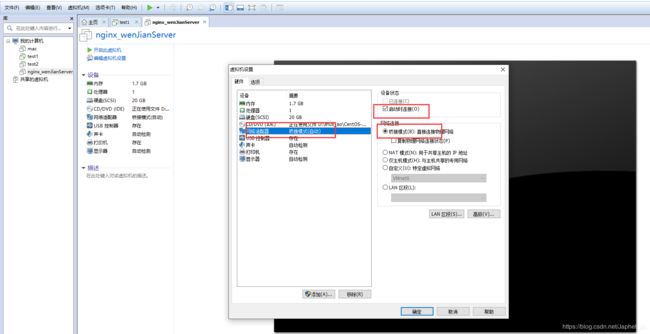
关闭虚拟机,编辑虚拟机 然后 网络适配器 勾选桥接模式 启动时连接
重新进去就好了
重点来了
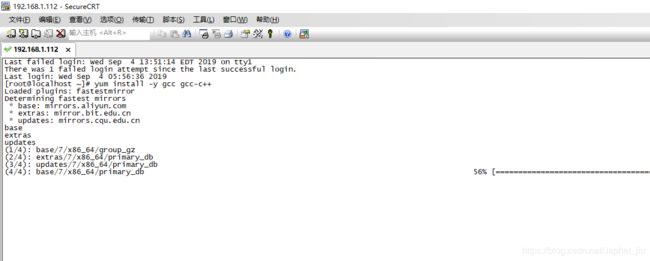
安装nginx 文件服务器 必须要先安装 gcc yum install -y gcc gcc-c++
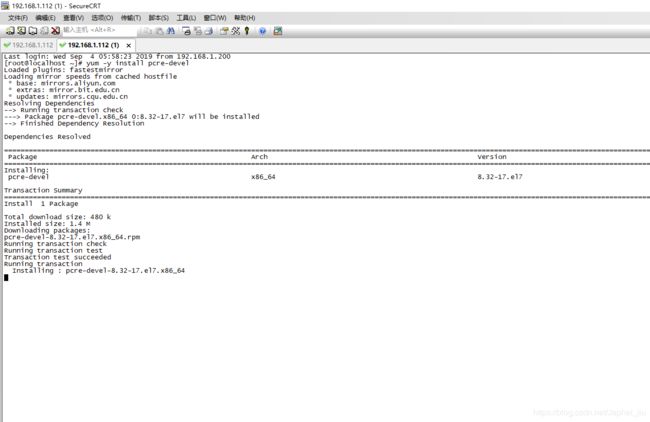
再安装 yum -y install pcre-devel
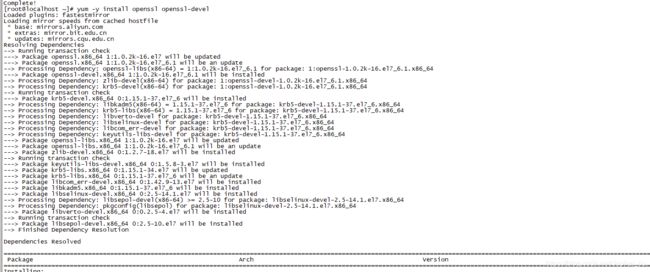
再安装 yum -y install openssl openssl-devel
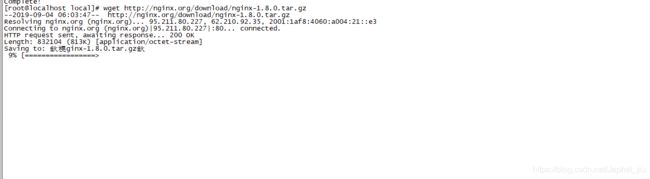
再安装 nginx , wget http://nginx.org/download/nginx-1.8.0.tar.gz
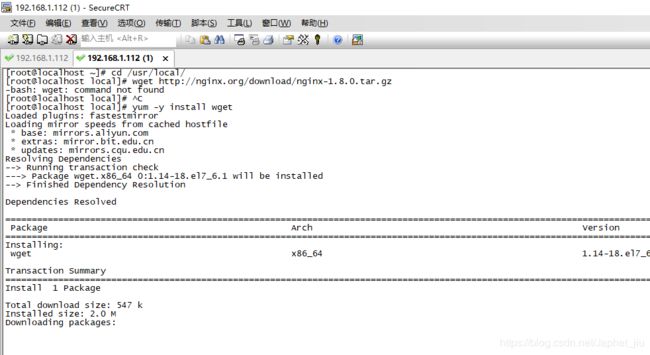
由于是新虚拟机,什么都没有,所以在安装 wget
进行解压 tar zxvf nginx-1.8.0.tar.gz

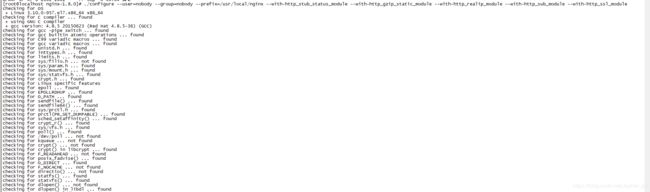
再 ./configure --user=nobody --group=nobody --prefix=/usr/local/nginx --with-http_stub_status_module --with-http_gzip_static_module --with-http_realip_module --with-http_sub_module --with-http_ssl_module (注:编译第二条指令里面:--prefix=/usr/local/nginx指定编译安装的目录,编译成功之后会在/usr/local目录下展示nginx安装之后文件夹,可以删除nginx-1.8.0编译文件)
再 make && make install
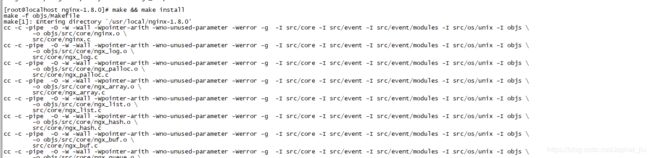
由于我这里地址弄错了,只能到 /usr/local/nginx的目录去启动了
./sbin/nginx (启动)
systemctl stop firewalld.service(关闭防火墙)

mkdir -p /app/logs(递归创建 app,logs文件夹)
cd conf
mkdir extra && vi extra/http_vhosts.conf

粘贴
 server {
        listen       80;
        server_name  localhost;
        root /usr/local/static/;
        #charset koi8-r;

        #access_log  logs/host.access.log  main;

        location / {
            autoindex on;             #开启索引功能
            autoindex_exact_size off; # 关闭计算文件确切大小(单位bytes),只显示大概大小(单位kb、mb、gb)
            autoindex_localtime on;   # 显示本机时间而非 GMT 时间
            charset utf-8; # 避免中文乱码
            #root   html;
            #index  index.html index.htm;
        }
}
到/usr/local/nginx/conf 吧 nginx里面的文件删掉 替换成 下面这个
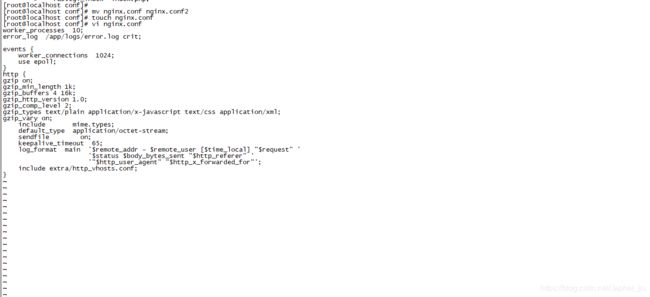
worker_processes 10;
error_log /app/logs/error.log crit;
events {
worker_connections 1024;
use epoll;
}
http {
gzip on;
gzip_min_length 1k;
gzip_buffers 4 16k;
gzip_http_version 1.0;
gzip_comp_level 2;
gzip_types text/plain application/x-javascript text/css application/xml;
gzip_vary on;
include mime.types;
default_type application/octet-stream;
sendfile on;
keepalive_timeout 65;
log_format main '$remote_addr - $remote_user [$time_local] "$request" '
'$status $body_bytes_sent "$http_referer" '
'"$http_user_agent" "$http_x_forwarded_for"';
include extra/http_vhosts.conf;
}
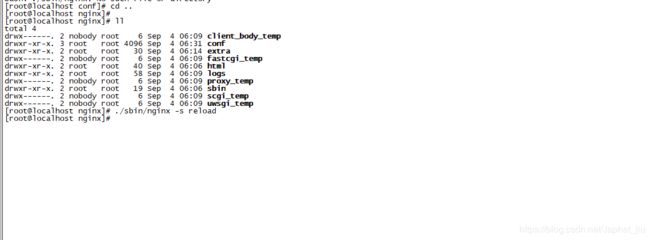
再 mkdir -p /usr/local/static/test
./sbin/nginx -s reload(重启)
cd /usr/local/static/
上传一张图片
yum install lrzsz -y
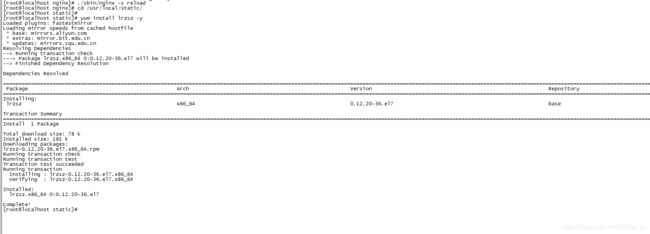
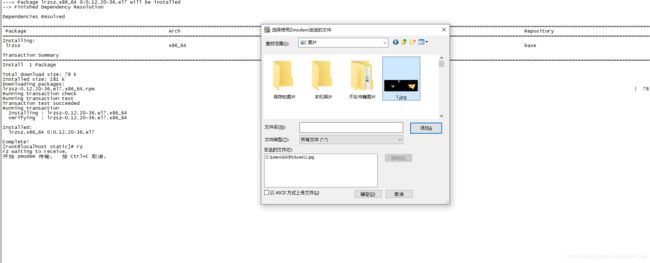
好了,nginx 文件服务器完美搭建成功,谢谢大家观看