微服务---6.Eureka注册中心
6.3.1 Eureka搭建
1、porm文件:
        <dependency>
            <groupId>org.springframework.cloud</groupId>
            <artifactId>spring-cloud-starter-netflix-eureka-server</artifactId>
            <version>2.0.1.RELEASE</version><!--父类有不写-->
        </dependency>
2、在启动类加上Eureka可用注解:@EnableEurekaServer
package com.lucas.eureka;

import org.springframework.boot.SpringApplication;
import org.springframework.boot.autoconfigure.SpringBootApplication;
import org.springframework.cloud.netflix.eureka.server.EnableEurekaServer;

/**
 * @Author Lucas
 * @Date 2019/12/18 14:14
 * @Version 1.0
 */
@SpringBootApplication
@EnableEurekaServer
public class EurekaServerApplication {
    public static void main(String[] args) {
        SpringApplication.run(EurekaServerApplication.class, args);
    }
}
3、yml:配置文件:
server:
  port: 10086

eureka:
  client:
    service-url:
      defaultZone: http://localhost:10086/eureka
  instance:
    prefer-ip-address: true
    ip-address: 127.0.0.1
spring:
  application:
    name: eureka-server
6.3.2.将user-service注册到Eureka
在user-service中添加Eureka客户端依赖:
        <dependency>
            <groupId>org.springframework.cloud</groupId>
            <artifactId>spring-cloud-starter-netflix-eureka-client</artifactId>
            <version>2.1.2.RELEASE</version><!--服务器有可不写-->
        </dependency>
在启动类上开启Eureka客户端功能
通过添加 @EnableDiscoveryClient 来开启Eureka客户端功能
package com.lucas.service;

import org.springframework.boot.SpringApplication;
import org.springframework.boot.autoconfigure.SpringBootApplication;
import org.springframework.cloud.client.discovery.EnableDiscoveryClient;
import tk.mybatis.spring.annotation.MapperScan;

/**
 * @Author Lucas
 * @Date 2019/12/17 13:51
 * @Version 1.0
 */
@SpringBootApplication
@MapperScan("com.lucas.service.mapper")
@EnableDiscoveryClient
public class UserApplication {
    public static void main(String[] args) {
        SpringApplication.run(UserApplication.class, args);
    }
}
编写配置
server:
  port: 8081
  servlet:
    context-path: /
spring:
  datasource:
    url: jdbc:mysql://localhost:3306/frame?characterEncoding=utf-8&serverTimezone=UTC
    username: root
    password: lucas
    driver-class-name: com.mysql.cj.jdbc.Driver
  thymeleaf:
    cache: false
  application:
    name: user-service

mybatis:
  type-aliases-package: com.zpark.model
  configuration:
    map-underscore-to-camel-case: true
eureka:
  client:
    service-url:
      defaultZone: http://localhost:10086/eureka,http://localhost:10087/eureka
  instance:
    prefer-ip-address: true
    ip-address: 127.0.0.1
说明:
- 这里我们添加了spring.application.name属性来指定应用名称,将来会作为应用的id使用。
- 不用指定register-with-eureka和fetch-registry,因为默认是true
6.3.3.消费者从Eureka获取服务
porm添加Eureka依赖
启动类加Eureka可用注解
yml配置文件指明应用名称和Eureka信息
代码:动态获取url地址
用DiscoveryClient类(该类是Spring包下,意思是发现客户端)的方法,根据服务名称,获取服务实例:
package com.lucas.consumer.controller;

import com.zpark.model.Country;
import org.springframework.beans.factory.annotation.Autowired;
import org.springframework.cloud.client.ServiceInstance;
import org.springframework.cloud.client.discovery.DiscoveryClient;
import org.springframework.stereotype.Controller;
import org.springframework.web.bind.annotation.RequestMapping;
import org.springframework.web.bind.annotation.RestController;
import org.springframework.web.client.RestTemplate;

import java.util.List;

/**
 * @Author Lucas
 * @Date 2019/12/18 11:04
 * @Version 1.0
 */
@RestController
@RequestMapping("/")
public class ConsumerController {
    private String SERVICEURL = "http://localhost:8081/findall";
    @Autowired
    RestTemplate template;

    @Autowired
    DiscoveryClient discoveryClient;

    @RequestMapping("findall")
    public String findAll() {
//        return template.getForObject(SERVICEURL, String.class);

        List<ServiceInstance> instances = discoveryClient.getInstances("user-service");
        ServiceInstance instance = instances.get(0);
        String host = instance.getHost();
        int port = instance.getPort();
        String urlByEureka = "http://" + host + ":" + port + "/findall";

        return template.getForObject(urlByEureka, String.class);

    }
}
6.4.Eureka详解
6.4.1.基础架构
Eureka架构中的三个核心角色:
- 服务注册中心 Eureka的服务端应用,提供服务注册和发现功能,就是刚刚我们建立的eureka-server
- 服务提供者 提供服务的应用,可以是SpringBoot应用,也可以是其它任意技术实现,只要对外提供的是Rest风格服务即
可。本例中就是我们实现的user-service - 服务消费者 消费应用从注册中心获取服务列表,从而得知每个服务方的信息,知道去哪里调用服务方。本例中就是我们实
现的consumer-service
6.4.2.高可用的Eureka Server
Eureka Server即服务的注册中心,在刚才的案例中,我们只有一个EurekaServer,事实上EurekaServer也可以是一
个集群,形成高可用的Eureka中心。
- 服务同步
多个Eureka Server之间也会互相注册为服务,当服务提供者注册到Eureka Server集群中的某个节点时,该节点会把
服务的信息同步给集群中的每个节点,从而实现数据同步。因此,无论客户端访问到Eureka Server集群中的任意一
个节点,都可以获取到完整的服务列表信息。

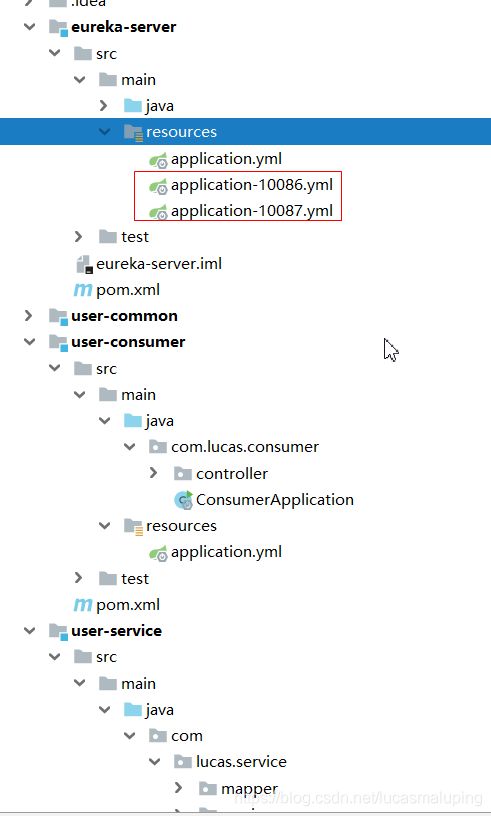
- 动手搭建高可用的EurekaServer
我们假设要搭建两条EurekaServer的集群,端口分别为:10086和10087
1)我们修改原来的EurekaServer配置:
10086
server:
  port: 10086

eureka:
  client:
    service-url:
      defaultZone: http://localhost:10087/eureka
  instance:
    prefer-ip-address: true
    ip-address: 127.0.0.1
spring:
  application:
    name: eureka-server
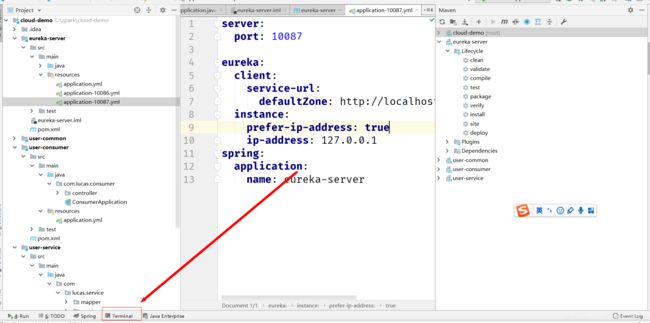
10087
server:
  port: 10087

eureka:
  client:
    service-url:
      defaultZone: http://localhost:10086/eureka
  instance:
    prefer-ip-address: true
    ip-address: 127.0.0.1
spring:
  application:
    name: eureka-server
说明:让10086的eureka地址为10087,10087的eureka地址为10086
其实就是把EurekaServer自己也作为一个服务进行注册,这样多个EurekaServer之间就能
互相发现对方
删除了register-with-eureka=false和fetch-registry=false两个配置。因为默认值是true,这样就会吧自己注册
到注册中心了。(如果之前配置过就删除,没有就保持默认)
把service-url的值改成了另外一台EurekaServer的地址,而不是自己
2)模拟运行
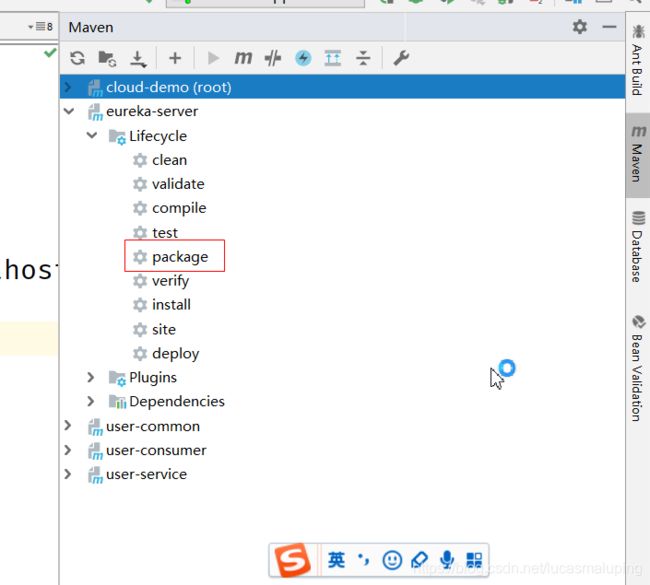
将eureka打成jar包
在Terminal中,cd到jar包的路径,
命令
java -jar xxxx.jar --spring.profiles.active=10086启动一个服务
java -jar xxxx.jar --spring.profiles.active=10087启动另一个服务
测试:
手动干掉一个进程:

依然能测试成功!!