使用 github 仓库搭建 Hexo教程,Hexo配置文件解读,Hexo安装next主题及主题配置,美化
这是之前写的文章了,重新补一补,把另外写的都和在一起了,出问题方便找
搭建Hexo
准备
- 安装 nodejs
- 安装 git
可以看我之前的博客,好像有写安装方法
安装hexo-cli
中文官网
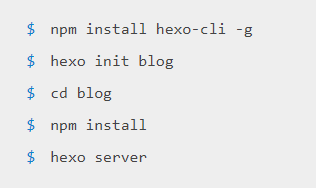
安装是安装在本地,首先在本地创建一个目录,使用命令行打开到此目录,运行以下命令
npm install hexo-cli -g
hexo init blog
cd blog
npm install
hexo server
最终会得到一个这个,可以打开看一下,是测试的博客


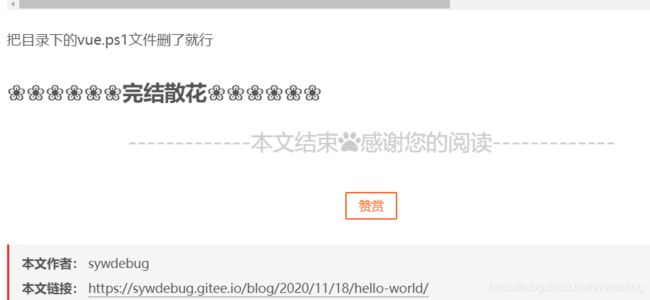
对了,报这个错误的话,把这个目录下的这个文件删掉就行了

推送到 github
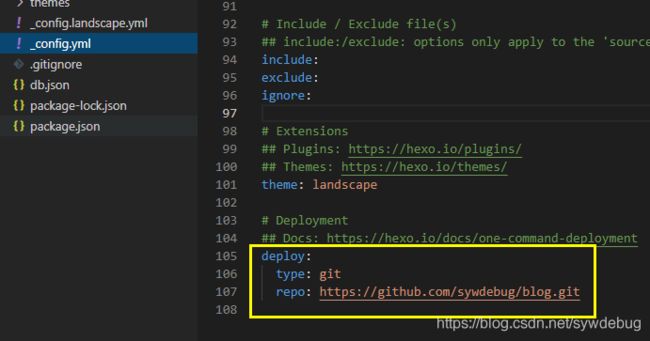
用编辑器打开目录中的 _config.yml 文件
先上面的 url 和 root 补充完整,不然会没有 css 样式和 js 脚本

然后把后面的补充完整,也可以加上 branch:[自定义分支名称] 和 massage:[自定义提交消息]
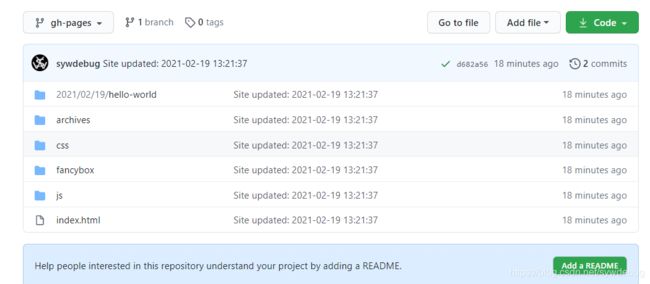
保存后执行 hexo generate 更新本地代码或执行hexo clean删除本地代码
执行 hexo deploy 生成本地代码并推送到 github 库
部署的步骤基本就是写完之后执行以下命令
- hexo clean # 清除已生成文件及缓存
- hexo generate # 生成静态页面,简写做hexo g
- hexo deploy #推送到github库,简写做hexo d
- hexo server # 启动本地WEB服务器,简写做hexo s
过程报错
如果报 ERROR Deployer not found: git 错误
运行 npm install --save hexo-deployer-git 即可
博客配置文件解读
# Site
title: 奇特  #博客标题
subtitle: ''  #博客副标题
description: '一个在github上搭建的hexo博客'  #博客描述
keywords:  #博客关键字
author: sywdebug  #作者
language: zh_CN  #语言
timezone: 'Asia/Shanghai'  #时区
# URL
## 在此处设置您的网站网址。 例如,如果您使用GitHub Page,则将url设置为“ https://username.github.io/project”
url: https://sywdebug.github.io/blog  #网址
root:/blog/  #根目录
permalink: :year/:month/:day/:title/  #文章的 永久链接 格式
permalink_defaults:  #永久链接中各部分的默认值
pretty_urls:  #改写 permalink 的值来美化 URL
  trailing_index: true  #是否在永久链接中保留尾部的 index.html,设置为 false 时去除
  trailing_html: true  #是否在永久链接中保留尾部的 .html, 设置为 false 时去除 (对尾部的 index.html无效)
网站存放在子目录
如果您的网站存放在子目录中,例如 http://example.com/blog,则请将您的 url 设为 http://example.com/blog 并把 root 设为 /blog/。
# Directory
source_dir: source  #资源文件夹,这个文件夹用来存放内容。
public_dir: public  #公共文件夹,这个文件夹用于存放生成的站点文件。
tag_dir: tags  #标签文件夹
archive_dir: archives  #归档文件夹
category_dir: categories  #分类文件夹
code_dir: downloads/code  #Include code 文件夹,source_dir 下的子目录
i18n_dir: :lang  #国际化(i18n)文件夹
skip_render:  #跳过指定文件的渲染。匹配到的文件将会被不做改动地复制到 public 目录中。您可使用 glob 表达式来匹配路径。
# Writing
new_post_name: :title.md  #新文章的文件名称
default_layout: post  #预设布局
auto_spacing:false  #在中文和英文之间加入空格
titlecase: false  #把标题转换为 title case
external_link:  #在新标签中打开链接
  enable: true  #在新标签中打开链接
  field: site  #对整个网站(site)生效或仅对文章(post)生效
  exclude: ''  #需要排除的域名。主域名和子域名如 www 需分别配置
filename_case: 0  #把文件名称转换为 (1) 小写或 (2) 大写
render_drafts: false  #显示草稿
post_asset_folder: false  #启动 [Asset 文件夹](https://hexo.io/zh-cn/docs/asset-folders)
relative_link: false  #把链接改为与根目录的相对位址
future: true  #显示未来的文章
highlight:  #代码块的设置, see [Highlight.js](https://hexo.io/docs/syntax-highlight#Highlight-js) section for usage guide
  enable: true
  line_number: true
  auto_detect: false
  tab_replace: ''
  wrap: true
  hljs: false
prismjs:  #代码块的设置, see [PrismJS](https://hexo.io/docs/syntax-highlight#PrismJS) section for usage guide
  enable: false
  preprocess: true
  line_number: true
  tab_replace: ''
# Extensions
## Plugins: https://hexo.io/plugins/
## Themes: https://hexo.io/themes/
theme: landscape  #主题
# Deployment
## Docs: https://hexo.io/docs/one-command-deployment
deploy:
  type: git
  repo: https://github.com/sywdebug/blog.git
  branch: master
安装next主题
官网
github
终端进入到博客目录,使用以下命令克隆 next 主题到 themes/next 目录下
git clone https://github.com/next-theme/hexo-theme-next.git themes/next

安装成功
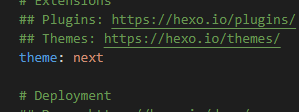
更改博客目录下的 _config.yml 里的 theme 为 next 即可启用
使用 hexo s 查看
next主题配置
官方配置文档
主题的配置文件就是刚刚安装的 next 目录下的 _config.yml 文件
参阅Hexo配置NexT主题教程
2022.1.6 来补坑了,完善一下,好多啊,真心不想弄,此处版本7.8.0
从上往下挑一些用得到的说说,我写的时候也是跟着一点点设置的,博客就把无用的说明注释去掉了
文章中所说的图标可点击此处查看
网站信息设置
图标
favicon:
  small: /images/favicon-16x16-next.png
  medium: /images/favicon-32x32-next.png
  apple_touch_icon: /images/apple-touch-icon-next.png
  safari_pinned_tab: /images/logo.svg
语言切换器
language_switcher: true
说是为true会在页脚显示语言切换器,但是我改为true并没有,先记录一下
底部页脚
icon 为中间图标,name 为图标名,animated 为动画,color 为颜色
copyright 为作者,默认取hexo配置下的作者
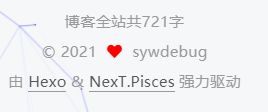
powered 为是否显示下面的强力驱动
footer:
  icon:
    name: user
    animated: false
    color: "#808080"
  copyright:
  powered: true
默认是这样

footer:
  icon:
   name: heart
    animated: true
    color: "#ff0000"
  copyright: 司大帅
  powered: false
修改后
![]()
许可证
license 为类型,可选 by | by-nc | by-nc-nd | by-nc-sa | by-nd | by-sa | zero
sidebar 为是否在侧边栏显示
post 为是否在文章内显示
language 语言
creative_commons:
  license: by-nc-sa
  sidebar: true
  post: true
  language: zh_CN
![]()

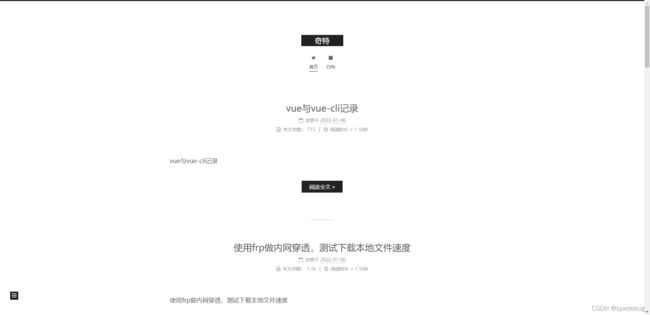
主题
scheme: Muse
#scheme: Mist
#scheme: Pisces
#scheme: Gemini
Muse
Mist

Pisces
Gemini
黑暗模式
darkmode: false
是否打开黑暗模式,我改变后也是没啥变化,没找到。。。
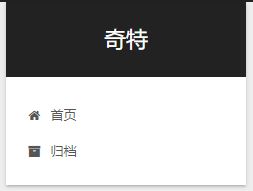
菜单设置
导航栏类型
menu:
home: / || home
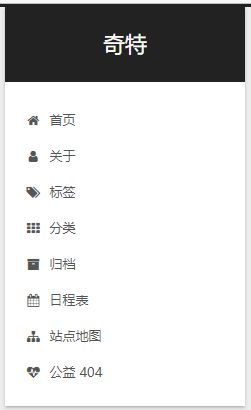
#about: /about/ || user
#tags: /tags/ || tags
#categories: /categories/ || th
archives: /archives/ || archive
#schedule: /schedule/ || calendar
#sitemap: /sitemap.xml || sitemap
#commonweal: /404/ || heartbeat
默认是这样
把注释全去掉是这样
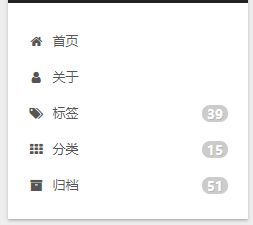
导航栏图标和标志
icons 为是否显示前面图标
badges 为是否显示后面标志
menu_settings:
  icons: true
  badges: true
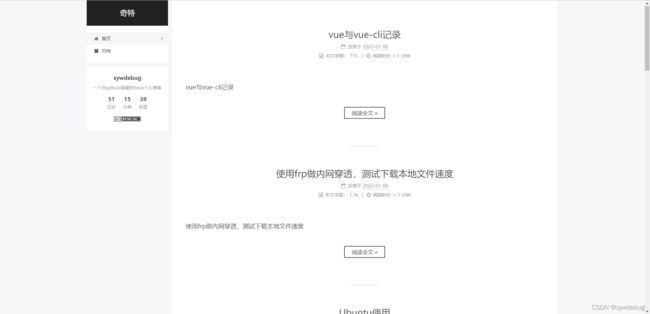
侧边栏设置
侧边栏设置
position 为位置,left为在左侧,right为在右侧
width 为侧边栏宽度,如果注释掉则默认Muse和Mist主题为320,Pisces和Gemini主题为240
display 为侧边栏显示,仅对Muse和Mist主题有效,因为Pisces和Gemini主题是始终显示的,个人认为post好像和hide没什么区别
padding 侧边栏的填充像素
offset 侧边栏从顶部菜单栏偏移像素(只适用于Pisces和Gemini主题)
onmobile 在窄视图下启用侧栏(仅适用于Muse和Mist主题),应该是说类似于手机一样的窄屏是否启用侧栏
sidebar:
  position: left
  #width: 300
  #  - post   自动展开帖子。默认的。
  #  - always  自动展开所有页面。
  #  - hide    只有在单击侧边栏切换图标时才展开。
  #  - remove  完全删除边栏,包括边栏切换。
  display: post
  padding: 18
  offset: 12
  onmobile: false
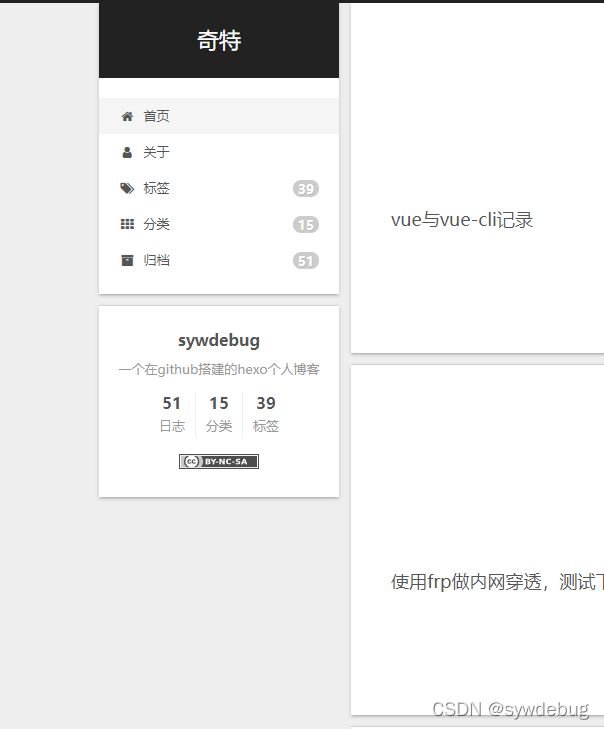
默认是这样的
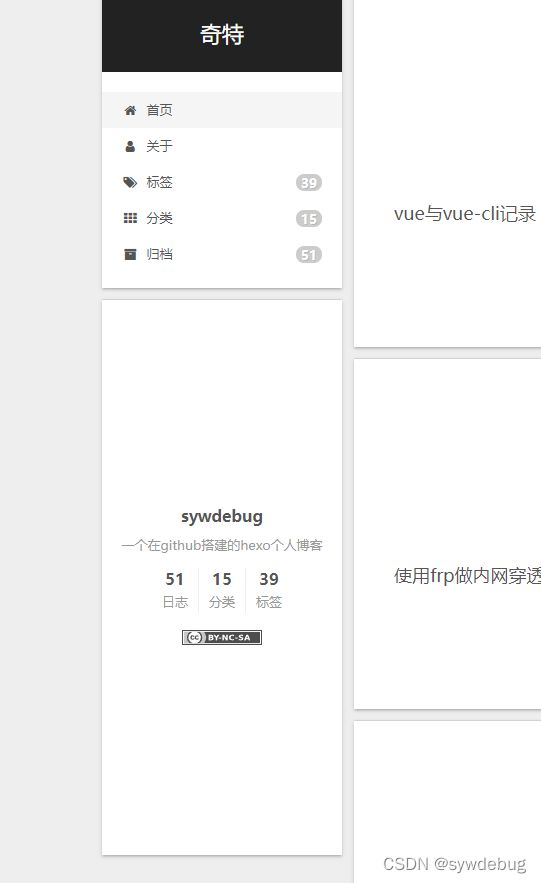
将padding改为200是这样的
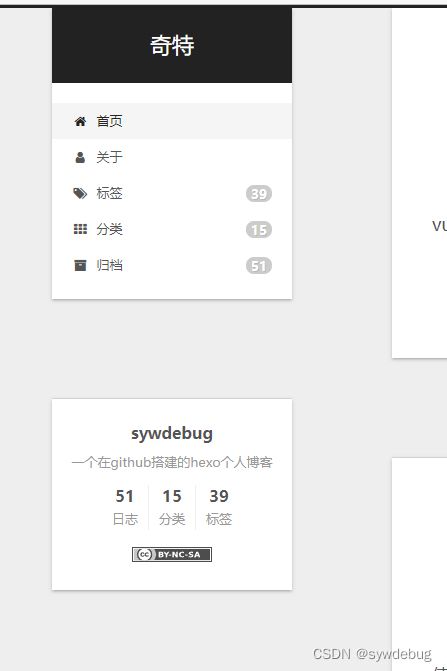
将offset改为100是这样的
侧边栏头像
url 为头像所在路径
rounded 是否是圆头像
rotated 是否会旋转(鼠标放上去旋转360°)
avatar:
  url: /images/avatar.gif
  rounded: false
  rotated: false
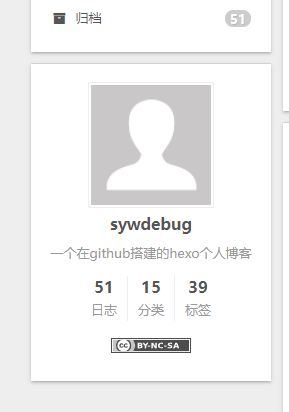
将头像的url注释取消,是这样的
avatar:
  url: /images/avatar.gif
  rounded: true
  rotated: true
修改后
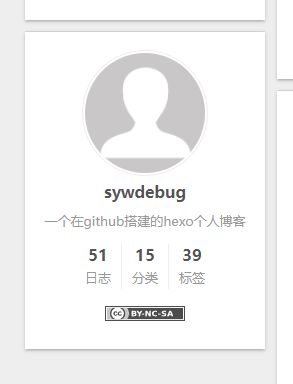
侧边栏文章类别标签
site_state 是否显示侧边栏文章类别标签
site_state: true
默认是这样

改为false后

社交链接
social:
  # GitHub: https://github.com/yourname || github
  # E-Mail: mailto:[email protected] || envelope
  # Weibo: https://weibo.com/yourname || weibo
  # Google: https://plus.google.com/yourname || google
  # Twitter: https://twitter.com/yourname || twitter
  # FB Page: https://www.facebook.com/yourname || facebook
  # StackOverflow: https://stackoverflow.com/yourname || stack-overflow
  # YouTube: https://youtube.com/yourname || youtube
  # Instagram: https://instagram.com/yourname || instagram
  # Skype: skype:yourname?call|chat || skype
将注释全取消后是这样,上方前面为链接,后面为图标
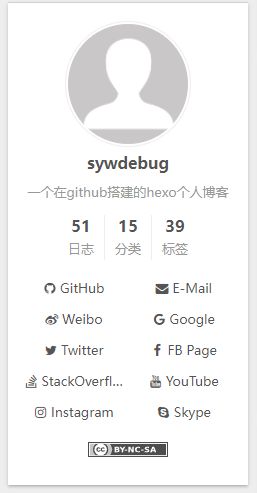
社交链接图标
enable 为是否开启
icons_only 是否只有图标,开启之后仅显示图标,不显示文字
transition 是否开启过渡效果,鼠标移上去会显示过渡效果
social_icons:
  enable: true
  icons_only: false
  transition: false
友情链接
icon 为友链标题图标
title 为友链标题
layout 布局,block为一行一个,inline为排列
下面的links为友链
links_settings:
  icon: link
  title: Links
  # Available values: block | inline
  layout: block

links:
  #Title: http://yoursite.com
例如
links_settings:
  icon: globe
  title: 友情链接
  # Available values: block | inline
  layout: block

links:
  Title: http://yoursite.com
  奇特主页: http://sywdebug.com
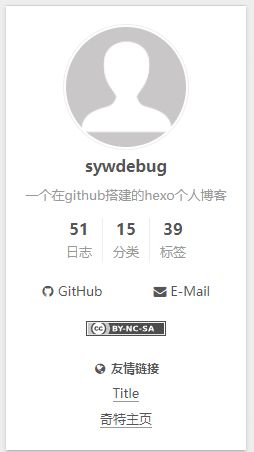
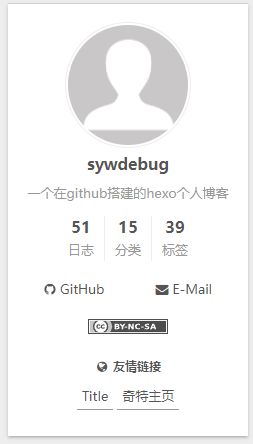
将布局更改为inline
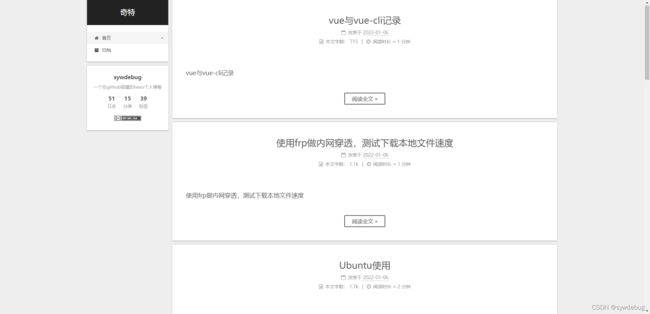
文章设置
首页文章列表设置
excerpt_description:自动摘录描述在主页作为序言文本
read_more_btn:是否开启阅读更多按钮
post_meta里面,item_text为是否显示每项的文字,created_at为是否显示发表时间,updated_at为是否显示更新时间,categories为是否显示分类
excerpt_description: true
read_more_btn: true
post_meta:
  item_text: true
  created_at: true
  updated_at:
    enable: true
    another_day: true
  categories: true

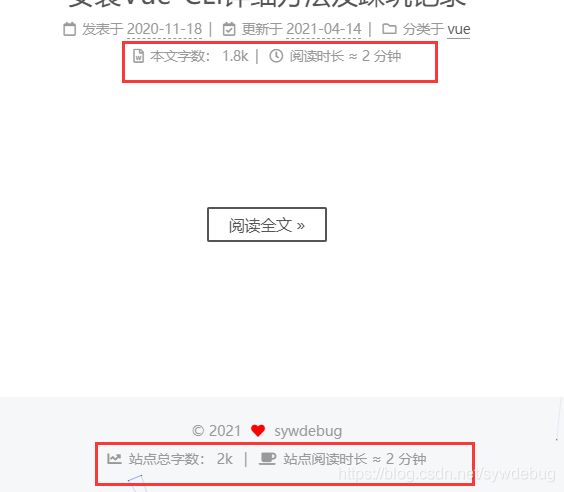
字数显示设置
separated_meta 为是否另起一行显示
item_text_post 为是否显示“本文字数”和“阅读时长”文字
item_text_total 为是否显示页脚的“站点总字数”和“站点阅读时长”文字

symbols_count_time:
  separated_meta: true
  item_text_post: true
  item_text_total: false
文章底部标签图标
tag_icon: false
默认是这样
![]()
改为true后
![]()
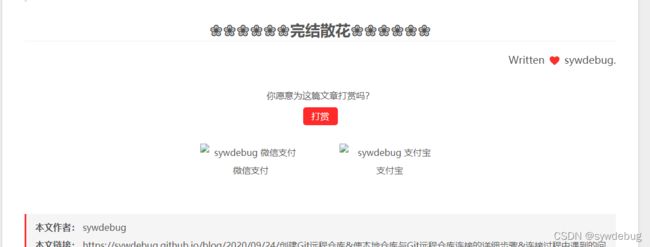
文章打赏
enable 为是否开启打赏
animation 为是否开启动画
comment 为显示提示
reward 为打赏的收款码
reward_settings:
  enable: true
  animation: false
  comment: 你愿意为这篇文章打赏吗?
reward:
  wechatpay: /images/wechatpay.png
  alipay: /images/alipay.png
  #paypal: /images/paypal.png
  #bitcoin: /images/bitcoin.png
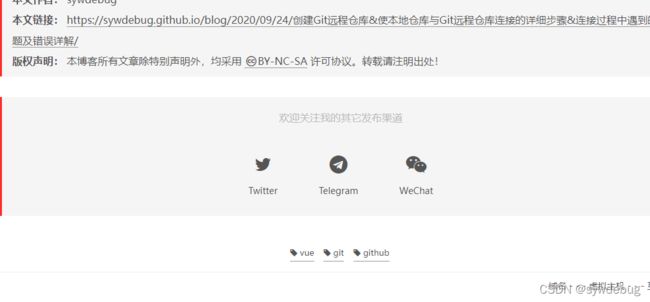
关注我的其他发布渠道
follow_me:
  Twitter: https://twitter.com/username || twitter
  Telegram: https://t.me/channel_name || telegram
  WeChat: /images/wechat_channel.jpg || wechat
  #RSS: /atom.xml || rss
文章内部下方导航栏
post_navigation 为文章内部切换上下文章导航,可选left,right,false,按时间排序选left就是左侧为上一时间的文章
post_navigation: left

文章的对齐方式
可选值 start | end | left | right | center | justify | justify-all | match-parent
text_align:
  desktop: justify
  mobile: justify
代码块样式
highlight_theme 代码块样式,可选值为 normal | night | night eighties | night blue | night bright | solarized | solarized dark | galactic
copy_button 复制按钮
enable 为是否开启复制按钮
show_result 是否显示点击复制按钮后的结果
style 样式,可选 default | flat | mac
codeblock:
  highlight_theme: normal
  copy_button:
    enable: false
    show_result: false
    style:
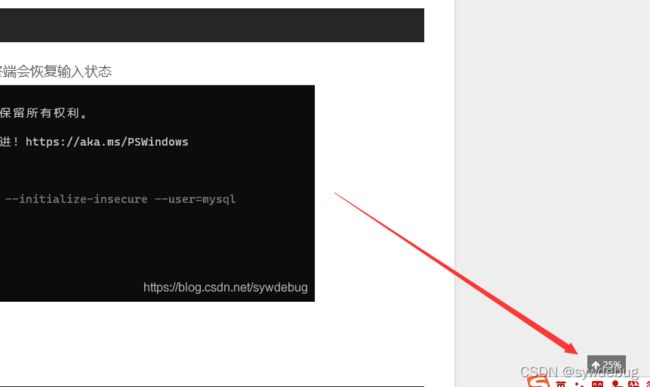
返回顶部按钮
enable 是否开启返回顶部按钮
sidebar 是否在侧边栏显示返回顶部按钮
scrollpercent 是否在返回顶部按钮显示滚动百分比
back2top:
  enable: true
  sidebar: false
  scrollpercent: true
阅读进度条
enable 是否显示阅读进度条
position 显示的位置,可选 top | bottom
color 进度条颜色
height 进度条宽度
reading_progress:
  enable: true
  position: top
  color: "#37c6c0"
  height: 3px
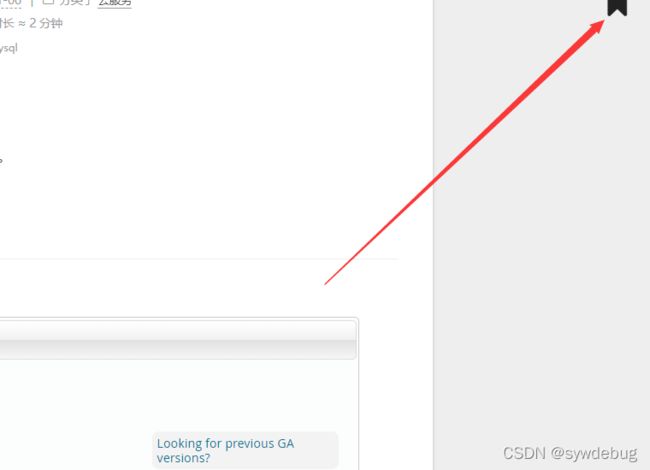
阅读书签
退出后重新进入继续从书签处阅读
enable 是否开启阅读书签
color 书签的颜色
save 类型,可选auto和manual,自动和手动
bookmark:
  enable: true
  color: "#222"
  # If auto, save the reading progress when closing the page or clicking the bookmark-icon.
  # If manual, only save it by clicking the bookmark-icon.
  save: manual
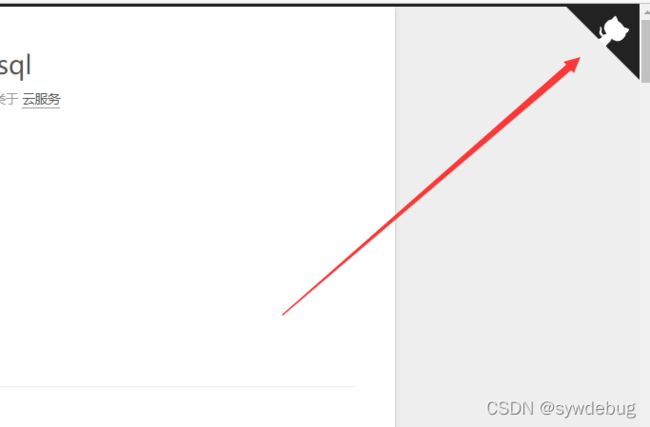
右上角显示github图标
enable 是否开启显示
permalink github地址
title 鼠标移上去显示的标题
github_banner:
  enable: true
  permalink: https://github.com/sywdebug
  title: Follow me on GitHub
动画设置
动画类型
enable 是否启用动画
async 是否异步执行动画,准确来说就是是否同时执行动画
transition 过渡效果
post_block 包裹文章的外部盒子
post_header 文章的标题
post_body 文章的内容
sidebar 侧边栏(只有Pisces和Gemini主题有效)
可选动画效果
# Transition variants:
# fadeIn | flipXIn | flipYIn | flipBounceXIn | flipBounceYIn
# swoopIn | whirlIn | shrinkIn | expandIn
# bounceIn | bounceUpIn | bounceDownIn | bounceLeftIn | bounceRightIn
# slideUpIn | slideDownIn | slideLeftIn | slideRightIn
# slideUpBigIn | slideDownBigIn | slideLeftBigIn | slideRightBigIn
# perspectiveUpIn | perspectiveDownIn | perspectiveLeftIn | perspectiveRightIn
motion:
  enable: true
  async: false
  transition:
    post_block: flipBounceXIn
    post_header: slideDownIn
    post_body: slideDownIn
    coll_header: slideLeftIn
    sidebar: slideUpIn
过渡效果
enable 是否开启
theme 类型
应该是例如平滑过渡之类的,可选值
# big-counter | bounce | barber-shop | center-atom | center-circle | center-radar | center-simple
# corner-indicator | fill-left | flat-top | flash | loading-bar | mac-osx | material | minimal
pace:
  enable: false
  theme: minimal
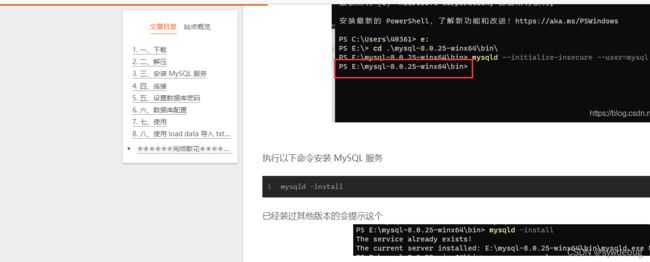
使用小工具
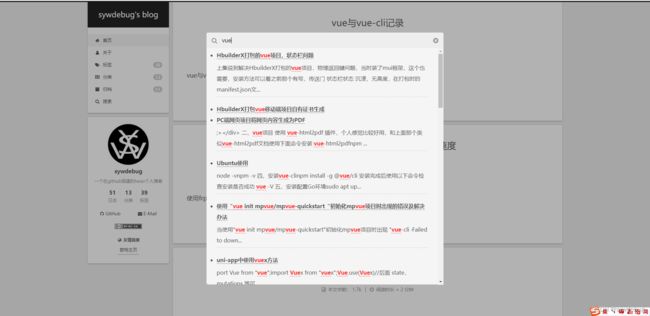
本地搜索
enable 为是否启用本地搜索
trigger 选auto则搜索时输入自动出现结果,选manual则搜索时输入完成需手动点击回车或搜索按钮出结果
top_n_per_article 显示每篇文章的top n个结果,通过设置为-1显示所有结果
unescape 将html字符串转换为可读的字符串
preload 在页面加载时预加载搜索数据。
local_search:
  enable: true
  trigger: auto
  top_n_per_article: 1
  unescape: false
  preload: false
启用此功能需要安装hexo-generator-searchdb,在根目录下使用以下命令安装
npm install hexo-generator-searchdb --save
在站点配置文件添加以下内容即可
search:
  path: search.xml
  field: post
  format: html
  limit: 10000
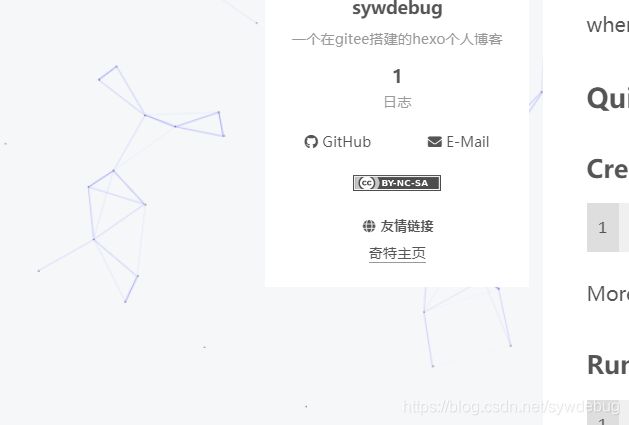
添加线条背景
注意:如果next主题在5.1.1以上的话就不用我这样设置,直接在主题配置文件中找到canvas_nest: false,把它改为canvas_nest: true就行了(注意分号后面要加一个空格)
打开 /themes/next/layout/_layout.njk 文件
在 body 里面添加代码
{% if theme.canvas_nest %}

{% endif %}
也可以使用
{% if theme.canvas_nest %}

{% endif %}
配置项
color :线条颜色, 默认: '0,0,0';三个数字分别为(R,G,B)
opacity: 线条透明度(0~1), 默认: 0.5
count: 线条的总数量, 默认: 150
zIndex: 背景的z-index属性,css属性用于控制所在层的位置, 默认: -1
打开 /themes/next/_config.yml 最后写上
# --------------------------------------------------------------
# background settings
# --------------------------------------------------------------
# add canvas-nest effect
# see detail from https://github.com/hustcc/canvas-nest.js
canvas_nest: true
点击实现桃心效果和24字真言(自测没成功,有机会再改)
在 /themes/next/source/js 下新建 clicklove.js 文件,写入以下代码
!function (e, t, a) {function r() {for (var e = 0; e < s.length; e++) s[e].alpha <= 0 ? (t.body.removeChild(s[e].el), s.splice(e, 1)) : (s[e].y--, s[e].scale += .004, s[e].alpha -= .013, s[e].el.style.cssText = "left:" + s[e].x + "px;top:" + s[e].y + "px;opacity:" + s[e].alpha + ";transform:scale(" + s[e].scale + "," + s[e].scale + ") rotate(45deg);background:" + s[e].color + ";z-index:99999");requestAnimationFrame(r)}function n() {var t = "function" == typeof e.onclick && e.onclick;e.onclick = function (e) {t && t(), o(e)}}function o(e) {var a = t.createElement("div");a.className = "heart", s.push({el: a,x: e.clientX - 5,y: e.clientY - 5,scale: 1,alpha: 1,color: c()}), t.body.appendChild(a)}function i(e) {var a = t.createElement("style");a.type = "text/css";try {a.appendChild(t.createTextNode(e))} catch (t) {a.styleSheet.cssText = e}t.getElementsByTagName("head")[0].appendChild(a)}function c() {return "rgb(" + ~~(255 * Math.random()) + "," + ~~(255 * Math.random()) + "," + ~~(255 * Math.random()) + ")"}var s = [];e.requestAnimationFrame = e.requestAnimationFrame || e.webkitRequestAnimationFrame || e.mozRequestAnimationFrame || e.oRequestAnimationFrame || e.msRequestAnimationFrame || function (e) {setTimeout(e, 1e3 / 60)}, i(".heart{width: 10px;height: 10px;position: fixed;background: #f00;transform: rotate(45deg);-webkit-transform: rotate(45deg);-moz-transform: rotate(45deg);}.heart:after,.heart:before{content: '';width: inherit;height: inherit;background: inherit;border-radius: 50%;-webkit-border-radius: 50%;-moz-border-radius: 50%;position: fixed;}.heart:after{top: -5px;}.heart:before{left: -5px;}"), n(), r()}(window, document);
然后在 /themes/next/layout/_layout.njk 文件内的 body 中引入 clicklove.js 文件
真言同上,js代码为
(function() {var coreSocialistValues = ["富强", "民主", "文明", "和谐", "自由", "平等", "公正", "法治", "爱国", "敬业", "诚信", "友善"],index = Math.floor(Math.random() * coreSocialistValues.length);document.body.addEventListener('click',function(e) {if (e.target.tagName == 'A') {return;}var x = e.pageX,y = e.pageY,span = document.createElement('span');span.textContent = coreSocialistValues[index];index = (index + 1) % coreSocialistValues.length;span.style.cssText = ['z-index: 9999999; position: absolute; font-weight: bold; color: #ff6651; top: ', y - 20, 'px; left: ', x, 'px;'].join('');document.body.appendChild(span);animate(span);});})
修改文章内链接文本样式
在 /themes/next/source/css/_common/components/post/index.styl 内添加以下代码即可
// 文章内链接文本样式
.post-body p a{
  color: #0593d3;
  border-bottom: none;
  border-bottom: 1px solid #0593d3;
  &:hover {
    color: #fc6423;
    border-bottom: none;
    border-bottom: 1px solid #fc6423;
  }
}
在每篇文章末尾统一添加“本文结束”标记
在路径 \themes\next\layout_macro 中新建 passage-end-tag.njk 文件,写入
    {% if not is_index %}
        -------------本文结束感谢您的阅读-------------
    {% endif %}
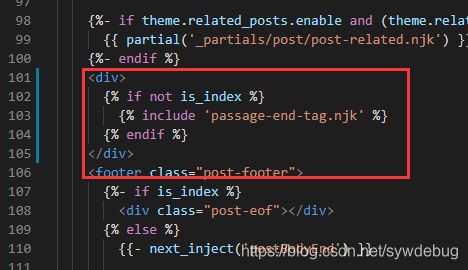
打开 /themes/next/layout/_macro/post.njk 文件
在 post-footer 之前添加以下代码
  {% if not is_index %}
    {% include 'passage-end-tag.njk' %}
  {% endif %}
打开 /themes/next/_config.yml 最后写上
# 文章末尾添加“本文结束”标记
passage_end_tag:
  enabled: true
网站底部字数统计
使用以下命令安装插件
npm install hexo-wordcount --save
然后在 /themes/next/layout/_partials/footer.njk 的合适的地方写入
博客全站共{{ totalcount(site) }}字
实现字数统计和阅读需要时长显示
使用以下命令安装 hexo-symbols-count-time 插件
npm install hexo-symbols-count-time --save
在根目录下的 _config.yml 下写入
symbols_count_time:
  symbols: true                # 文章字数统计
  time: true                   # 文章阅读时长
  total_symbols: true          # 站点总字数统计
  total_time: true             # 站点总阅读时长
  exclude_codeblock: false     # 排除代码字数统计
next 自带 symbols_count_time,修改 /themes/next/_config.yml 中的 symbols_count_time
separated_meta: true     # 是否另起一行(true的话不和发表时间等同一行)
  item_text_post: true     # 首页文章统计数量前是否显示文字描述(本文字数、阅读时长)
  item_text_total: true   # 页面底部统计数量前是否显示文字描述(站点总字数、站点阅读时长)
  awl: 4                   # 平均单词长度
  wpm: 275                 # 每分钟阅读词数
  suffix: mins.
在文章底部增加版权信息
在 /themes/next/layout/_macro 下创建 my-copyright.njk,并写入
{% if page.copyright %}
本文标题:{{ page.title }}
文章作者:{{ theme.author }}
发布时间:{{ page.date.format("YYYY年MM月DD日 - HH:mm") }}
最后更新:{{ page.updated.format("YYYY年MM月DD日 - HH:mm") }}
原始链接:{{ page.permalink }}
许可协议: 署名-非商业性使用-禁止演绎 4.0 国际 转载请保留原文链接及作者。
{% endif %}
在 /themes/next/source/css/_common/components/post/ 下创建 my-post-copyright.styl,并写入
.my_post_copyright {
  width: 85%;
  max-width: 45em;
  margin: 2.8em auto 0;
  padding: 0.5em 1.0em;
  border: 1px solid #d3d3d3;
  font-size: 0.93rem;
  line-height: 1.6em;
  word-break: break-all;
  background: rgba(255,255,255,0.4);
}
.my_post_copyright p{margin:0;}
.my_post_copyright span {
  display: inline-block;
  width: 5.2em;
  color: #b5b5b5;
  font-weight: bold;
}
.my_post_copyright .raw {
  margin-left: 1em;
  width: 5em;
}
.my_post_copyright a {
  color: #808080;
  border-bottom:0;
}
.my_post_copyright a:hover {
  color: #a3d2a3;
  text-decoration: underline;
}
.my_post_copyright:hover .fa-clipboard {
  color: #000;
}
.my_post_copyright .post-url:hover {
  font-weight: normal;
}
.my_post_copyright .copy-path {
  margin-left: 1em;
  width: 1em;
  +mobile(){display:none;}
}
.my_post_copyright .copy-path:hover {
  color: #808080;
  cursor: pointer;
}
在 /themes/next/layout/_macro/post.njk 合适的地方写入
      {% if not is_index %}
        {% include 'my-copyright.njk' %}
      {% endif %}
可以自行查找原来的版权信息并注释
最后在 /themes/next/source/css/_common/components/post/index.styl 添加
@import "my-post-copyright";
如果要显示此版权信息,要在博客的md文档上加入 copyright: true,否则不生效
如果觉得每次都要输入copyright: true很麻烦的话,可以在 /scaffolds/post.md文件中添加:copyright:
这样每次 hexo new 的时候会自动添加