tensorrt 部署yolov5 (v2.0)
环境:ubuntu18.01 tensorrt6.0.1.5 opencv3.4.7 (提前编译好的)cuda10.1 pytorch1.6 onnx
yolov5 项目:https://github.com/ultralytics/yolov5
tensorrt 项目:https://github.com/BaofengZan/yolov5_2.0-TensorRt
yolov5 v2.0模型下载链接:https://github.com/ultralytics/yolov5/releases
安装tensorrt https://blog.csdn.net/mathlxj/article/details/107810548
下载tensorrt 项目:https://github.com/BaofengZan/yolov5_2.0-TensorRt 解压后:yolov5_2.0-TensorRt 文件夹
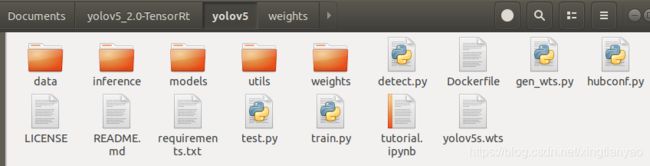
下载yolov5 项目:https://github.com/ultralytics/yolov5 解压后将yolov5 文件夹拷贝到yolov5_2.0-TensorRt 项目中
下载yolov5 v2.0模型 https://github.com/ultralytics/yolov5/releases 得到:yolov5s.pt / yolov5m.pt / yolov5l.pt 拷贝到yolov5_2.0-TensorRt/yolov5/weights 文件夹下:
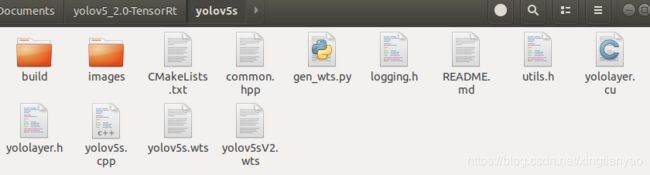
然后运行:python gen_wts.py 得到转换后的模型文件 yolov5s.wts, 并将yolov5s.wts 拷贝到yolov5s 文件夹下:
开始准备编译:
修改Cmakelists.txt:
加入自己opencv 的路径:
set(OpenCV_DIR /home/yao/opencv-3.4.7/opencv3/share/OpenCV)
修改自己tensorrt路径:
include_directories(/home/yao/Downloads/TensorRT-6.0.1.5.Ubuntu-18.04.x86_64-gnu.cuda-10.1.cudnn7.6/TensorRT-6.0.1.5/include)
link_directories(/home/yao/Downloads/TensorRT-6.0.1.5.Ubuntu-18.04.x86_64-gnu.cuda-10.1.cudnn7.6/TensorRT-6.0.1.5/lib)
修改yolov5s.cpp:
因为我的电脑不支持16位推理,所以将以下这行注释掉:
#define USE_FP16 // comment out this if want to use FP32
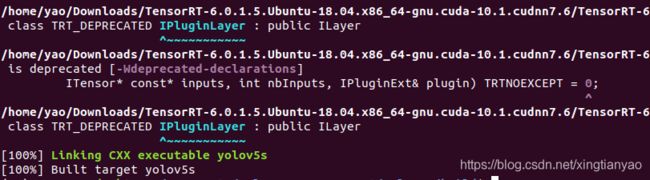
开始编译:
cd yolov5_2.0-TensorRt/yolov5s:
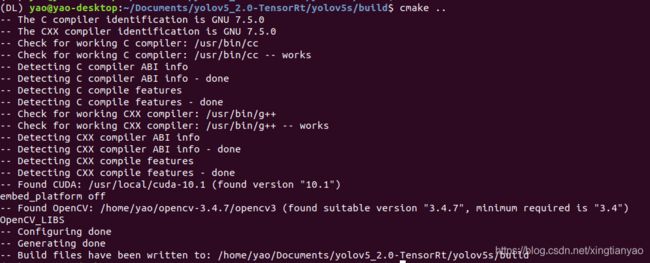
mkdir build && cd build:
cmake ..
make
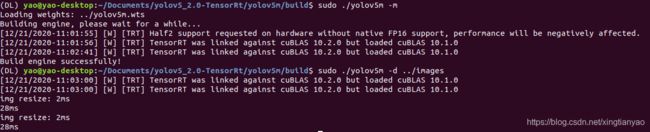
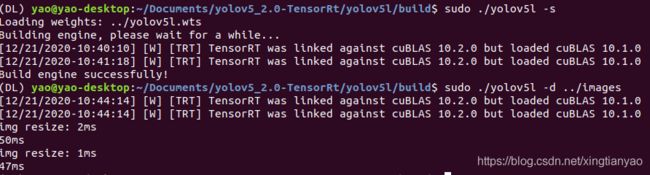
sudo ./yolov5l -s // serialize model to plan file i.e. 'yolov5l.engine' 序列化模型

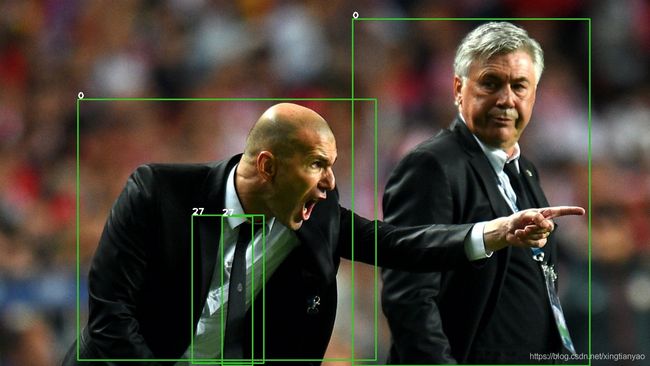
sudo ./yolov5l -d ../samples // deserialize plan file and run inference, the images in samples will be processed. 测试用例
生成的结果在build文件夹下:

14.5M模型
img resize: 7ms
14ms
img resize: 2ms
14ms


其它的几个模型做法类似以上!
yolov5l.pt:
yolov5m.pt: