mysql8源码编译安装centos+camke
参考网址:
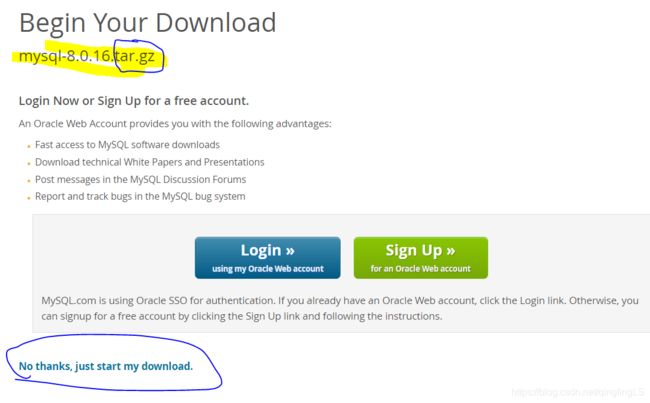
怎样从Mysql官网下载mysql.tar.gz版本的安装包
>查看系统的版本和内核版本
mysql源码编译安装
优点:可以定制安装
缺点:安装时间长
软件名如:mysql-5.5.32.tar.gz
一、创建用户
以root身份登录
sudo su
创建账户组:
![]()
groupadd mysql
创建账号;
![]()
useradd -s /sbin/nologin -g mysql -M mysql
| 命令 | 含义 |
|---|---|
| -s/sbin/nologin | 禁止该用户登录,只要角色存在即可,加强安全。 |
| -g | mysql指定mysql用户属于mysql组 |
| -M | 表示不创建home目录,因为这个用户没有自己的文件,没有必要创建家目录。 |
这两条指令也可以用下面一条解决:
useradd -s/sbin/nologin -M mysql
检查创建结果:
tail -l /etc/passwd

进入想要安装mysql的文件目录:
![]()
在windows端下载好需要的包:
网址:
https://dev.mysql.com/downloads/file/?id=486040
我的系统是red hat4,也许有不兼容的问题,先安装试试:
![]()
查看系统的版本和内核版本
https://cloud.tencent.com/developer/article/1400415
上传到服务器:
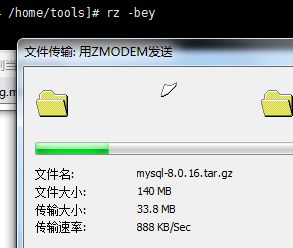
查看路径
![]()
解压:
tar zxvf test.tgz -C 指定目录
移动并改名目录:

![]()

原本的mysql-8.0.16就被移动到了mysql8中。
创建软连接,去掉版本号的访问路径并查看:
把mysql8连接到了mysql上面,查看mysql文件夹。可以看到它已经被软连接到了mysql上、

进入cmake目录,然后运行下面cmake指令。
\ 是换行符,输入多行仍旧认定为一条指令,
# 后面的是可选选项。
初始化文件:
cmake .. -DCMAKE_INSTALL_PREFIX=/home/tools/mysql5.6/ \
-DMYSQL_DATADIR=/home/tools/mysql5.6/data/ \
-DSYSCONFDIR=/etc \
-DWITH_MYISAM_STORAGE_ENGINE=1 \
-DWITH_INNOBASE_STORAGE_ENGINE=1 \
-DWITH_ARCHIVE_STORAGE_ENGINE=1 \
-DENABLED_LOCAL_INFILE=1 \
-DENABLE_DOWNLOADS=1  \
-DDEFAULT_CHARSET=utf8mb4 \
-DWITH_DEBUG=0 \
-DMYSQL_MAINTAINER_MODE=0 \
-DWITH_BOOST=./boost
#-DDEFAULT_COLLAION=utf8mb4_general_ci \
#-DWITH_MEMORY_STORAGE_ENGINE=1  \
#-DWITH_PARTITION_STORAGE_ENGINE=1 \
我的机器由于不兼容,我改为了安装5.6(因为5.7是需要安装boost的,我又没有boost)
注意,mysql8是需要cmake3以上的!
把上面的代码第一行改为:
cmake3 .. -DCMAKE_INSTALL_PREFIX=/home/tools/mysql5.6/ \
其他的选项:
mysql的三种安装方式:
https://www.cnblogs.com/sqbk/p/5892053.html
指定安装文件的安装路径时常用的选项:
-DCMAKE_INSTALL_PREFIX=/usr/local/mysql 指定安装路径
-DMYSQL_DATADIR=/data/mysql 数据安装路径
-DSYSCONFDIR=/etc 配置文件的安装路径
由于MySQL支持很多的存储引擎而默认编译的存储引擎包括:csv、myisam、myisammrg和heap。若要安装其它存储引擎,可以使用类似如下编译选项:
-DWITH_INNOBASE_STORAGE_ENGINE=1 安装INNOBASE存储引擎
-DWITH_ARCHIVE_STORAGE_ENGINE=1 安装ARCHIVE存储引擎
-DWITH_BLACKHOLE_STORAGE_ENGINE=1 安装BLACKHOLE存储引擎
-DWITH_FEDERATED_STORAGE_ENGINE=1 安装FEDERATED存储引擎
若要明确指定不编译某存储引擎,可以使用类似如下的选项:
-DWITHOUT__STORAGE_ENGINE=1
比如:
-DWITHOUT_EXAMPLE_STORAGE_ENGINE=1 不启用或不编译EXAMPLE存储引擎
-DWITHOUT_FEDERATED_STORAGE_ENGINE=1
-DWITHOUT_PARTITION_STORAGE_ENGINE=1
如若要编译进其它功能,如SSL等,则可使用类似如下选项来实现编译时使用某库或不使用某库:
-DWITH_READLINE=1
-DWITH_SSL=system 表示使用系统上的自带的SSL库
-DWITH_ZLIB=system
-DWITH_LIBWRAP=0
其它常用的选项:
-DMYSQL_TCP_PORT=3306 设置默认端口的
-DMYSQL_UNIX_ADDR=/tmp/mysql.sock MySQL进程间通信的套接字的位置
-DENABLED_LOCAL_INFILE=1 是否启动本地的LOCAL_INFILE
-DEXTRA_CHARSETS=all 支持哪些额外的字符集
-DDEFAULT_CHARSET=utf8 默认字符集
-DDEFAULT_COLLATION=utf8_general_ci 默认的字符集排序规则
-DWITH_DEBUG=0 是否启动DEBUG功能
-DENABLE_PROFILING=1 是否启用性能分析功能
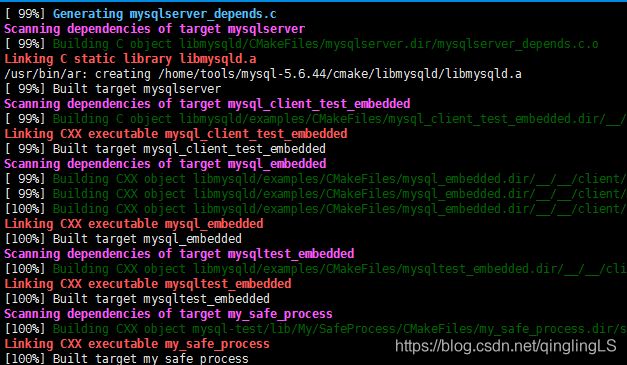
然后在这个目录下执行:
make
make install
出现下面的情况,进行漫长的安装过程、、

最终完成,我跑了大约30分钟。
也许会出现的问题:
1.缺少库,或者是需要安装boost:
在上面的cmake指令上加上一条:
-DDOWNLOAD_BOOST=1 \
2.gcc版本太老,
解决:
1.更新gcc,有时候更新了动态库libgc,可能会导致无法挽回的错误,连cd都用不了那种,所以做这样的更新前务必备份!
推荐网址:https://blog.csdn.net/zr1076311296/article/details/51334538
2.安装老一点版本的mysql,5.7或者8.0
3.路径问题
错误提示:The source directory “/home/tools” does not appear to contain CMakeLists.txt.
或者:The source directory does not appear to contain CMakeLists.txt.
注意:应该cd到cmake下面去进行cmake。
4.out和in -build
Please do not build in-source. Out-of source builds are highly recommend
解决:
1.不要使用in-build方式
2.使用force可选项。
关于cmake:
http://blog.sina.com.cn/s/blog_66eb531b0101dvt4.html
CMakeLists.txt
CMake is controlled by writing instructions in CMakeLists.txt files.
cmake由写入cmakelist的指令控制的
Building with CMake
Setting up a bunch of CMakeLists.txt files will not immediately allow you to build your project. CMake is just a cross platform wrapper around more traditional build systems.
cmake只是一种跨平台的包装器
Wrapping up 打包过程
If you modify code in your source directory, including even a CMakeLists.txt file and re-run make in the build directory, make and cmake will recompile and rebuild necessary changes. If you are only making changes in a subdirectory, you can simply run make in the corresponding subdirectory in the build tree to process updates.
如果你在源代码目录下修改了代码,甚至包括camkelists文件,在build重新运行make时,make和camke将会重编译并重建必要的改变。如过你仅仅改变了一个子目录,你可以仅仅在相应的构建树的子目录下运行make去进行更新、
An initial source of confusion with out of source builds is that you basically have two copies of your source tree, one with actual source code, and one with Makefiles and binary executables (in the build tree). It is probably best to keep two windows open with one in the build tree for making and running your programs, and one window in the source tree for modifying source files.
一个令人疑惑的初始化源代码的代码外构建,它就是说:你有两份源代码的拷贝,一个是真正的源代码,一个是有Makefile且二进制可执行、这大概是最好的保持两个code都打开的方式,其中一个去运行构建(make)和运行你的程序,一个code是原版本,便于修改源文件使之不受构建的影响。
One nice thing about out of source builds is that cleaning up object files, make depend files, binaries, and other miscellaneous build cruft can be done by simply deleting the entire build directory because there is no source. You can also use make clean to clean up the actual object and binary files, but when you are planning to tar up your source or distribute your code to the masses, you can simply documin[~]
$ cd cmake cumin[cmake]
$ ls CMakeLists.txt build/ w01-cpp/ cumin[cmake]
$ rm -rf build/ cumin[cmake]
$ ls CMakeLists.txt w01-cpp/
to clean up and package your code.
外构建方式对清理(也就是我们常用的clean up)对象文件,创建依赖文件,二进制和其他各种各样的创建所需要的文件能被简单的删除(因为没有源代码)
所以内构建方式是不提倡的。
当你决定要打包分享你的代码给广大群众时,你可以简单地用上面的语句清理并且打包你的代码。