去除自定义alertdialog(dialog)黑边
在主窗体中显示自定义的dialog。方法一和方法二的共同代码:
private static AlertDialog mAlertDialog;
AlertDialog.Builder builder = new AlertDialog.Builder(new ContextThemeWrapper(context, R.style.theme_dialog));
View dialogView = getView(context, R.layout.dialog_view);
方式一:
builder.setView(dialogView);
mAlertDialog = builder.create();
mAlertDialog.show();
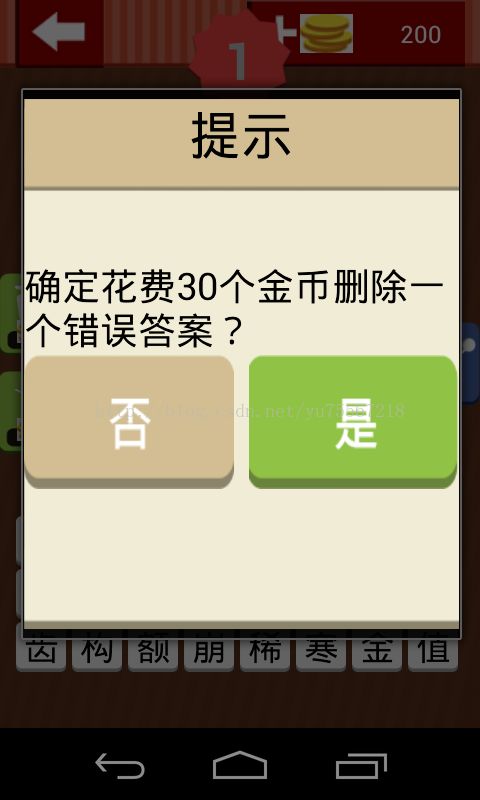
可以看到上下有明显的黑边。
方式二:
mAlertDialog = builder.create();
mAlertDialog.setView(dialogView, 0, 0, 0, 0);
mAlertDialog.show();
通过设置
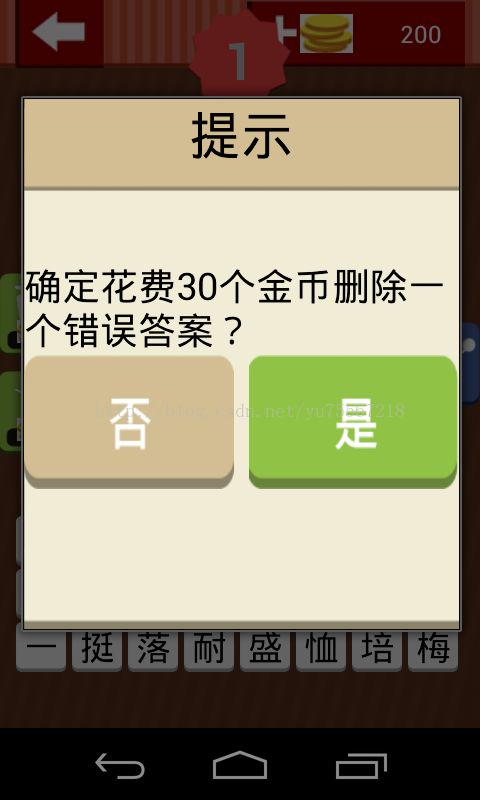
mAlertDialog.setView(dialogView, 0, 0, 0, 0);可以看到上下明显的黑边不在了,但是四周仍然有个黑框,依然影响整体美观。
方式三:
通过样式文件把背景设置为透明:
java代码如下:
private static AlertDialog mAlertDialog;//使用样式文件把背景设置为透明
AlertDialog.Builder builder = new AlertDialog.Builder(
new ContextThemeWrapper(context, R.style.Theme_Transparent));
View dialogView = getView(context, R.layout.dialog_view);
// 为dialog设置view
builder.setView(dialogView);
mAlertDialog = builder.create();
mAlertDialog.show();

方式四:
把弹出窗体由alertdialog改成dialog。
View dialogView = getView(context, R.layout.dialog_view);
Dialog mAlertDialog = new Dialog(context, R.style.theme_dialog);
mAlertDialog.setContentView(dialogView);
mAlertDialog.show();

使用dialog解决了黑边问题,但是dialog的布局我们并不是很满意,下一篇我将介绍设置自定义窗体的大小和位置。