django-构造第一个blog
1、安装好postgresql和psycopg2
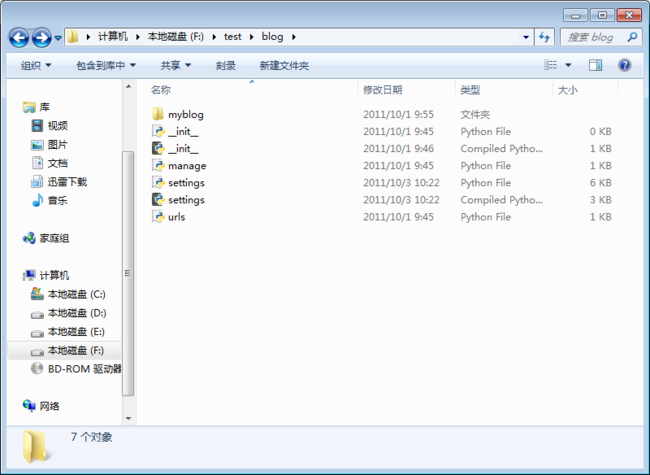
2、django-admin.py startproject blog
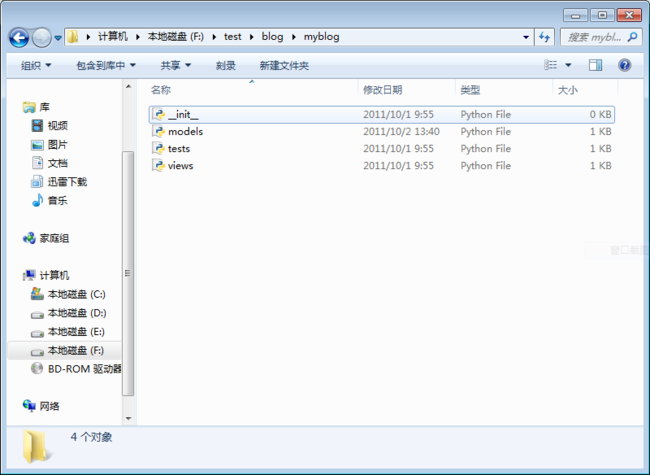
3、manage.py startapp myblog
4、打开models.py
并编辑
 #!/usr/bin/env python
from django.db import models

class BlogPost(models.Model):
    title=models.CharField(max_length=150)
    body=models.TextField()
    timestamp=models.DateTimeField()
打开settings.py
并编辑其中的DATABASES段
DATABASES = {
    'default': {
        'ENGINE': 'django.db.backends.postgresql_psycopg2', # Add 'postgresql_psycopg2', 'postgresql', 'mysql', 'sqlite3' or 'oracle'.
        'NAME': 'myblog',                      # Or path to database file if using sqlite3.
        'USER': 'adadmin',                      # Not used with sqlite3.
        'PASSWORD': '',                  # Not used with sqlite3.
        'HOST': '',                      # Set to empty string for localhost. Not used with sqlite3.
        'PORT': '',                      # Set to empty string for default. Not used with sqlite3.
    }
}
5、创建表
F:\test\blog>manage.py syncdb
Creating tables ...
Creating table auth_permission
Creating table auth_group_permissions
Creating table auth_group
Creating table auth_user_user_permissions
Creating table auth_user_groups
Creating table auth_user
Creating table auth_message
Creating table django_content_type
Creating table django_session
Creating table django_site
You just installed Django's auth system, which means you don't have any superuse
rs defined.
Would you like to create one now? (yes/no): y
Please enter either "yes" or "no": yes
Username (Leave blank to use 'deepfuture'): myblog
E-mail address: [email protected]
Password:
Password (again):
Superuser created successfully.
Installing custom SQL ...
Installing indexes ...
No fixtures found.