使用LAMP创建基于wordpress的个从博客站点
參考:
http://blog.csdn.net/ck_boss/article/details/27866117
yum install mysql-server
service mysqld start
3、登录mysql
[root@jediael44 share]# mysql -u -root -p
Enter password:
Welcome to the MySQL monitor. Commands end with ; or \g.
Your MySQL connection id is 2
Server version: 5.1.73 Source distribution
mysql>
默认情况下,mysql的root用户无password,用下面方式创建password
 service mysqld stop
mysqld_safe --skip-grant-tables &
mysql -uroot -p 不输入password直接回车
>use mysql;
> update user set password=PASSWORD("newpass")where user="root";更改password为 newpassord
> flush privileges; 更新权限
> quit 退出
service mysqld restart
mysql -uroot -p
新password进入
二、Apache配置
1、下载apache rpm包并安装
yum install apache-2.4.9-4.mga5.x86_64.rpm
或者使用还有一方式进行安装(推荐此方式)
http://www.cnblogs.com/rainisic/archive/2012/05/23/Linux_Apache2_4_Install.html
2、启动Apache
通过apachectl启动Apach
apachectl start
检查是否有Apache进程
ps aux | grep httpd
假设有Apache的进程,则证明启动成功,浏览器地址栏输入 http://localhost 试试吧~
3、设置apache默认启动
启动成功之后,能够将apachectl复制到/etc/init.d下,作为service启动。
sudo cp /usr/local/apache2/bin/apachectl /etc/init.d/httpd
sudo service httpd start
三、PHP配置
1、安装php
yum install php
service httpd restart
2、创建检验文件
cd /var/www/html
创建info.php,内容例如以下:
<?php
phpinfo();
?>
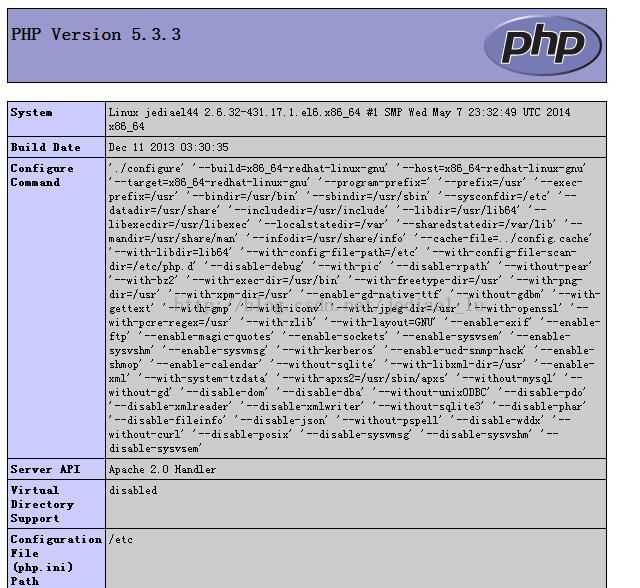
使用浏览器打开页面:
localhost/info.php,能够看到下面页面

3、安装php中的Myql组件
[root@jediael44 html]# yum install php-mysql.x86_64
安装完毕后,上述页面多了非常多mysql相关的内容。
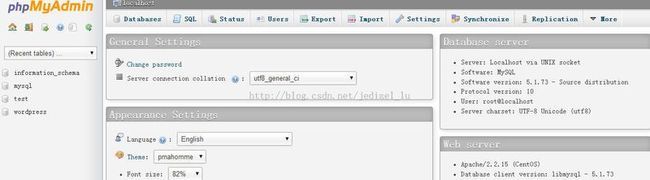
4、安装phpMyAdmin
[root@jediael44 html]# yum install phpmyadmin
phpMyAdmin并不能直接的在浏览器中打开,须要建一个快捷方式
ln -s /usr/share/phpMyAdmin /var/www/html
然后就能够打开phpmyadmin的界面了
再使用mysql的usernamepassword进行登录
若此时不能訪问:
Forbidden
You don't have permission to access /phpmyadmin on this server.
解决方法:
在 phpMyAdmin 目录中找到 vi /etc/httpd/conf.d/phpMyAdmin.conf
在文件里能看到如以下一段配置
<Directory "c:/wamp/apps/phpmyadmin3.4.10.1/">
    Options Indexes FollowSymLinks MultiViews
    AllowOverride all
        Order Deny,Allow
Deny from all
        Allow from 127.0.0.1
</Directory>
找到 Deny from all 意思是禁止全部訪问,但同意从 127.0.0.1 訪问
那么我们就删除 Allow from 127.0.0.1
而且把 Deny from all 改动为 Allow from all
意思就是同意从全部地址訪问
然后 service httpd restart
四、WordPress配置
1、创建数据库
mysql> create database wordpress;
Query OK, 1 row affected (0.00 sec)

mysql> show databases;
+--------------------+
| Database |
+--------------------+
| information_schema |
| mysql |
| test |
| wordpress |
+--------------------+
4 rows in set (0.00 sec)
2、下载wordpress压缩包并解压,然后编辑下面文件:
/home/jediael/setupfile/wordpress/wp-config-sample.php
改动下面配置
// ** MySQL 设置 - 详细信息来自您正在使用的主机 ** //
/** WordPress数据库的名称 */
define('DB_NAME', 'wordpress');
/** MySQL数据库username */
define('DB_USER', 'root');
/** MySQL数据库password */
define('DB_PASSWORD', 'newpass');
/** MySQL主机 */
define('DB_HOST', 'localhost');
并移到/var/www/html文件夹下:
[root@jediael44 html]# cp -rf /home/jediael/setupfile/wordpress /var/www/html
使用此地址进行配置:
http://localhost/wordpress/wp-admin/install.php
cp /var/www/html/wordpress/wp-config.php /var/www/html/
进行訪问
username、password:j/L
邮箱:139
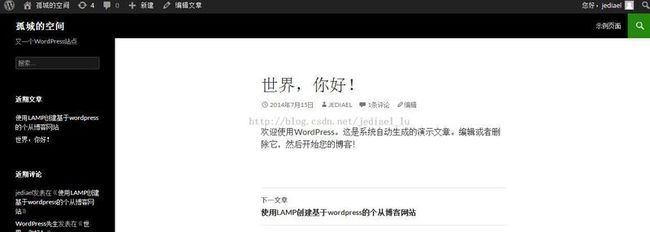
然后点击创建,再登录或者不登录均可
搞定……