Vue基础-数据监测
此篇文章为数据检测总结笔记
Vue监视数据的原理:
vue会监视data中所有层次的数据。
案例:
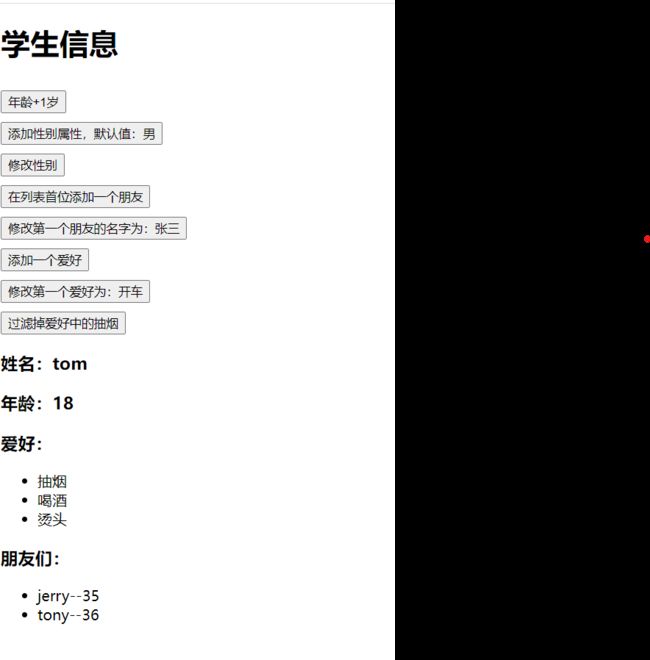
学生信息
姓名:{{student.name}}
年龄:{{student.age}}
性别:{{student.sex}}
爱好:
-
{{h}}
朋友们:
-
{{f.name}}--{{f.age}}
const vm = new Vue({
			el:'#root',
			data:{
				student:{
					name:'tom',
					age:18,
					hobby:['抽烟','喝酒','烫头'],
					friends:[
						{name:'jerry',age:35},
						{name:'tony',age:36}
					]
				}
			},
效果:
如何监测对象中的数据?
通过setter实现监视,且要在new Vue时就传入要监测的数据。
(1).对象中后追加的属性,Vue默认不做响应式处理
(2).如需给后添加的属性做响应式,请使用如下API:
Vue.set(target,propertyName/index,value) 或
vm.$set(target,propertyName/index,value)
如何监测数组中的数据?
通过包裹数组更新元素的方法实现,本质就是做了两件事:
(1).调用原生对应的方法对数组进行更新。
(2).重新解析模板,进而更新页面。
在Vue修改数组中的某个元素一定要用如下方法:
1.使用这些API:push()、pop()、shift()、unshift()、splice()、sort()、reverse()
2.Vue.set() 或 vm.$set()
methods: {
				addSex(){
					// Vue.set(this.student,'sex','男')
					this.$set(this.student,'sex','男')
				},
				addFriend(){
					this.student.friends.unshift({name:'jack',age:70})
				},
				updateFirstFriendName(){
					this.student.friends[0].name = '张三'
				},
				addHobby(){
					this.student.hobby.push('学习')
				},
				updateHobby(){
					// this.student.hobby.splice(0,1,'开车')
					// Vue.set(this.student.hobby,0,'开车')
					this.$set(this.student.hobby,0,'开车')
				},
				removeSmoke(){
					this.student.hobby = this.student.hobby.filter((h)=>{
						return h !== '抽烟'
					})
				}
			}
特别注意:
Vue.set() 和 vm.$set() 不能给vm 或 vm的根数据对象 添加属性!!!
同为前端开发学习者,不足之处,欢迎指出