Centos7安装原生Nginx并配置反向代理
一、背景
当我的应用程序需要集群化部署之时,必然需要一个反向代理,当然Nginx的大名,这里不做更多的介绍了,这里介绍一下Nginx常用的四大阵营
1 Ngnix 原生版本
nginx news
2 Nginx Plus 商用版(收费的)
Advanced Load Balancer, Web Server, & Reverse Proxy - NGINX
3 Nginx OpenResty 版本
OpenResty® - 开源官方站
4 Tengine 淘宝开源版本
The Tengine Web Server
下面开始我们的安装之路
二、安装
1 下载
打开官网的下载页面: nginx: download
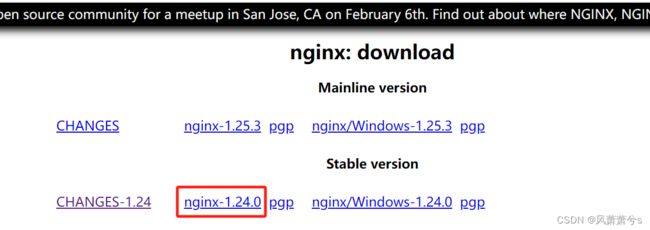
这里我们选择一个稳定的版本点击下载,注意我将部署到Centos中,不要下载成Window版本了
下载之后,上传到虚拟机的/usr/local 目录下
![]()
解压 tar zxf nginx-1.24.0.tar.gz
![]()
2 安装
进入nginx-1.24.0目录,然后执行./configure
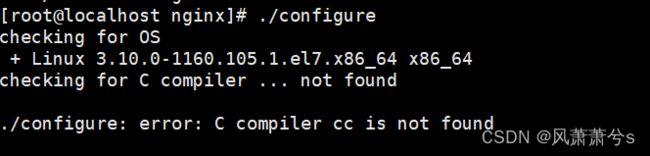
缺少C语言编译器,需要安装C语言编译器(如果已经安装的可以跳过)
yum install -y gcc此时再执行安装命令,安装目录为/usr/local/nginx
./configure --prefix=/usr/local/nginx执行会报下面错误
./configure: error: the HTTP rewrite module requires the PCRE library.
You can either disable the module by using --without-http_rewrite_module
option, or install the PCRE library into the system, or build the PCRE library
statically from the source with nginx by using --with-pcre=option.
原因是缺少PCRE依赖,下面安装PCRE库
yum install -y pcre pcre-devel继续执行,可能仍然会报下面这个这个错误
./configure: error: the HTTP gzip module requires the zlib library.
You can either disable the module by using --without-http_gzip_module
option, or install the zlib library into the system, or build the zlib library
statically from the source with nginx by using --with-zlib=option.
原因是缺少zlib 依赖,继续安装zlib 库
yum install -y zlib zlib-devel安装依赖完成后再执行,应该不会再报错了
./configure --prefix=/usr/local/nginx
在执行make
make
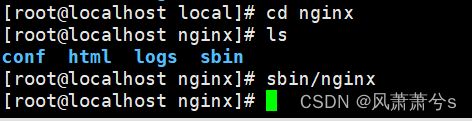
make install执行完成,我们可以看到/usr/local 目录下多了nginx目录

3 启动
进入到nginx目录下,执行 sbin/nginx
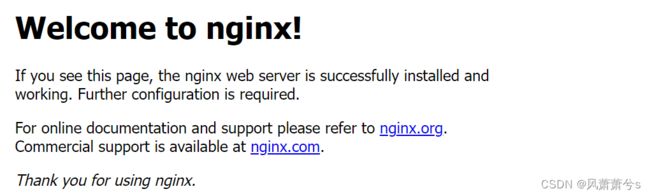
然后打开http://192.168.31.110/
这里的IP地址为虚拟机的地址,正常情况下,应该能看到下面页面,如果不行的话,建议检查一下防火墙是否没有关闭
4 nginx 常用命名
./nginx 启动
./nginx -s stop 快速停止
./nginx -s quit 优雅关闭
./nginx -s reload 重新加载配置
5 安装成系统服务
创建服务脚本
vim /usr/lib/systemd/system/nginx.service[Unit]
Description=nginx - web server
After=network.target remote-fs.target nss-lookup.target
[Service]
Type=forking
PIDFile=/usr/local/nginx/logs/nginx.pid
ExecStartPre=/usr/local/nginx/sbin/nginx -t -c /usr/local/nginx/conf/nginx.conf
ExecStart=/usr/local/nginx/sbin/nginx -c /usr/local/nginx/conf/nginx.conf
ExecReload=/usr/local/nginx/sbin/nginx -s reload
ExecStop=/usr/local/nginx/sbin/nginx -s stop
ExecQuit=/usr/local/nginx/sbin/nginx -s quit
PrivateTmp=true
[Install]
WantedBy=multi-user.target先关闭原来已经启动的nginx
./sbin/nginx -s stop
重新加载系统服务
systemctl daemon-reload

systemctl start nginx

systemctl status nginx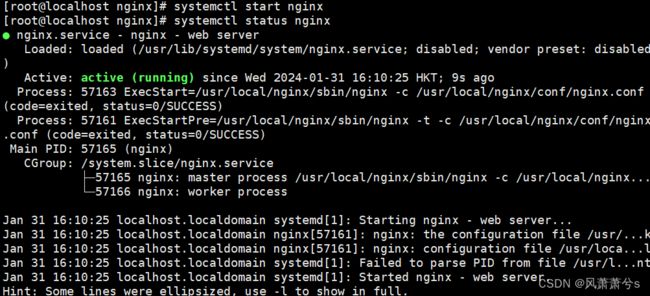
6 设置开机启动
这里的前提是完成了第5步,执行下面命令
systemctl enable nginx.service到这里我们的nginx安装就算完成了
三、配置反向代理
1 准备2台后端服务器实例
这里我使用之前开发好的,一个应用,分别部署到192.168.31.102:9527,192.168.31.32:9527 这两台服务器上,两个服务都有一个获取商品详情的接口,一会我就用这个接口测试一下Nginx配置是否正确
测试用的接口代码
@GetMapping("/getGoodsDetails")
public GoodsInfo getGoodsDetails(@RequestParam(value = "goodsId") Long goodsId) {
log.info("getGoodsDetails goodsId: {}", goodsId);
return goodsInfoMapper.selectByPrimaryKey(goodsId);
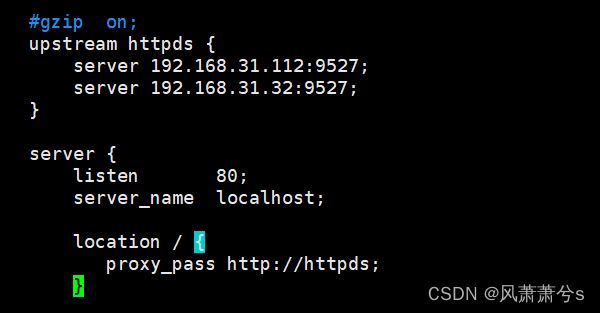
}2 修改nginx/conf/nginx.conf
# 这里是我2台服务器应用的地址
upstream httpds {
server 192.168.31.102:9527;server 192.168.31.32:9527;
}# 从根目录代理
location / {
proxy_pass http://httpds;
}
重新加载配置文件
systemctl reload nginx
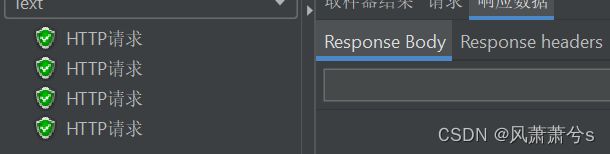
3 测试一下
![]()

测试结果:成功的反向代理到预定的2台服务器中