SpringBoot项目整合MybatisPlus并使用SQLite作为数据库
文章目录
- SQLite介绍
- 搭建项目
-
- 创建项目
- 修改pom.xml
- SQLite
-
- 查看SQLite是否安装
- 创建数据库
- 创建数据表
- IDEA连接SQLite
- navicat连接SQLite数据库
- 后端增删改查接口实现
-
- MybatisX生成代码
- 不会生成看这个
-
- User
- UserMapper
- UserMapper.xml
- controller
- 创建配置文件application.yaml
- 启动类`IncrementBackupServeApplication`
- 测试
-
- 插入用户
- 查询所有用户
- 修改用户名称
- 删除用户
SQLite介绍
- SQLite 是一个进程内库,它实现了独立的、无服务器的、零配置的事务性 SQL 数据库引擎。SQLite 没有单独的服务器进程。SQLite直接读取和写入普通磁盘文件,就是一个完整的 SQL 数据库,包含多个表、索引、 触发器和视图包含在单个磁盘文件中。 数据库文件格式是跨平台的
- 可以自由复制数据库在 32 位和 64 位系统之间,或在 big-endian 和 little-endian 体系结构之间。这些功能使SQLite成为流行的选择一种应用程序文件格式。SQLite 数据库文件是美国国会图书馆推荐的存储格式
- 免费
- 在世界上应用广泛
- SQLite是一个紧凑的库,启用所有功能后,库大小可以小于 750KiB, 具体取决于目标平台和编译器优化设置。 内存使用量和速度之间需要权衡。 你给它内存越多,SQLite通常运行得越快。尽管如此,在低内存环境中,性能通常也相当不错。根据它的使用方式,SQLite 可能比直接文件系统 I/O 更快
搭建项目
创建项目
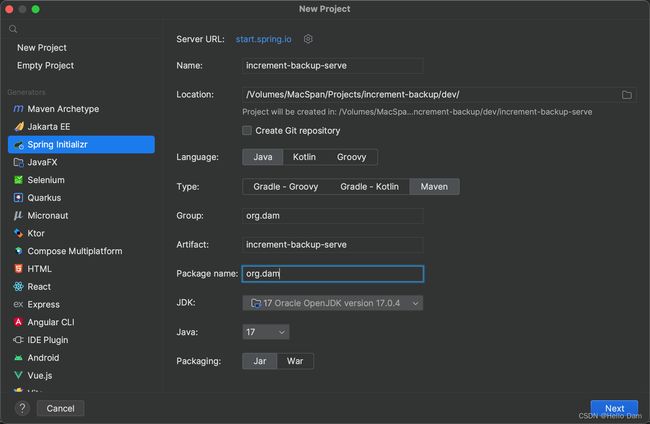
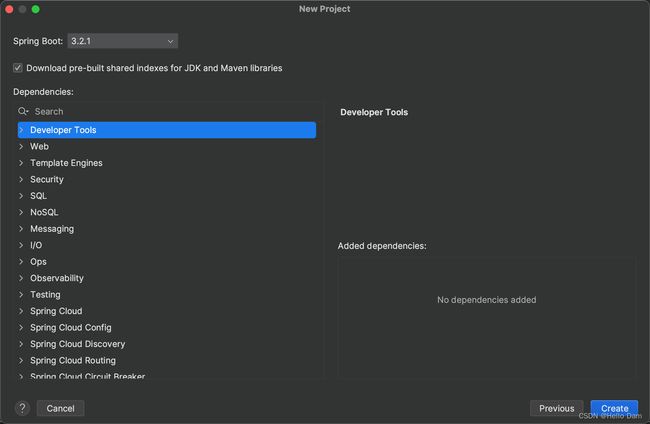
修改pom.xml
因为使用SpringBoot 3.2.1 出了一些问题,下面改成2.5.14
<project xmlns="http://maven.apache.org/POM/4.0.0" xmlns:xsi="http://www.w3.org/2001/XMLSchema-instance"
         xsi:schemaLocation="http://maven.apache.org/POM/4.0.0 https://maven.apache.org/xsd/maven-4.0.0.xsd">
    <modelVersion>4.0.0modelVersion>
    <parent>
        <groupId>org.springframework.bootgroupId>
        <artifactId>spring-boot-starter-parentartifactId>
        <version>2.5.14version>
        <relativePath/>
    parent>
    <groupId>org.damgroupId>
    <artifactId>increment-backup-serveartifactId>
    <version>0.0.1-SNAPSHOTversion>
    <name>increment-backup-servename>
    <description>increment-backup-servedescription>
    <properties>
        <java.version>17java.version>
    properties>
    <dependencies>
        <dependency>
            <groupId>org.springframework.bootgroupId>
            <artifactId>spring-boot-starterartifactId>
        dependency>

        <dependency>
            <groupId>org.springframework.bootgroupId>
            <artifactId>spring-boot-starter-webartifactId>
        dependency>

        <dependency>
            <groupId>org.projectlombokgroupId>
            <artifactId>lombokartifactId>
            <optional>trueoptional>
        dependency>

        <dependency>
            <groupId>org.xerialgroupId>
            <artifactId>sqlite-jdbcartifactId>
            <version>3.21.0.1version>
        dependency>

        <dependency>
            <groupId>com.baomidougroupId>
            <artifactId>mybatis-plus-boot-starterartifactId>
            <version>3.4.3.1version>
        dependency>
        <dependency>
            <groupId>org.springframework.bootgroupId>
            <artifactId>spring-boot-starter-testartifactId>
            <scope>testscope>
        dependency>
    dependencies>

    <build>
        <plugins>
            <plugin>
                <groupId>org.springframework.bootgroupId>
                <artifactId>spring-boot-maven-pluginartifactId>
            plugin>
        plugins>
    build>

project>
使用Macbook pro运行项目,会报如下错误
Caused by: java.lang.Exception: No native library is found for os.name=Mac and os.arch=aarch64. path=/org/sqlite/native/Mac/aarch64
解决方案,修改版本
<dependency>
    <groupId>org.xerialgroupId>
    <artifactId>sqlite-jdbcartifactId>
    <version>3.32.3.3version>
dependency>
SQLite
查看SQLite是否安装
我的开发机是mac系统,自动了sqlite3,如果你们没有的话,要去安装,可以参考官方文档的快速开始:https://www.sqlite.org/quickstart.html
mac@MacdeMac-Pro ~ % sqlite3
SQLite version 3.39.4 2022-09-07 20:51:41
Enter ".help" for usage hints.
Connected to a transient in-memory database.
Use ".open FILENAME" to reopen on a persistent database.
创建数据库
从一个目录进入终端,创建数据库
mac@MacdeMac-Pro sql % sqlite3 increment-backup.db;
SQLite version 3.39.4 2022-09-07 20:51:41
Enter ".help" for usage hints.
查看数据库是否创建成功
sqlite> .databases
main: /Volumes/MacSpan/Projects/increment-backup/sql/DatabaseName.db r/w
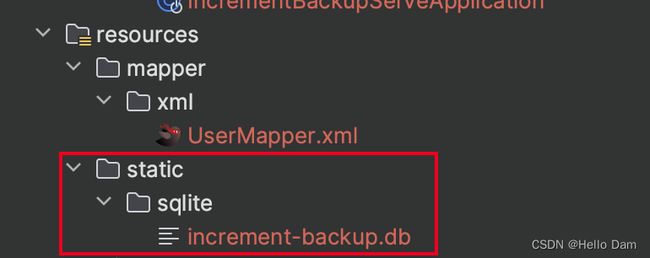
创建成功,出现如下文件

创建数据表
创建数据表
sqlite> create table user
   ...> (
   ...>   id   INTEGER not null primary key autoincrement,
   ...>   name varchar(20)
   ...> );
查看数据表
sqlite> .tables
user
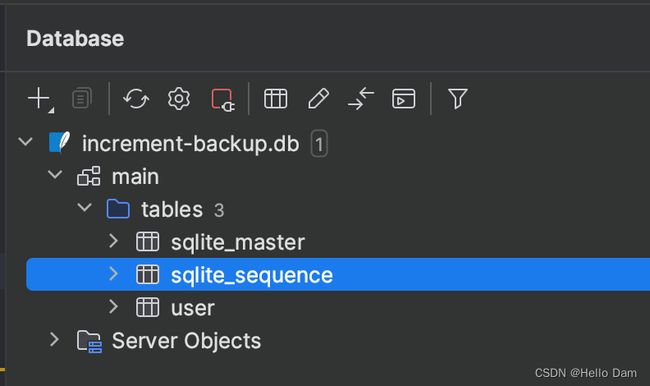
IDEA连接SQLite


连接成功
navicat连接SQLite数据库

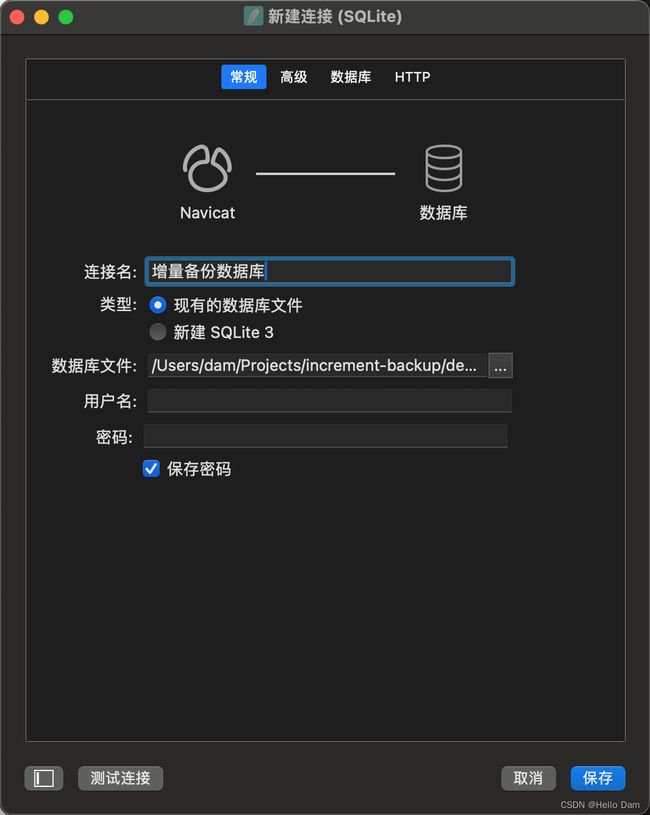
连接成功

后端增删改查接口实现
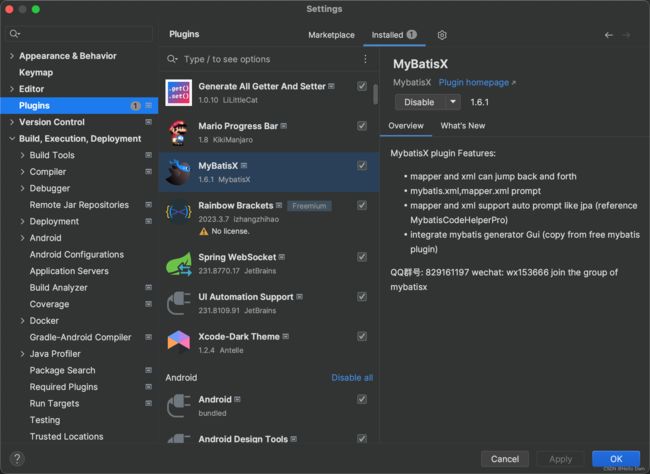
MybatisX生成代码
如果没有安装如下插件的话,先安装一下

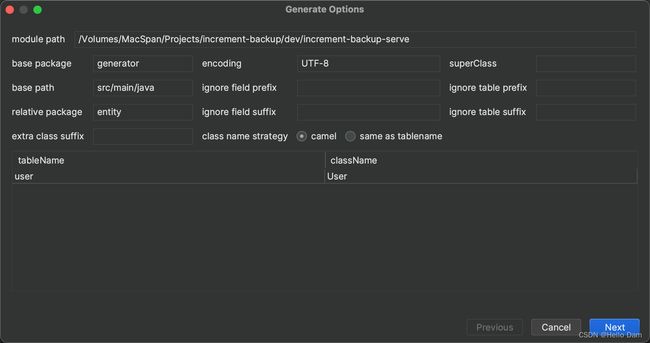

生成成功
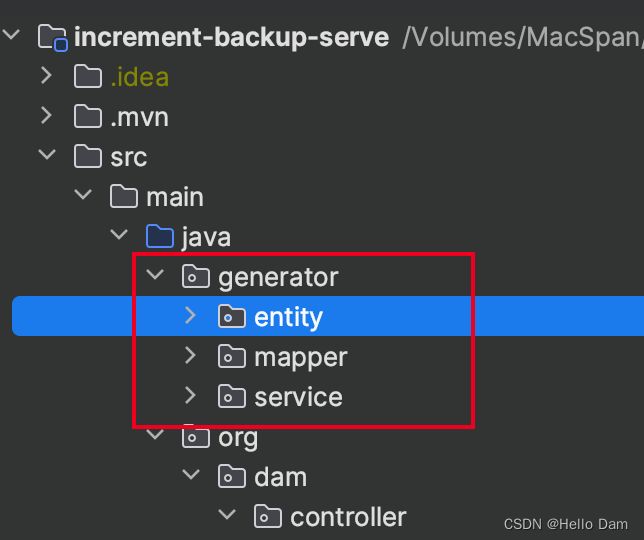
创建如下项目结构,并粘贴所生成的代码过去
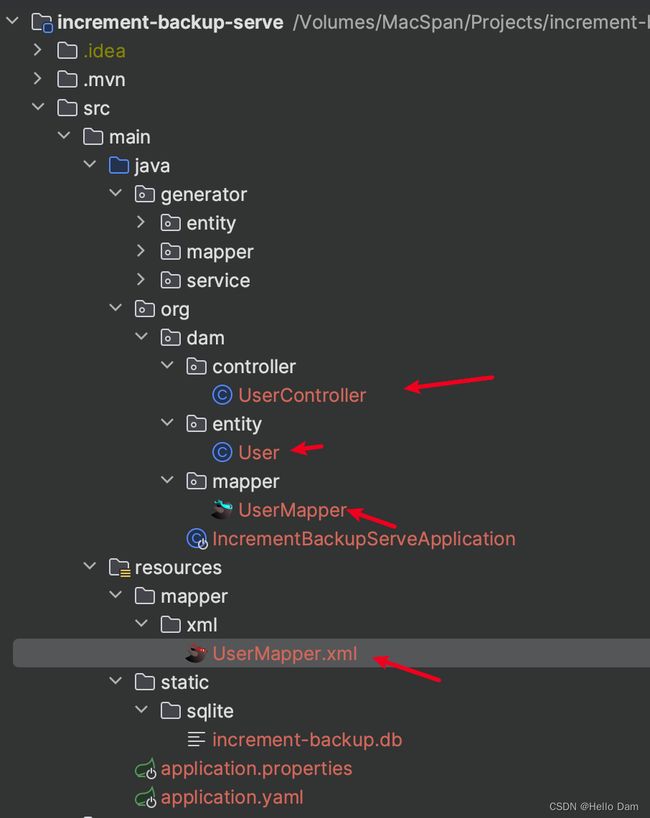
注意,mapper.xml的实体类引用要和你项目的一致
不会生成看这个
因为只是非常简单的案例,这里先不使用service包下的代码
User
package org.dam.entity;

import com.baomidou.mybatisplus.annotation.IdType;
import com.baomidou.mybatisplus.annotation.TableField;
import com.baomidou.mybatisplus.annotation.TableId;
import com.baomidou.mybatisplus.annotation.TableName;
import lombok.Data;

import java.io.Serializable;

/**
 *
 * @TableName user
 */
@TableName(value ="user")
@Data
public class User implements Serializable {
    /**
     *
     */
    @TableId(type = IdType.AUTO)
    private Integer id;

    /**
     *
     */
    private String name;

    @TableField(exist = false)
    private static final long serialVersionUID = 1L;

    @Override
    public boolean equals(Object that) {
        if (this == that) {
            return true;
        }
        if (that == null) {
            return false;
        }
        if (getClass() != that.getClass()) {
            return false;
        }
        User other = (User) that;
        return (this.getId() == null ? other.getId() == null : this.getId().equals(other.getId()))
            && (this.getName() == null ? other.getName() == null : this.getName().equals(other.getName()));
    }

    @Override
    public int hashCode() {
        final int prime = 31;
        int result = 1;
        result = prime * result + ((getId() == null) ? 0 : getId().hashCode());
        result = prime * result + ((getName() == null) ? 0 : getName().hashCode());
        return result;
    }

    @Override
    public String toString() {
        StringBuilder sb = new StringBuilder();
        sb.append(getClass().getSimpleName());
        sb.append(" [");
        sb.append("Hash = ").append(hashCode());
        sb.append(", id=").append(id);
        sb.append(", name=").append(name);
        sb.append(", serialVersionUID=").append(serialVersionUID);
        sb.append("]");
        return sb.toString();
    }
}
UserMapper
package org.dam.mapper;

import com.baomidou.mybatisplus.core.mapper.BaseMapper;
import org.dam.entity.User;

/**
* @author mac
* @description 针对表【user】的数据库操作Mapper
* @createDate 2024-01-18 21:12:12
* @Entity generator.entity.User
*/
public interface UserMapper extends BaseMapper<User> {

}
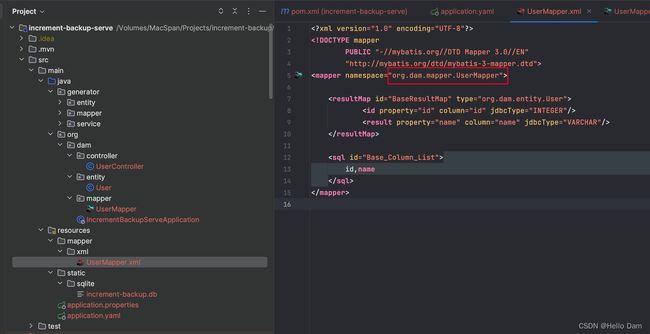
UserMapper.xml
DOCTYPE mapper
        PUBLIC "-//mybatis.org//DTD Mapper 3.0//EN"
        "http://mybatis.org/dtd/mybatis-3-mapper.dtd">
<mapper namespace="org.dam.mapper.UserMapper">

    <resultMap id="BaseResultMap" type="org.dam.entity.User">
            <id property="id" column="id" jdbcType="INTEGER"/>
            <result property="name" column="name" jdbcType="VARCHAR"/>
    resultMap>

    <sql id="Base_Column_List">
        id,name
    sql>
mapper>
controller
package org.dam.controller;

import org.dam.entity.User;
import org.dam.mapper.UserMapper;
import org.springframework.beans.factory.annotation.Autowired;
import org.springframework.web.bind.annotation.*;

/**
 * @Author dam
 * @create 2024/1/18 20:37
 */
@RestController
@RequestMapping("/user")
public class UserController {

    @Autowired
    UserMapper userMapper;

    /**
     * 增添数据
     */
    @GetMapping("/insert")
    public Object insert(String name) {
        User user = new User();
        user.setName(name);
        return userMapper.insert(user);
    }

    /**
     * 查询数据
     */
    @GetMapping("/show")
    public Object show() {
        return userMapper.selectList(null);
    }

    /**
     * 删除数据
     */
    @DeleteMapping("/delete")
    public Object delete(Integer id) {
        return userMapper.deleteById(id);
    }

    /**
     * 修改数据
     */
    @GetMapping("/update")
    public Object update(Integer id, String name) {
        User user = new User();
        user.setId(id);
        user.setName(name);
        return userMapper.updateById(user);
    }
}
创建配置文件application.yaml
注意url要对应sqlite数据库
# Tomcat
server:
  port: 8899

#spring
spring:
  datasource:
    #引用项目中的数据库文件
    driver-class-name: org.sqlite.JDBC
    url: jdbc:sqlite::resource:static/sqlite/increment-backup.db
    username:
    password:
  # 指定静态资源的路径
  web:
    resources:
      static-locations: classpath:/static/

#mybatis:
#  mapper-locations: classpath*:mapper/**/*.xml
启动类IncrementBackupServeApplication
package org.dam;

import org.mybatis.spring.annotation.MapperScan;
import org.springframework.boot.SpringApplication;
import org.springframework.boot.autoconfigure.SpringBootApplication;

@SpringBootApplication
@MapperScan("org.dam.mapper")
public class IncrementBackupServeApplication {

    public static void main(String[] args) {
        SpringApplication.run(IncrementBackupServeApplication.class, args);
    }

}
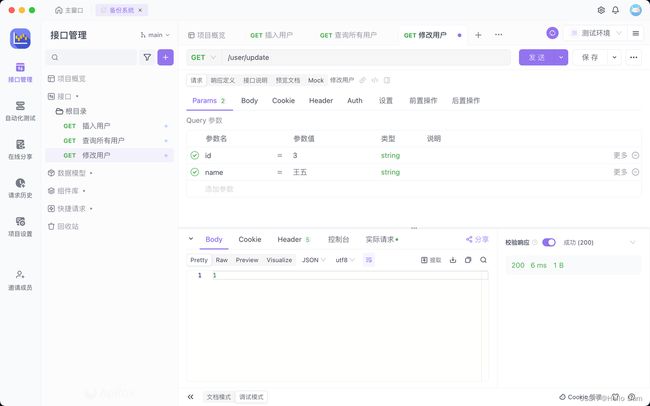
测试
我这边使用接口测试工具Apifox来进行测试,使用Postman等其他工具也是可以的,不过我强烈推荐Apifox,感觉非常好用
插入用户

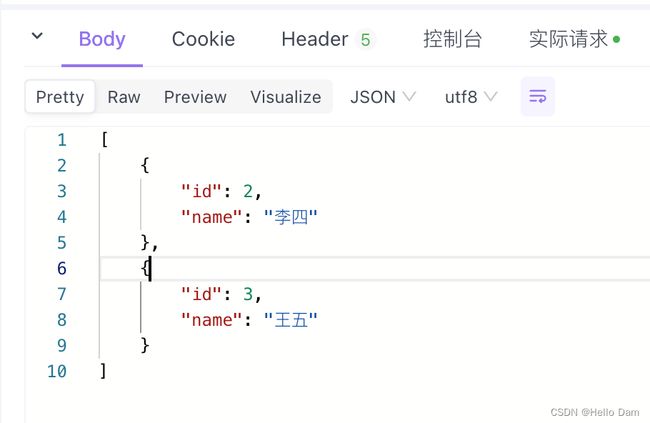
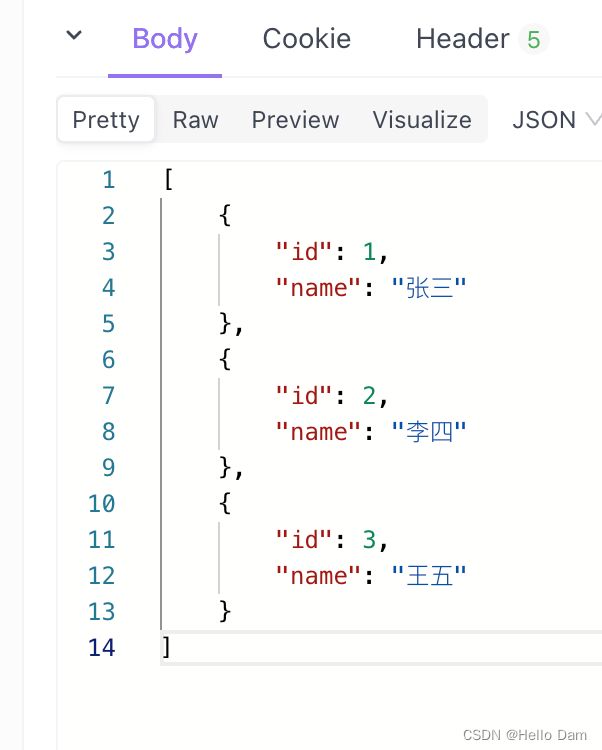
查询所有用户

修改用户名称
再查一次,修改成功
删除用户
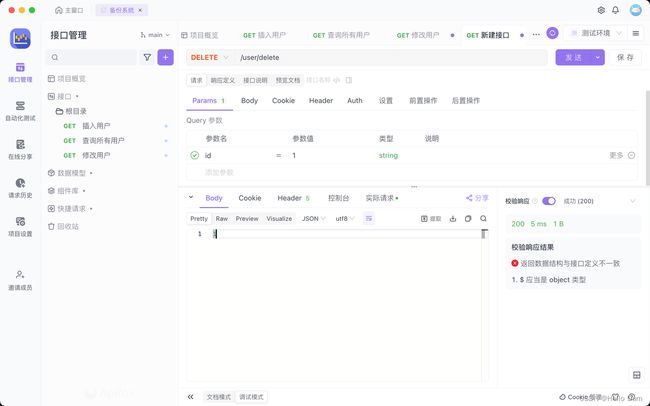
再查一遍,删除成功