Mr_HJ / form-generator项目学习-增加自定义的超融组件(一)
更多ruoyi-nbcio功能请看演示系统
gitee源代码地址
前后端代码: https://gitee.com/nbacheng/ruoyi-nbcio
演示地址:RuoYi-Nbcio后台管理系统
更多nbcio-boot功能请看演示系统
gitee源代码地址
后端代码: https://gitee.com/nbacheng/nbcio-boot
前端代码:https://gitee.com/nbacheng/nbcio-vue.git
在线演示(包括H5) : http://122.227.135.243:9888
尝试学习增加自己的一个超融组件,能支持数据库与字段,先把前端做好。
主要的流程如下:
1、utils\generator\config.js 中添加一个json
// 超融组件配置
    __config__: {
      label: '超融文本',
      labelWidth: null,
      showLabel: true,
      changeTag: true,
      tag: 'sf-input',
      tagIcon: 'sfinput',
      defaultValue: undefined,
      required: false,
      tableName: "",
      layout: 'colFormItem',
      span: 24,
      document: 'https://element.eleme.cn/#/zh-CN/component/input',
      // 正则校验规则
      regList: []
    },
    // 组件的插槽属性
    __slot__: {
      prepend: '',
      append: ''
    },
    // 其余的为可直接写在组件标签上的属性
    placeholder: '请输入',
    style: {width: '100%'},
    clearable: true,
    'prefix-icon': '',
    'suffix-icon': '',
    maxlength: null,
    'show-word-limit': false,
    readonly: false,
    disabled: false
  },
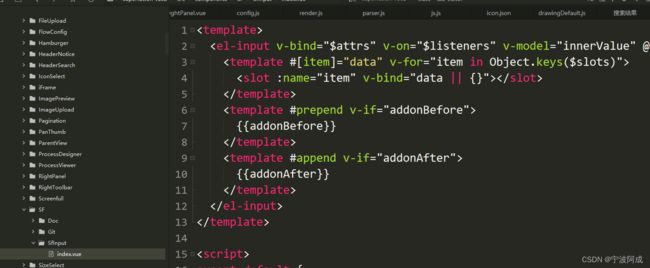
2、src\compontnes\目录下创建对应的组件
3、main.js中全局注册刚创建的组件

4、src\views\index\RightPanel.vue 中绑定第一步中json中添加的各个属性值
                  {{ item.tableName?item.tableComment+'('+item.tableName+')':item.tableComment}}

                {{item.sub==false?'主表':'从表'}}
tableChange(table) {
      console.log("tableChange table",table)
      this.activeData.__config__.tableName = table
      const tableName = table
      this.getColumnList(tableName);
    },
    getColumnList(tableName) {
      if (tableName) {
        this.loading = true;
        getGenColumn(tableName).then(response => {
          this.columnList = response.rows;
          //this.total = response.total;
          this.loading = false;
        });
      }
    },
效果图如下:
