Vue 学习笔记(九)路由嵌套&&参数传递(官方两种方式)
vue-router路由嵌套&&参数传递(类似Restful风格)
-
-
- 1.路由嵌套
- 2.参数传递
-
1.路由嵌套
基本思路就是:搭建需要嵌套的页面,再配置路由嵌套
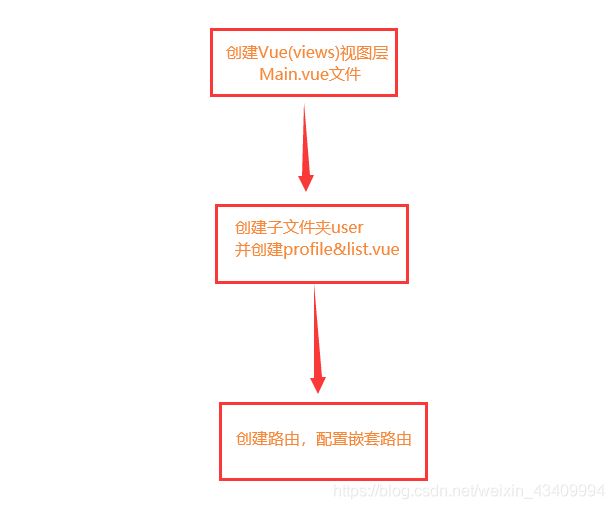
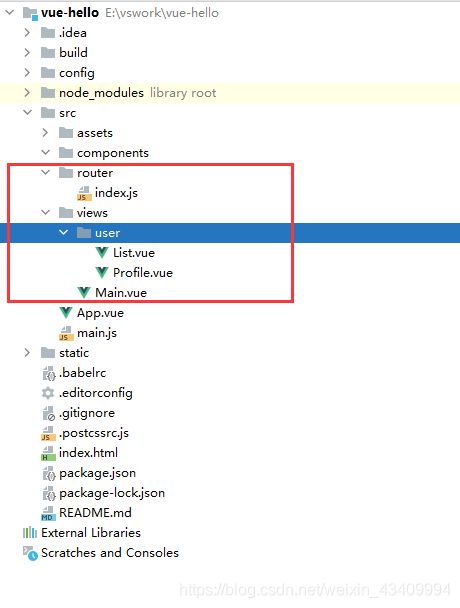
1.按上方流程图创建目录
2.在路由中配置路由嵌套
import Vue from 'vue'
import VueRouter from 'vue-router'
import Main from "../views/Main";
import List from "../views/user/List";
import Profile from "../views/user/Profile";
Vue.use(VueRouter)

export default new VueRouter({

routes:[
...
    children:[  //嵌套路由
      {path:'/user/profile',component:Profile},
      {path:'/user/list',component:List}
    ]

})
3.在Main中搭建router-link进行路由嵌套搭建
<template>
  <div>
    <h1>这是主界面</h1>
  <ul>
    <router-link to="/user/profile">子视图层profileView</router-link>
    <router-link to="/user/list">子视图层listView</router-link>
    <router-view></router-view>
  </ul>
  </div>
</template>
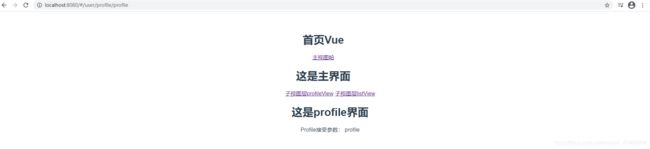
4.运行结果如图所示
2.参数传递
前言:参数传递和Restful风格十分相似,在路径上拼接需要接受的参数,在请求该路径时,需要携带参数,否则会抛出异常,参数传递在路由配置中有两种方式,下面小编两种都进行举例
1.在路由配置的基础上,给嵌套的路由添加名字以及修改路径(:参数名)接受参数
 children:[
      {path:'/user/profile/:msg',name:'profileView',component:Profile},
      {path:'/user/list/:msg',name:'listView',component:List}
    ]
2.对应的在Main页面中修改router-link中的路径
  <ul>
    <router-link :to="{name: 'profileView' , params : {msg: 'profile'}}">子视图层profileView</router-link>
    <router-link :to="{name: 'listView' , params : {msg: 'list'}}">子视图层listView</router-link>
    <router-view></router-view>
  </ul>
补充:参数一(name):对照定义的名字,参数二(params):顾名思义就是传递的参数啦
3.输出传递内容:
<template>
<div>
<h1>这是List界面</h1>
List界面接受参数:{{this.$route.params.msg}}
</div>
</template>
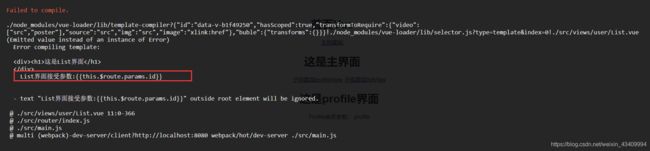
补充:这里一定要注意将展示的内容套到根元素div中,否则将会报错,官方说明!!!小伙伴们不要踩坑了
附错误截图:
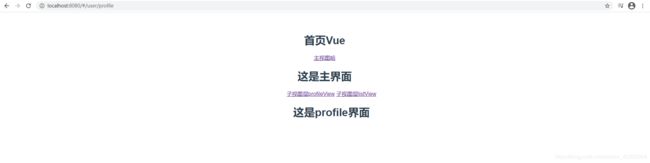
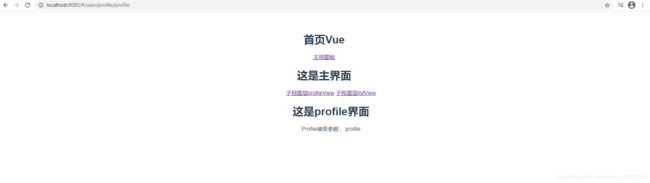
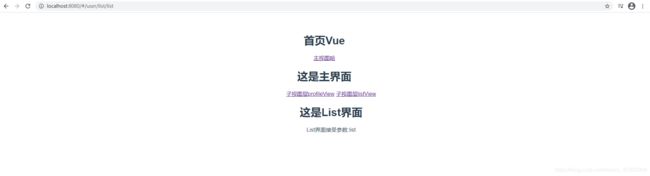
4.最终结果展示:
5.第二种参数传递方式:props
1.官方上面定义了props传递参数的用法,是一种解耦的用法,如图:
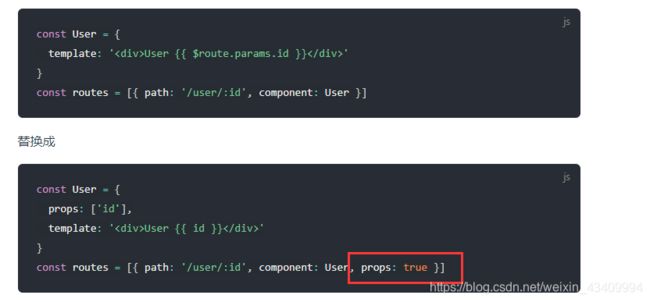
于是我们在路由后方添加props:true
 {
            path: '/user/profile/:id',
            name: 'ProfileName',
            component: Profile,
            props: true //添加
          }
2.在需要接受的页面(Profile)路径中定义props:[‘参数名’]
<script>
export default {
  props:['id'],
  name: "Profile"
}
</script>
3.获取值可以直接通过{{id}}获取
<template>
<div>
  <h1>这是profile界面</h1>
  Profile接受参数: {{id}}
</div>
</template>
4.最终结果展示