4.3 AI识虫比赛
文章目录
- 一、查看环境并准备数据
- 二、启动训练
- 三、启动评估
-
- 计算精度指标
- 四、预测单张图片并可视化预测结果
- 五、提升方案
一、查看环境并准备数据
# 查看当前挂载的数据集目录, 该目录下的变更重启环境后会自动还原
!ls /home/aistudio/data
# 查看工作区文件, 该目录下的变更将会持久保存. 请及时清理不必要的文件, 避免加载过慢.
!ls /home/aistudio/work
anchor_lables.py  draw_results.py    multinms.py	reader.py
box_utils.py	  eval.py	     output_pic.png	train.py
calculate_map.py  image_utils.py     predict.py		yolo_epoch50.pdparams
darknet.py	  insects_reader.py  pred_results.json	yolov3.py
draw_anchors.py   map_utils.py	     __pycache__
# 将数据解压缩到 /home/aistudio/work目录下面
# 初次运行时需要将代码注释取消
!unzip -d /home/aistudio/work /home/aistudio/data/data67206/insects.zip
# 进入工作目录  /home/aistudio/work
%cd  /home/aistudio/work
# 查看工作目录下的文件列表
!ls
anchor_lables.py  draw_results.py    map_utils.py	__pycache__
box_utils.py	  eval.py	     multinms.py	reader.py
calculate_map.py  image_utils.py     output_pic.png	train.py
darknet.py	  insects	     predict.py		yolo_epoch50.pdparams
draw_anchors.py   insects_reader.py  pred_results.json	yolov3.py
二、启动训练
通过运行train.py 文件启动训练,训练好的模型参数会保存在/home/aistudio/work目录下。
!python train.py
三、启动评估
通过运行eval.py启动评估,需要制定待评估的图片文件存放路径和需要使用到的模型参数。评估结果会被保存在pred_results.json文件中。
-
为了演示计算过程,下面使用的是验证集下的图片./insects/val/images,在提交比赛结果的时候,请使用测试集图片./insects/test/images
-
这里提供的yolo_epoch50.pdparams 是未充分训练好的权重参数,请在比赛时换成自己训练好的权重参数
# 在测试集test上评估训练模型,image_dir指向测试集集路径,weight_file指向要使用的权重路径。
# 参加比赛时需要在测试集上运行这段代码,并把生成的pred_results.json提交上去
!python eval.py --image_dir=insects/test/images --weight_file=yolo_epoch50.pdparams
# 在验证集val上评估训练模型,image_dir指向验证集路径,weight_file指向要使用的权重路径。
!python eval.py --image_dir=insects/val/images --weight_file=yolo_epoch50.pdparams
计算精度指标
通过运行calculate_map.py计算最终精度指标mAP
-
同学们训练完之后,可以在val数据集上计算mAP查看结果,所以下面用到的是val标注数据./insects/val/annotations/xmls
-
提交比赛成绩的话需要在测试集上计算mAP,本地没有测试集的标注,只能提交json文件到比赛服务器上查看成绩
!python calculate_map.py --anno_dir=insects/val/annotations/xmls/ --pred_result=pred_results.json
Accumulating evaluatation results...
mAP(0.50, 11point) = 71.97
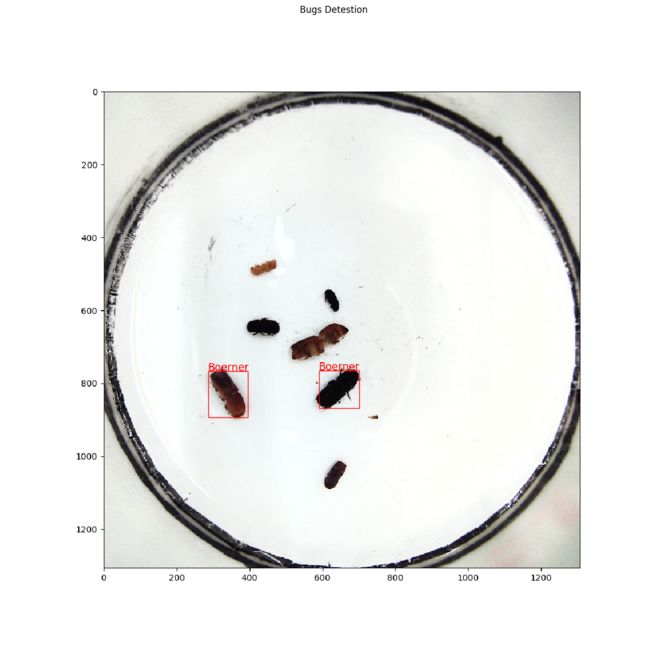
四、预测单张图片并可视化预测结果
!python predict.py --image_name=./insects/test/images/3157.jpeg --weight_file=./yolo_epoch50.pdparams
# 预测结果保存在“/home/aistudio/work/output_pic.png"图像中,运行下面的代码进行可视化
# 可视化检测结果
from PIL import Image
import matplotlib.pyplot as plt
%matplotlib inline

img = Image.open("/home/aistudio/work/output_pic.png")

plt.figure("Object Detection", figsize=(15, 15)) # 图像窗口名称
plt.imshow(img)
plt.axis('off') # 关掉坐标轴为 off
plt.title('Bugs Detestion') # 图像题目
plt.show()
五、提升方案
这里给出的是一份基础版本的代码,可以在上面继续改进提升,可以使用的改进方案有:
-
1、使用其它模型如faster rcnn等 (难度系数5)
-
2、使用数据增强,可以对原图进行翻转、裁剪等操作 (难度系数3)
-
3、修改anchor参数的设置,教案中的anchor参数设置直接使用原作者在coco数据集上的设置,针对此模型是否要调整 (难度系数3)
-
4、调整优化器、学习率策略、正则化系数等是否能提升模型精度 (难度系数1)