ubuntu16.04上安装编译opencv库
ubuntu16.04上安装编译opencv库
参考博客:
1
2
1、安装OpenCV
安装依赖前,请去OpenCV官网进行相应版本的下载,下载Source源码格式的安装包。
1.1 安装依赖
sudo apt-get install build-essential
sudo apt-get install libgtk2.0-dev
sudo apt-get install libavcodec-dev
sudo apt-get install libavformat-dev
sudo apt-get install libjpeg62-dev
sudo apt-get install libtiff5
sudo apt-get install libtiff5-dev
sudo apt-get install cmake
sudo apt-get install cmake-qt-gui
sudo apt-get install libswscale-dev
sudo apt-get install libjasper-dev
1.2 解压安装包及创建build文件夹
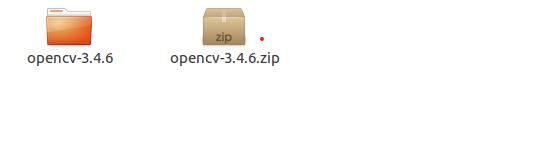
a 解压安装包:
unzip opencv-3.4.1.zip
b 创建build文件夹
cd opencv_dir  //自己的opencv安装包的路径
mkdir build
cd build
cmake-gui .. //打开cmake界面
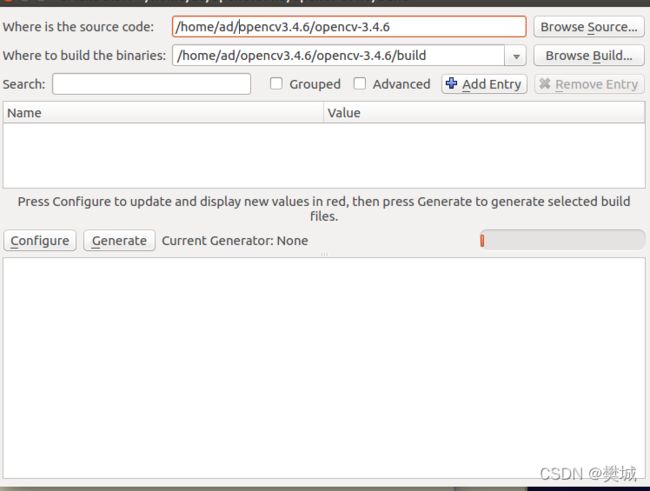
无gpu和显卡把WITH-CUDA和BUILD_opencv_gpu选项去掉打钩,然后依次点Configure和Generate按钮生成Configure文件。
c 生成后,进行编译
make
sudo make install
2、环境变量的配置
2.1 配置环境路径的
#路径在/usr/loacl/etc下,没有就新建
sudo gedit /etc/profile ##可以把环境变量放在/etc/profile里面,'~/.bashrc'一样

#在文件最后添加
export PKG_CONFIG_PATH=$PKG_CONFIG_PATH:/usr/local/lib/pkgconfig

#环境变量生效
source /etc/profile
2.2 lib库路径
#打开文件
sudo gedit /etc/ld.so.conf.d/opencv.conf

#一般是新建文件,opencv的库一般安装在’/usr/local/lib’文件夹下,在文件内添加
/usr/local/lib

#环境变量生效
sudo ldconfig
** 接下来就可以使用OpenCV,需要配置路径 **
3、测试
3.1 测试准备
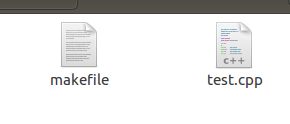
添加一个test.cpp与一个makefile文件,
内容如下:
** #test.cpp **
  1 #include <opencv2/core/core.hpp>
  2 #include <opencv2/imgproc/imgproc.hpp>
  3 #include <opencv2/highgui/highgui.hpp>
  4 #include <math.h>
  5 #include <iostream>

  6 using namespace cv;
  7 using namespace std;

  9 int threshold_value = 100, threshold_max = 255;
 10 int threshold_type = 0, threshold_type_max = 4;
 11 string outwindow = "threshold img";
 12 Mat src, dst;
 13 int main(){
 14     Mat src1;
 15     src1 = imread("/home/tarena/tmp/opencvTest/name.jpg");
 16     resize(src1, src, Size(src1.cols, src1.rows));
 17     //resize(src1, src, Size(src1.cols/2, src1.rows/2)); //缩小一半
 18     if (!src.data){
 19         printf("cannot load image ...");
 20         return -1;
 21     }
 22     namedWindow("src img", CV_WINDOW_AUTOSIZE);
 23     imshow("src img", src);
 25     Mat src_gray;
 26     cvtColor(src, src_gray, CV_BGR2GRAY);
 27     //canny边缘检测算子
 28     Canny(src_gray, dst, 100, 200);
 29     imshow("canny", dst);
 30     imshow("canny ", ~dst); //dst按照像素值取反
 32     waitKey(0);
 33     return 0;
 35 }
** makefile:**
  1 INCLUDE = $(shell pkg-config --cflags opencv)
  2 LIBS = $(shell pkg-config --libs opencv)
  3 SOURCES = test.cpp
  4 # 目标文件
  5 OBJECTS = $(SOURCES:.cpp=.o)
  6 # 可执行文件
  7 TARGET = test
  8 $(TARGET):$(OBJECTS)
  9     g++ -o $(TARGET) $(OBJECTS) -I $(INCLUDE) $(LIBS)
 10 $(OBJECTS):$(SOURCES)
 11     g++ -c $(SOURCES)
 12 clean:
 13     rm $(OBJECTS) $(TARGET)
 14 # 编译规则 $@代表目标文件 $< 代表第一个依赖文件
 15 %.o:%.cpp
 16     g++ -I $(INCLUDE) -o $@ -c $<
3.2 编译结果
用cd命令进入放置 makefile,test.cpp (它俩的目录)的文件夹。
make
./test name.jpg
