springboot项目整合ueditor 图片上传后端配置 jar包 war包 两种配置
为什么要进行后端配置 :因为ueditor需要获得他的配置信息就是 config.json 里面的内容,比如图片的请求地址、保存路径等等
String rootPath = request.getSession().getServletContext().getRealPath("/");
run as application E:\git\wedding\wedding-app\wedding-app\src\main\webapp\
run as server D:\01develop\apache-tomcat-8.5.35-windows-x64\apache-tomcat-8.5.35\webapps\wedding-app\
流程 :
下载ueditor jsp 版
引入依赖
	com.gitee.qdbp.thirdparty
	ueditor
	1.4.3.3


    com.alibaba
	fastjson
	1.2.47


    commons-fileupload
	commons-fileupload
	1.3.3


	commons-io
	commons-io
	2.4
1 springboot jar包版(run as application)
1 将ueditor/jsp/config.json 文件 放到src/main/webapp 下面(这里 你的json文件可能会报错 ,是因为里面json有注释 ,json校验的时候会报错 但是不影响运行)


2 将ueditor.config.js文件 中的serverUrl 改为后端请求的地址
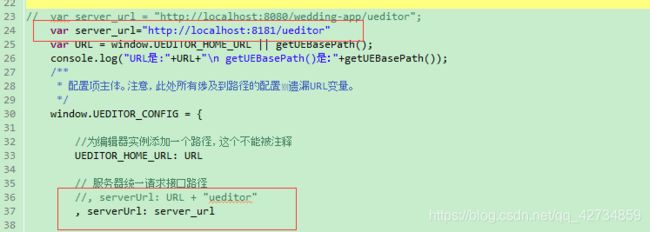
3 后端controller @requestMapping就是你上面的serverUrl 请求的路径
@RequestMapping("/ueditor")
	public void ueditor(HttpServletRequest request, HttpServletResponse response) {
		System.out.println("进来了");
		try {
			request.setCharacterEncoding( "utf-8" );
			response.setHeader("Content-Type" , "text/html");
	        response.setContentType("application/json");
	        // 去加载config.json文件
			String rootPath = request.getSession().getServletContext().getRealPath("/");
			PrintWriter out = response.getWriter();
			String exec = new ActionEnter( request, rootPath ).exec();
			System.out.println(rootPath+"\n"+exec);
			out.write( exec );
			out.flush();
			out.close();
		} catch (Exception e) {
			e.printStackTrace();
		}

	}
这时候 去打开页面 就已经可以上传图片了


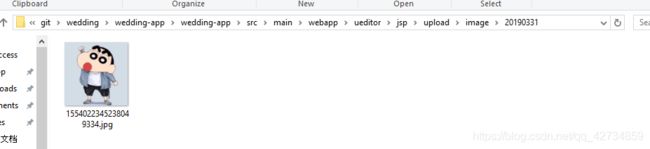
上传的地址为 你的项目路径/src/main/webapp/+你的config.json里面设置的路径
以我的为例
就是 E:\git\wedding\wedding-app\wedding-app\src\main\webapp\ueditor\jsp\upload\image\20190331 文件目录下
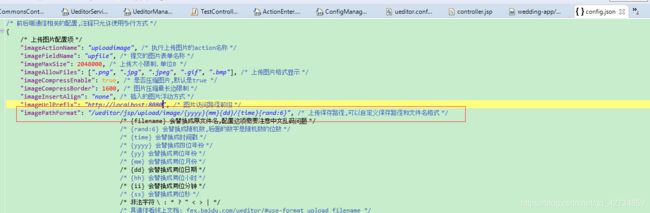
你可能 上传完毕后 回显不正常 就像下面这样

那是因为你的请求路径没配置好 ,去config.json里面配置
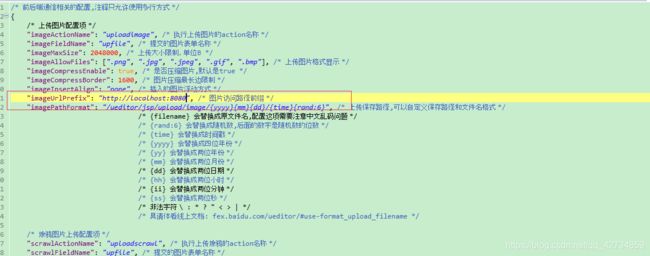
就显示成功啦

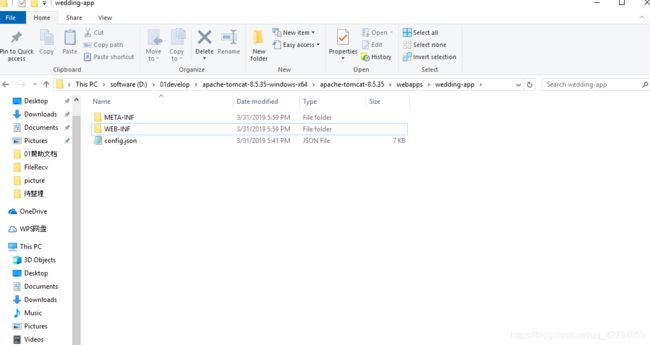
2 springboot war包版( run as server)
只需要 将ueditor.config.js 和 config.json 里面的配置文件修改 请求路径加上项目名称 就可以了
在tomcat 里面运行 webapp里面的文件和WEB-INF同级