Python3 Django 入门实例-- 学习笔记(后续持续更新)
目录
1. 环境:
2. 需求:
3. Django框架
4. 实现过程
5. 总结与展望
我参考最多的应该是这个链接的内容:https://blog.csdn.net/hao65103940/article/details/79528653这里面的内容很详细,很适合新手小白。
1. 环境:
-
win10
-
Pycharm
-
Python3
-
Django
通过pip3 install django 的形式安装
2. 需求:
-
将手头现有的一个Python代码,通过网页形式,实现需求输入,结果输出。
3. Django框架
刚刚接触,所以理解很粗浅,参考阅读了一些资料,主要包含4个模块。
目前我的理解如下,后续会慢慢更新=.=:
-
Model
整个项目结构中,直接同数据库交流的一个部分,涉及数据处理的都在这里。
-
View
HTML页面的reques和response相关的内容。
-
Template
放HTML的地方(暂时只明白这个)
-
Form
按照我现在的理解,就是HTML的表单的处理者,把HTML的表单处理成能让Python代码处理的样子。
4. 实现过程
- Pycharm中新建一个名为Case的Django项目
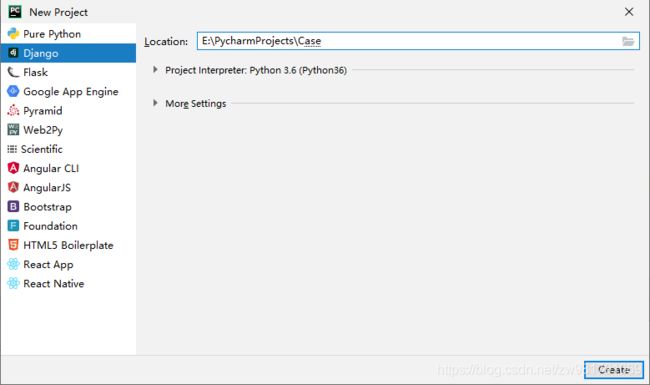
- 观察初始项目结构

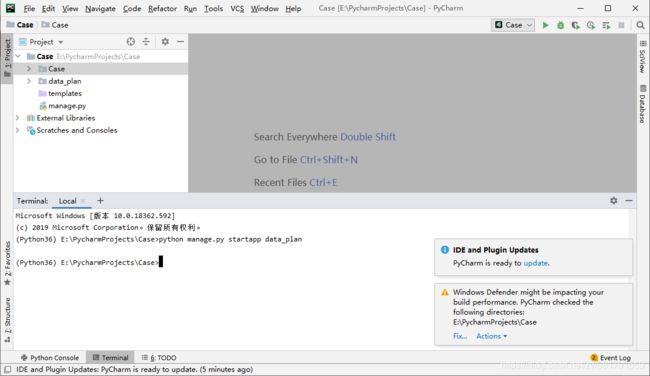
step1:
在Terminal 里面输入python manage.py startapp +"app名称" ,你会发现项目的文件里多了一个同名于app名称的文件夹。
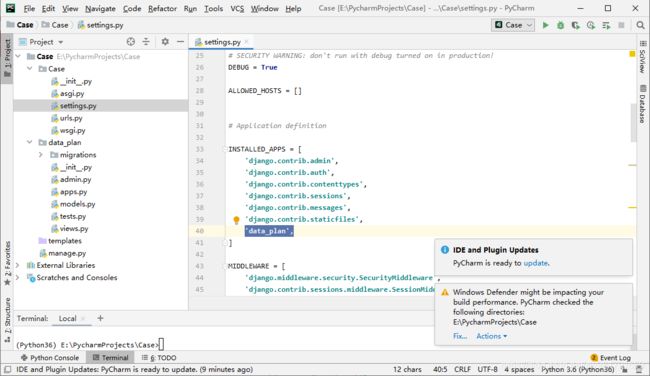
step2:
接下来,在Case下的settings.py里面“注册” 刚才的APP
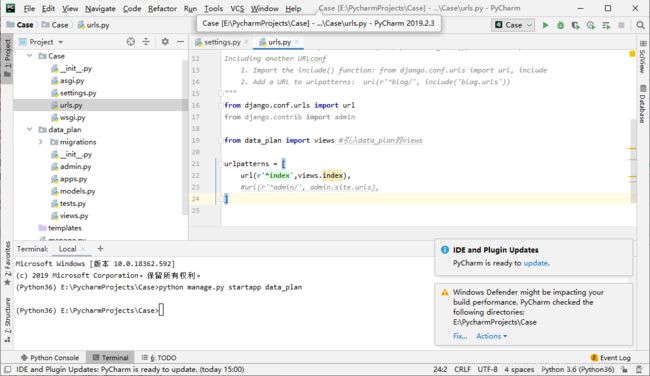
step3:
编写路由,在Case里的urls.py中添加 url(r'^index',views.index),
step4:
在template文件夹下面添加,index.html文件
step5:
相应的,在views.py 内添加内容,可以看到models 内并未定义
from django.shortcuts import render
#from django.shortcuts import HttpResponse
# Create your views here.

from data_plan import test_html_plan #自己编写的函数
from data_plan import models

#GHXQ_list = []

def index(request):
    if(request.method == "POST"):   # 这边选择POST 作为请求方式
        ghxq= request.POST.get("GHXQ",None) #获取HTML 页面上的数据
        RESULT=test_html_plan.test_html(ghxq)
        #temp = {"GHXQ": GHXQ, "RESULT": str(RESULT)}
        #GHXQ_list.append(temp)
        models.ghxq_Info.objects.create(ghxq=ghxq,RES=RESULT)
    GHXQ_list = models.ghxq_Info.objects.all() #使用Python自带的数据库SQLite3   #objects.all()会获取所有数据
    print(GHXQ_list)
    return render(request,"index.html",{"data":GHXQ_list}) #返回
step6:
在model.py里面,根据自己的编码需要,补充数据库表中字段的参数
from django.db import models

# Create your models here.
class ghxq_Info(models.Model):
    ghxq = models.CharField(max_length=100)
    RES = models.CharField(max_length=1000)#都是char类型的,后面设置最大数据长度
step7:
通过在Termial 中运行python manage.py makemigrations
来创建数据库相关的文件(我现在还不知道它该怎么称呼),可以看到生成了一个0001_initial.py
(Python36) E:\PycharmProjects\Case>python manage.py makemigrations
Migrations for 'data_plan':
  data_plan\migrations\0001_initial.py
    - Create model ghxq_Info

(Python36) E:\PycharmProjects\Case>
step8:
python manage.py migrate
会显示如下运行结果
(Python36) E:\PycharmProjects\Case>python manage.py migrate
Operations to perform:
  Apply all migrations: admin, auth, contenttypes, data_plan, sessions
Running migrations:
  Applying contenttypes.0001_initial... OK
  Applying auth.0001_initial... OK
  Applying admin.0001_initial... OK
  Applying admin.0002_logentry_remove_auto_add... OK
  Applying admin.0003_logentry_add_action_flag_choices... OK
  Applying admin.0004_auto_20200207_1121... OK
  Applying contenttypes.0002_remove_content_type_name... OK
  Applying auth.0002_alter_permission_name_max_length... OK
  Applying auth.0003_alter_user_email_max_length... OK
  Applying auth.0004_alter_user_username_opts... OK
  Applying auth.0005_alter_user_last_login_null... OK
  Applying auth.0006_require_contenttypes_0002... OK
  Applying auth.0007_alter_validators_add_error_messages... OK
  Applying auth.0008_alter_user_username_max_length... OK
  Applying auth.0009_alter_user_last_name_max_length... OK
  Applying auth.0010_alter_group_name_max_length... OK
  Applying auth.0011_update_proxy_permissions... OK
  Applying auth.0012_auto_20200207_1121... OK
  Applying data_plan.0001_initial... OK
  Applying sessions.0001_initial... OK
这时候,数据库相关的设置就弄好了。
step9:
启动服务器, 在Terminal 里面输入 python manage.py runserver 127.0.0.1:+“指定端口”
默认8000端口,运行python manage.py runserver = python manage.py runserver 127.0.0.1:8000
我这里指定8091端口,运行结果如下:
(Python36) E:\PycharmProjects\Case>python manage.py runserver 127.0.0.1:8091
Performing system checks...

System check identified no issues (0 silenced).
February 11, 2020 - 18:09:06
Django version 1.11.3, using settings 'Case.settings'
Starting development server at http://127.0.0.1:8091/
Quit the server with CTRL-BREAK.
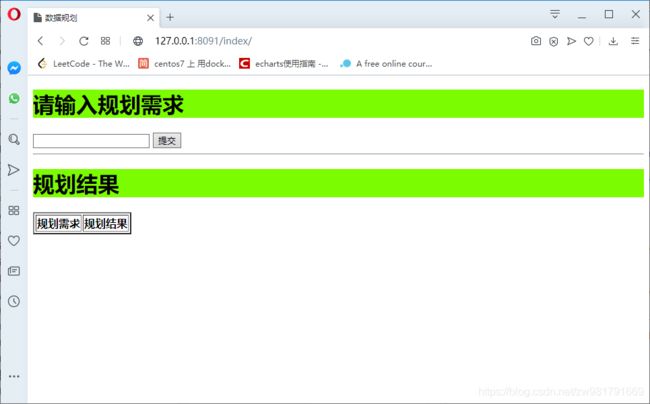
step10:
打开浏览器访问 http://127.0.0.1:8091/index/
5. 总结与展望
-
总结
-
目前感觉学习Django,首先要熟悉文件结构,什么东西放在哪里,还需要不断的熟练直到掌握。
-
展望
-
在Linux系统下重构;
-
实现多线程,在多个浏览器同时访问;
-
在现有的基础上添加JS,CSS ,修改HTML,美化界面;
-
对admin 功能需要进行学习。
-
Goal: 使用Django 实现个人博客。
接下来,会在这个实例的基础上不断的改进。