windows编译64位nginx
参考链接:https://blog.csdn.net/lqzkcx3/article/details/82848354
https://blog.csdn.net/pi314pi/article/details/81167814
下载安装
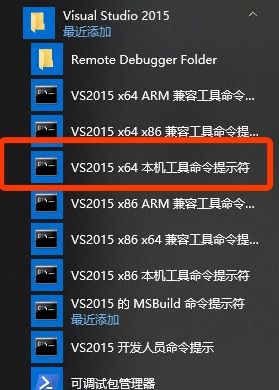
安装 Visual Studio 2015:
https://msdn.itellyou.cn/
安装时请勾选,图下所示

安装 msys2:
官网: https://www.msys2.org/ ,国内下载可能慢
清华的镜像地址:https://mirrors.tuna.tsinghua.edu.cn/msys2/distrib/
中国科学技术大学的镜像地址:https://mirrors.ustc.edu.cn/msys2/distrib/
安装 Perl(ActivePerl):
https://www.activestate.com/products/activeperl/
下载 PCRE:
http://www.pcre.org/
下载 zlib:
http://zlib.net/
下载 OpenSSL:
https://www.openssl.org/ 要使用1.0.xx版本的,1.1的版本编译不过的。(网友说的)
1.下载nginx源码
二选一
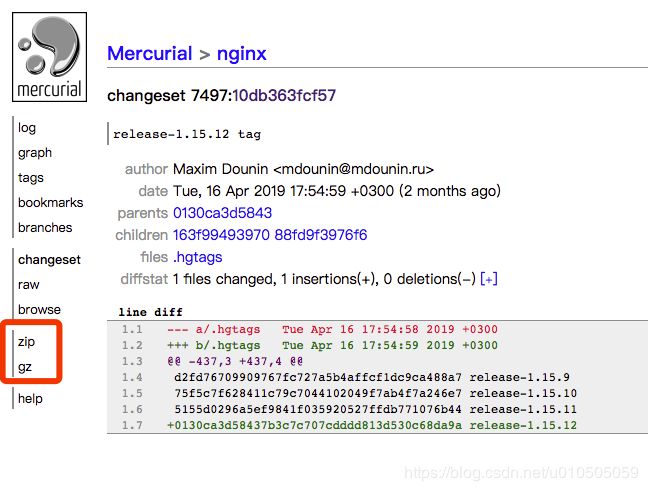
a) 从这里下载 zip 解压 http://hg.nginx.org/nginx/
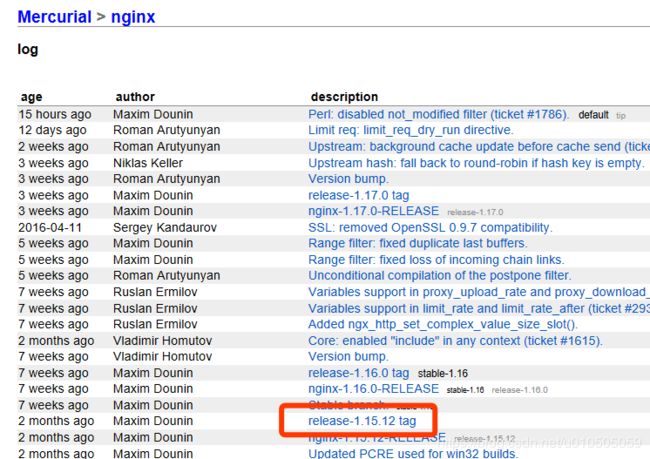
b) 或者安装Mercurial(https://www.mercurial-scm.org/ )并在环境变量中添加C:\Program Files\Mercurial\目录,因为我们需要在命令行中使用hg命令来获取nginx的源码。
nginx源码会直接下载到当前目录
hg clone http://hg.nginx.org/nginx
2.Nginx依赖模块
在nginx源码目录下,新建文件夹objs,lib。解压pcre-8.43,zlib-1.2.11,openssl-1.0.1u并改名为pcre,zlib,openssl
目录结构如下
nginx
    auto
    conf
    contrib
    docs
    Makefile
    misc
    objs
        lib
            pcre
            zlib
            openssl
    src
3.配置nginx生成Makefile文件
64位编译修改(32位编译忽略)
打开nginx\auto\lib\openssl\makefile.msvc文件。
找到“VC-WIN32”替换为“VC-WIN64A”;
“if exist ms\do_ms.bat”替换为“if exist ms\do_win64a.bat”;
“ms\do_ms”替换为“ms\do_win64a”。
4.由于Nignx没有提供相关配置项改变缺省banner,所以我们需要改变源码,然后重编译和重新安装一下,具体操作:
找到/nginx/src/http/ngx_http_header_filter_module.c文件(我的nginx的安装目录为/nginx),修改以下变量的声明:
static u_char ngx_http_server_string[] = "Server: nginx" CRLF;
static u_char ngx_http_server_full_string[] = "Server: " NGINX_VER CRLF;
static u_char ngx_http_server_build_string[] = "Server: " NGINX_VER_BUILD CRLF;
 修改为:
static u_char ngx_http_server_string[] = "Server: " CRLF;
static u_char ngx_http_server_full_string[] = "Server:  " CRLF;
static u_char ngx_http_server_build_string[] = "Server: " CRLF;
5.启动 msys2.exe 并 cd 到 nginx源码目录下
auto/configure --with-cc=cl --builddir=objs --prefix= \
--conf-path=conf/nginx.conf --pid-path=logs/nginx.pid \
--http-log-path=logs/access.log --error-log-path=logs/error.log \
--sbin-path=nginx.exe --http-client-body-temp-path=temp/client_body_temp \
--http-proxy-temp-path=temp/proxy_temp \
--http-fastcgi-temp-path=temp/fastcgi_temp \
--http-scgi-temp-path=temp/scgi_temp \
--http-uwsgi-temp-path=temp/uwsgi_temp \
--with-cc-opt=-DFD_SETSIZE=1024 --with-pcre=objs/lib/pcre \
--with-zlib=objs/lib/zlib --with-openssl=objs/lib/openssl \
--with-select_module --with-http_ssl_module
(这里会发现有一个异样的提示,auto/cc/msvc: line 117: [: : integer expression expected ,只要修改文件 $nginx源码目录\auto\cc\msvc 即可,在 echo " + cl version: $NGX_MSVC_VER" 的前面加入一行 NGX_MSVC_VER=15.00 ,当然不修改也不会影响后续的编译。 )
以上操作将在build目录下会生成一堆文件,其中Makefile就是我们生成的编译批处理文件了。
6. 编译nginx
以下操作,在编译过程中代码会引用到很多系统自带库,所以我们需要用visual studio 的命令行工具来执行;
切换到nginx源码目录下,然后
nmake -f objs/Makefile
在编译时最后提示找不到引用sed,但是不用管它,我们nginx.exe已经编译成功了。
7.运行nginx
a) 把objs\nginx.exe拷贝到上一级目录
b) 创建文件夹logs、temp、html
c) 启动nginx.exe
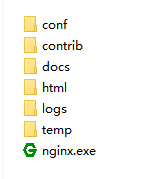
8.删除多余文件
nginx目录下可删剩下图所示