django项目配置 wsgi和nginx解决高并发请求
django配置 wsgi和nginx
官方文档
https://uwsgi-docs-zh.readthedocs.io/zh_CN/latest/tutorials/Django_and_nginx.html
下载uwsgi
pip install uwsgi
创建测试文件
def application(env, start_response):
    start_response('200 OK', [('Content-Type','text/html')])
    return [b"Hello World"]
这是python 3的,需要添加byte
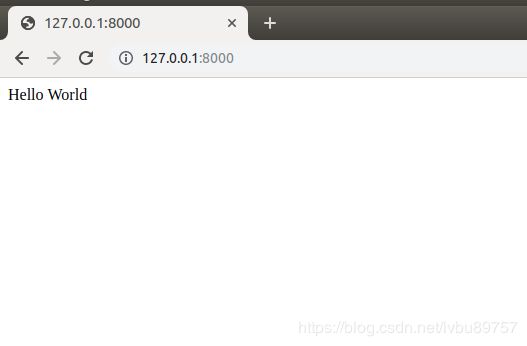
运行uwsgi
uwsgi --http :8000 --wsgi-file 绝对位置/test.py
现在使用本地8000端口查看
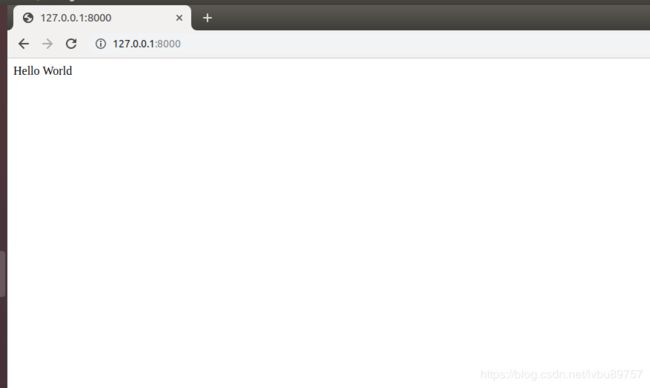
这意味着uwegi运行正常
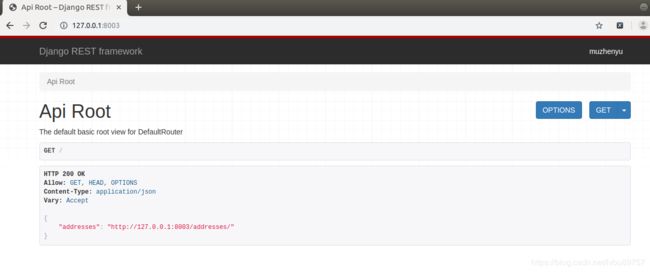
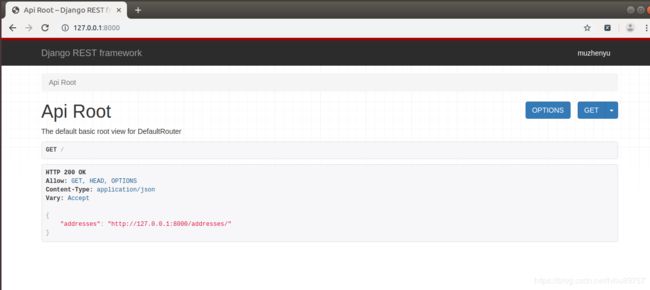
用wsgi命令启动django项目
首先我们进入项目同名目录的一级目录,就是两个同名文件夹中最高级的那一级路径,在命令行中键入
uwsgi --http :8000 --module 模块名(同名文件夹名字).wsgi
可以开启django项目

出现静态文件夹中css和js加载的问题
由于之后会自动生成static文件夹,这里可能出现css和js无法加载的问题
我们需要在settings中找到
STATIC_URL = '/static/'
在后面添加
STATIC_ROOT = os.path.join(BASE_DIR, "static/")
然后在根url.py中添加至如下
from django.conf.urls import url,include
from django.contrib import admin
from django.conf import settings
from django.conf.urls.static import static


urlpatterns = [
    url(r'^admin/', admin.site.urls),
    url(r'',include('user.urls')),
]+ static(settings.STATIC_URL, document_root = settings.STATIC_ROOT)
安装nginx
sudo apt-get install nginx
如果指令执行后出现404,可以update一下你的apt-get包,我是这样解决的。
sudo /etc/init.d/nginx start
启动nginx,然后通过127.0.0.1:80端口访问
项目配置nginx
nginx配置文件,这里面的路径等是要自己配置的
# mysite_nginx.conf

# the upstream component nginx needs to connect to
upstream django {
    # server unix:///path/to/your/mysite/mysite.sock; # for a file socket
    server 127.0.0.1:8001; # for a web port socket (we'll use this first)
}

# configuration of the server
server {
    # the port your site will be served on
    listen      8000;
    # the domain name it will serve for
    server_name .example.com; # substitute your machine's IP address or FQDN
    charset     utf-8;

    # max upload size
    client_max_body_size 75M;   # adjust to taste

    # Django media
    location /media  {
        alias /path/to/your/mysite/media;  # your Django project's media files - amend as required
    }

    location /static {
        alias /path/to/your/mysite/static; # your Django project's static files - amend as required
    }

    # Finally, send all non-media requests to the Django server.
    location / {
        uwsgi_pass  django;
        include     /path/to/your/mysite/uwsgi_params; # the uwsgi_params file you installed
    }
}
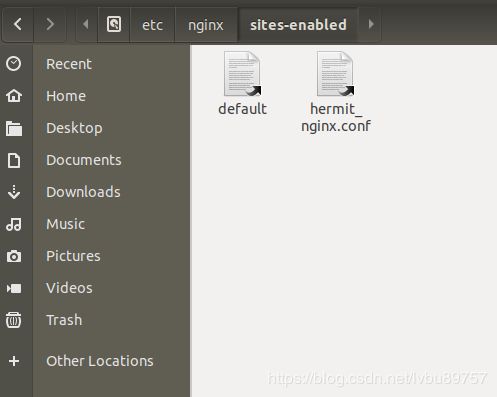
链接conf文件和nginx
sudo ln -s 项目niginx的.conf文件绝对路径 /etc/nginx/sites-enabled/
这里如果不小心写错了就到下图所示路径中
sudo rm -rf 文件名
文件路径
部署静态文件
在setting.py文件中添加
STATIC_ROOT = os.path.join(BASE_DIR, "static/")
然后进入项目虚拟环境
python manage.py collectstatic
会创建静态文件
重启nginx测试
sudo /etc/init.d/nginx restart
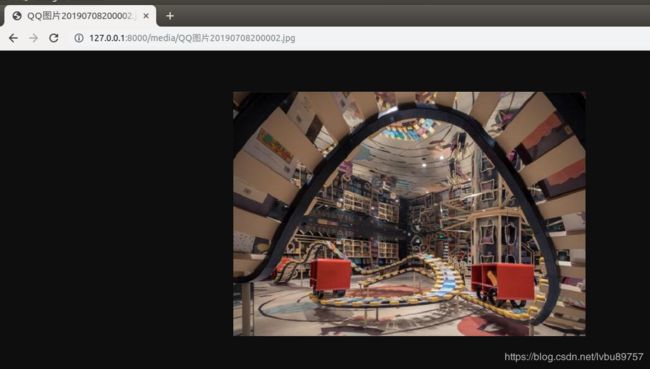
在项目文件夹中创建一个media文件夹,别忘了和之前的配置文件路径相符。然后往文件夹中添加一张图片
使用下面路径测试ngix
http://example.com:8000/media/media.png
如果还未配置域名,直接用本地查询就行
nginx和wsgi联合访问test.py
uwsgi --socket :8001 --wsgi-file 绝对路径/test.py
访问本地的8000可以有helloworld展示
使用ngix和wsgi访问django项目
这里我出了点问题,就是出现了502错误,这里是由于我的nginx用户不符合我的项目用户root。这里通过
由于是只读文件需要加sudo
sudo vim /etc/nginx/nginx.conf
修改第一行的user为root就可以了
现在打开本地8000端口就可以访问到我们的后端了
使用init文件来初始化开启
创建一个init文件,这里我是写在项目第一个文件夹下
# mysite_uwsgi.ini file
[uwsgi]

# Django-related settings
# the base directory (full path)
chdir           = /path/to/your/project
# Django's wsgi file
module          = project.wsgi
# the virtualenv (full path)
home            = /path/to/virtualenv

# process-related settings
# master
master          = true
# maximum number of worker processes
processes       = 10
# the socket (use the full path to be safe
socket          = /path/to/your/project/mysite.sock
# ... with appropriate permissions - may be needed
# chmod-socket    = 664
# clear environment on exit
vacuum          = true
启动项目
uwsgi --ini mysite_uwsgi.ini # the --ini option is used to specify a file

关闭Nginx服务
sudo nginx -s quit