android google map api 入门 一
1 . google map api 简介
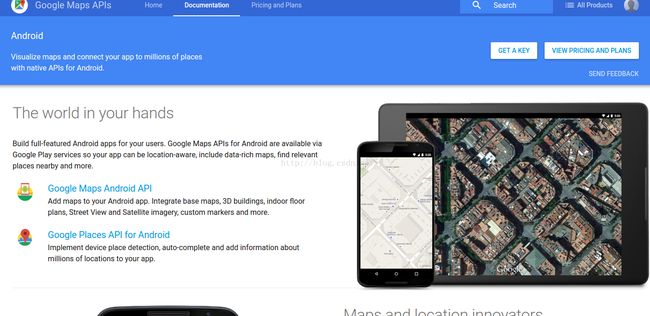
Google Maps Android API 向您的应用添加基于 Google Maps 数据的地图。 该 API 会自动处理对 Google 地图服务器的访问、数据下载、地图显示以及对地图手势的响应。您还可以利用 API 调用向基础地图添加标记、多边形和叠层,以及更改特定地图区域的用户视图。这些对象可为地图位置提供附加信息,实现用户与地图的交互
2.获取google map api 秘钥
2.1 注册获取api key
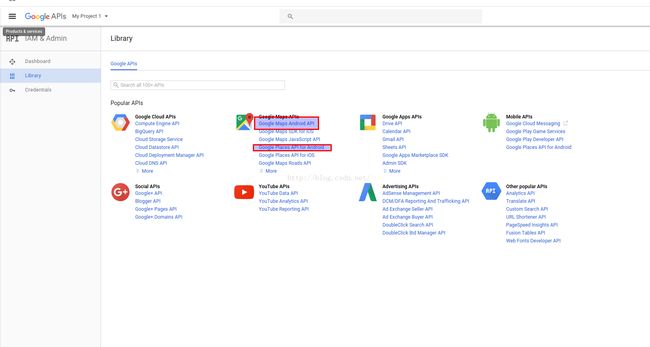
登陆网站 https://developers.google.com/maps/android/,单机右上角 get a key
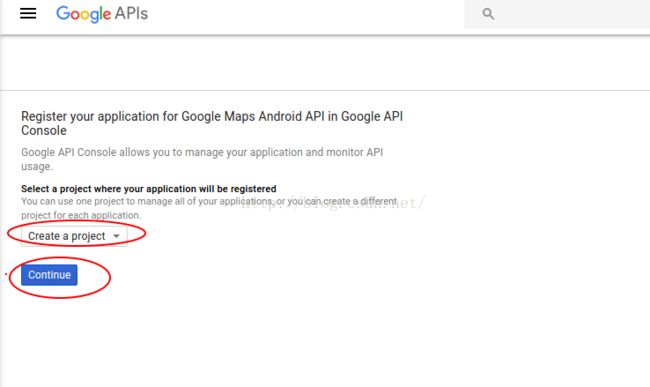
新建一个project,continue
下面的是第二次创建key才会有的界面

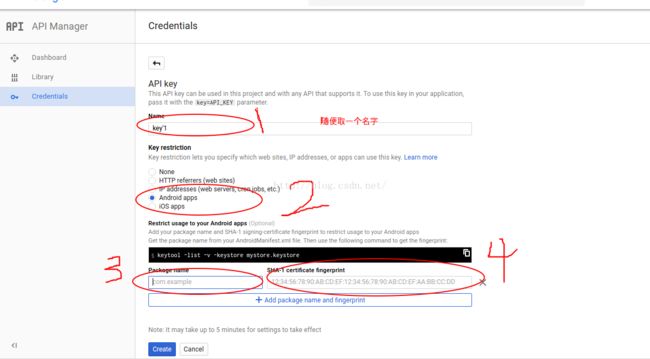
第一次创建的时候界面
name: 随便取一个名字
package name:你项目的包名,也就是manifest中的名字
SHA: cd ./.android 里面应该有一个debug.keystore
在终端运行
keytool -list -v -keystore debug.keystore 密码 android
里面 将 SHA的内容复制填入到4的位置
continue
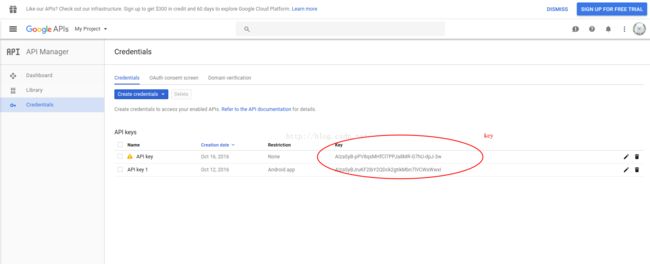
如图便是你这个包下的key了
2.2 开启api功能
google map api 中的key和高德,百度的不同,获得了key,但是这个key我们什么功能也没有给他开启,其实这个key暂时是不能用的,所以,我们需要开启他们的功能
选择DashBoard,单击 ENABLEAPI

按照需求选择相应的要开启的功能
单击上面的ENABLE

只有这样,key才生效
3. 创建一个基本的地图
我们如果选择如下模式,android studio会自动帮我们构建一些应用

具体代码如下:
build.gradle加入
compile 'com.android.support:appcompat-v7:25.0.0'
compile 'com.google.android.gms:play-services-maps:9.6.1'
Manifest:(注意,里面的key为上面你所获得的key,这个包名com.example.tate.firstmap 是申请key的时候填写的包名)
xml version="1.0" encoding="utf-8"?>
<manifest xmlns:android="http://schemas.android.com/apk/res/android"
    package="com.example.tate.firstmap" >


    <uses-permission android:name="android.permission.ACCESS_FINE_LOCATION" />

    <application
        android:allowBackup="true"
        android:icon="@mipmap/ic_launcher"
        android:label="@string/app_name"
        android:supportsRtl="true"
        android:theme="@style/AppTheme" >

        <meta-data
            android:name="com.google.android.geo.API_KEY"
            android:value="@string/google_maps_key" />

        <activity
            android:name=".MapsActivity"
            android:label="@string/title_activity_maps" >
            <intent-filter>
                <action android:name="android.intent.action.MAIN" />

                <category android:name="android.intent.category.LAUNCHER" />
            intent-filter>
        activity>
    application>

manifest>
MapsActivity:
类中方法介绍:此类继承了FragmentActivity 实现了 OnMapReadyCallback接口
通过 SupportMapFragment mapFragment = (SupportMapFragment) getSupportFragmentManager()
.findFragmentById(R.id.map); 获取了地图对象,执行
mapFragment.getMapAsync(this);然后会执行onMapRead方法,其中加了一个marker,移动了摄像头的位置,这张地图就出来了
package com.example.tate.firstmap;
import android.support.v4.app.FragmentActivity;
import android.os.Bundle;

import com.google.android.gms.maps.CameraUpdateFactory;
import com.google.android.gms.maps.GoogleMap;
import com.google.android.gms.maps.OnMapReadyCallback;
import com.google.android.gms.maps.SupportMapFragment;
import com.google.android.gms.maps.model.LatLng;
import com.google.android.gms.maps.model.MarkerOptions;

public class MapsActivity extends FragmentActivity implements OnMapReadyCallback {

    private GoogleMap mMap;

    @Override
    protected void onCreate(Bundle savedInstanceState) {
        super.onCreate(savedInstanceState);
        setContentView(R.layout.activity_maps);
        // Obtain the SupportMapFragment and get notified when the map is ready to be used.
        SupportMapFragment mapFragment = (SupportMapFragment) getSupportFragmentManager()
                .findFragmentById(R.id.map);
        mapFragment.getMapAsync(this);
    }


    @Override
    public void onMapReady(GoogleMap googleMap) {
        mMap = googleMap;

        // Add a marker in Sydney and move the camera
        LatLng sydney = new LatLng(-34, 151);
        mMap.addMarker(new MarkerOptions().position(sydney).title("Marker in Sydney"));
        mMap.moveCamera(CameraUpdateFactory.newLatLng(sydney));
    }
}
Activity_maps.xml
<fragment xmlns:android="http://schemas.android.com/apk/res/android"
    xmlns:tools="http://schemas.android.com/tools"
    xmlns:map="http://schemas.android.com/apk/res-auto"
    android:layout_width="match_parent"
    android:layout_height="match_parent"
    android:id="@+id/map"
    tools:context="com.example.tate.firstmap.MapsActivity"
    android:name="com.google.android.gms.maps.SupportMapFragment"/>
运行后效果(google map需要手机支持google map服务,需要连上代理):
